I was planning on doing this, even before the recent corona virus scare, telling us to stay at home as much as possible. I always spend a lot of time in my workshop, except in heavy gardening seasons!
I got the idea for this when I saw some of the mason bee houses for sale, and I said "Hey, that would be easy to make!" Maybe not really easy, but it was easy to draw up the plans, and once I did that, it was easy! I haven't finished it, but the most time consuming work is done.
First, I got some cheap cedar (a wood suggested for the bees, since finishing is not necessary), being sold at clearance because it was bowed, and nobody would buy it for deck-making! I cut them to 4' pieces, then put them on a workbench, with spacers, to let them stabilize. Then I jointed one side, until totally flat, then planed them all, to 3/4 thick. It is only 5.5" wide, and wider would have been better, but I didn't want to rout it lengthwise, as it seemed it would be weaker that way, in the thin sections.
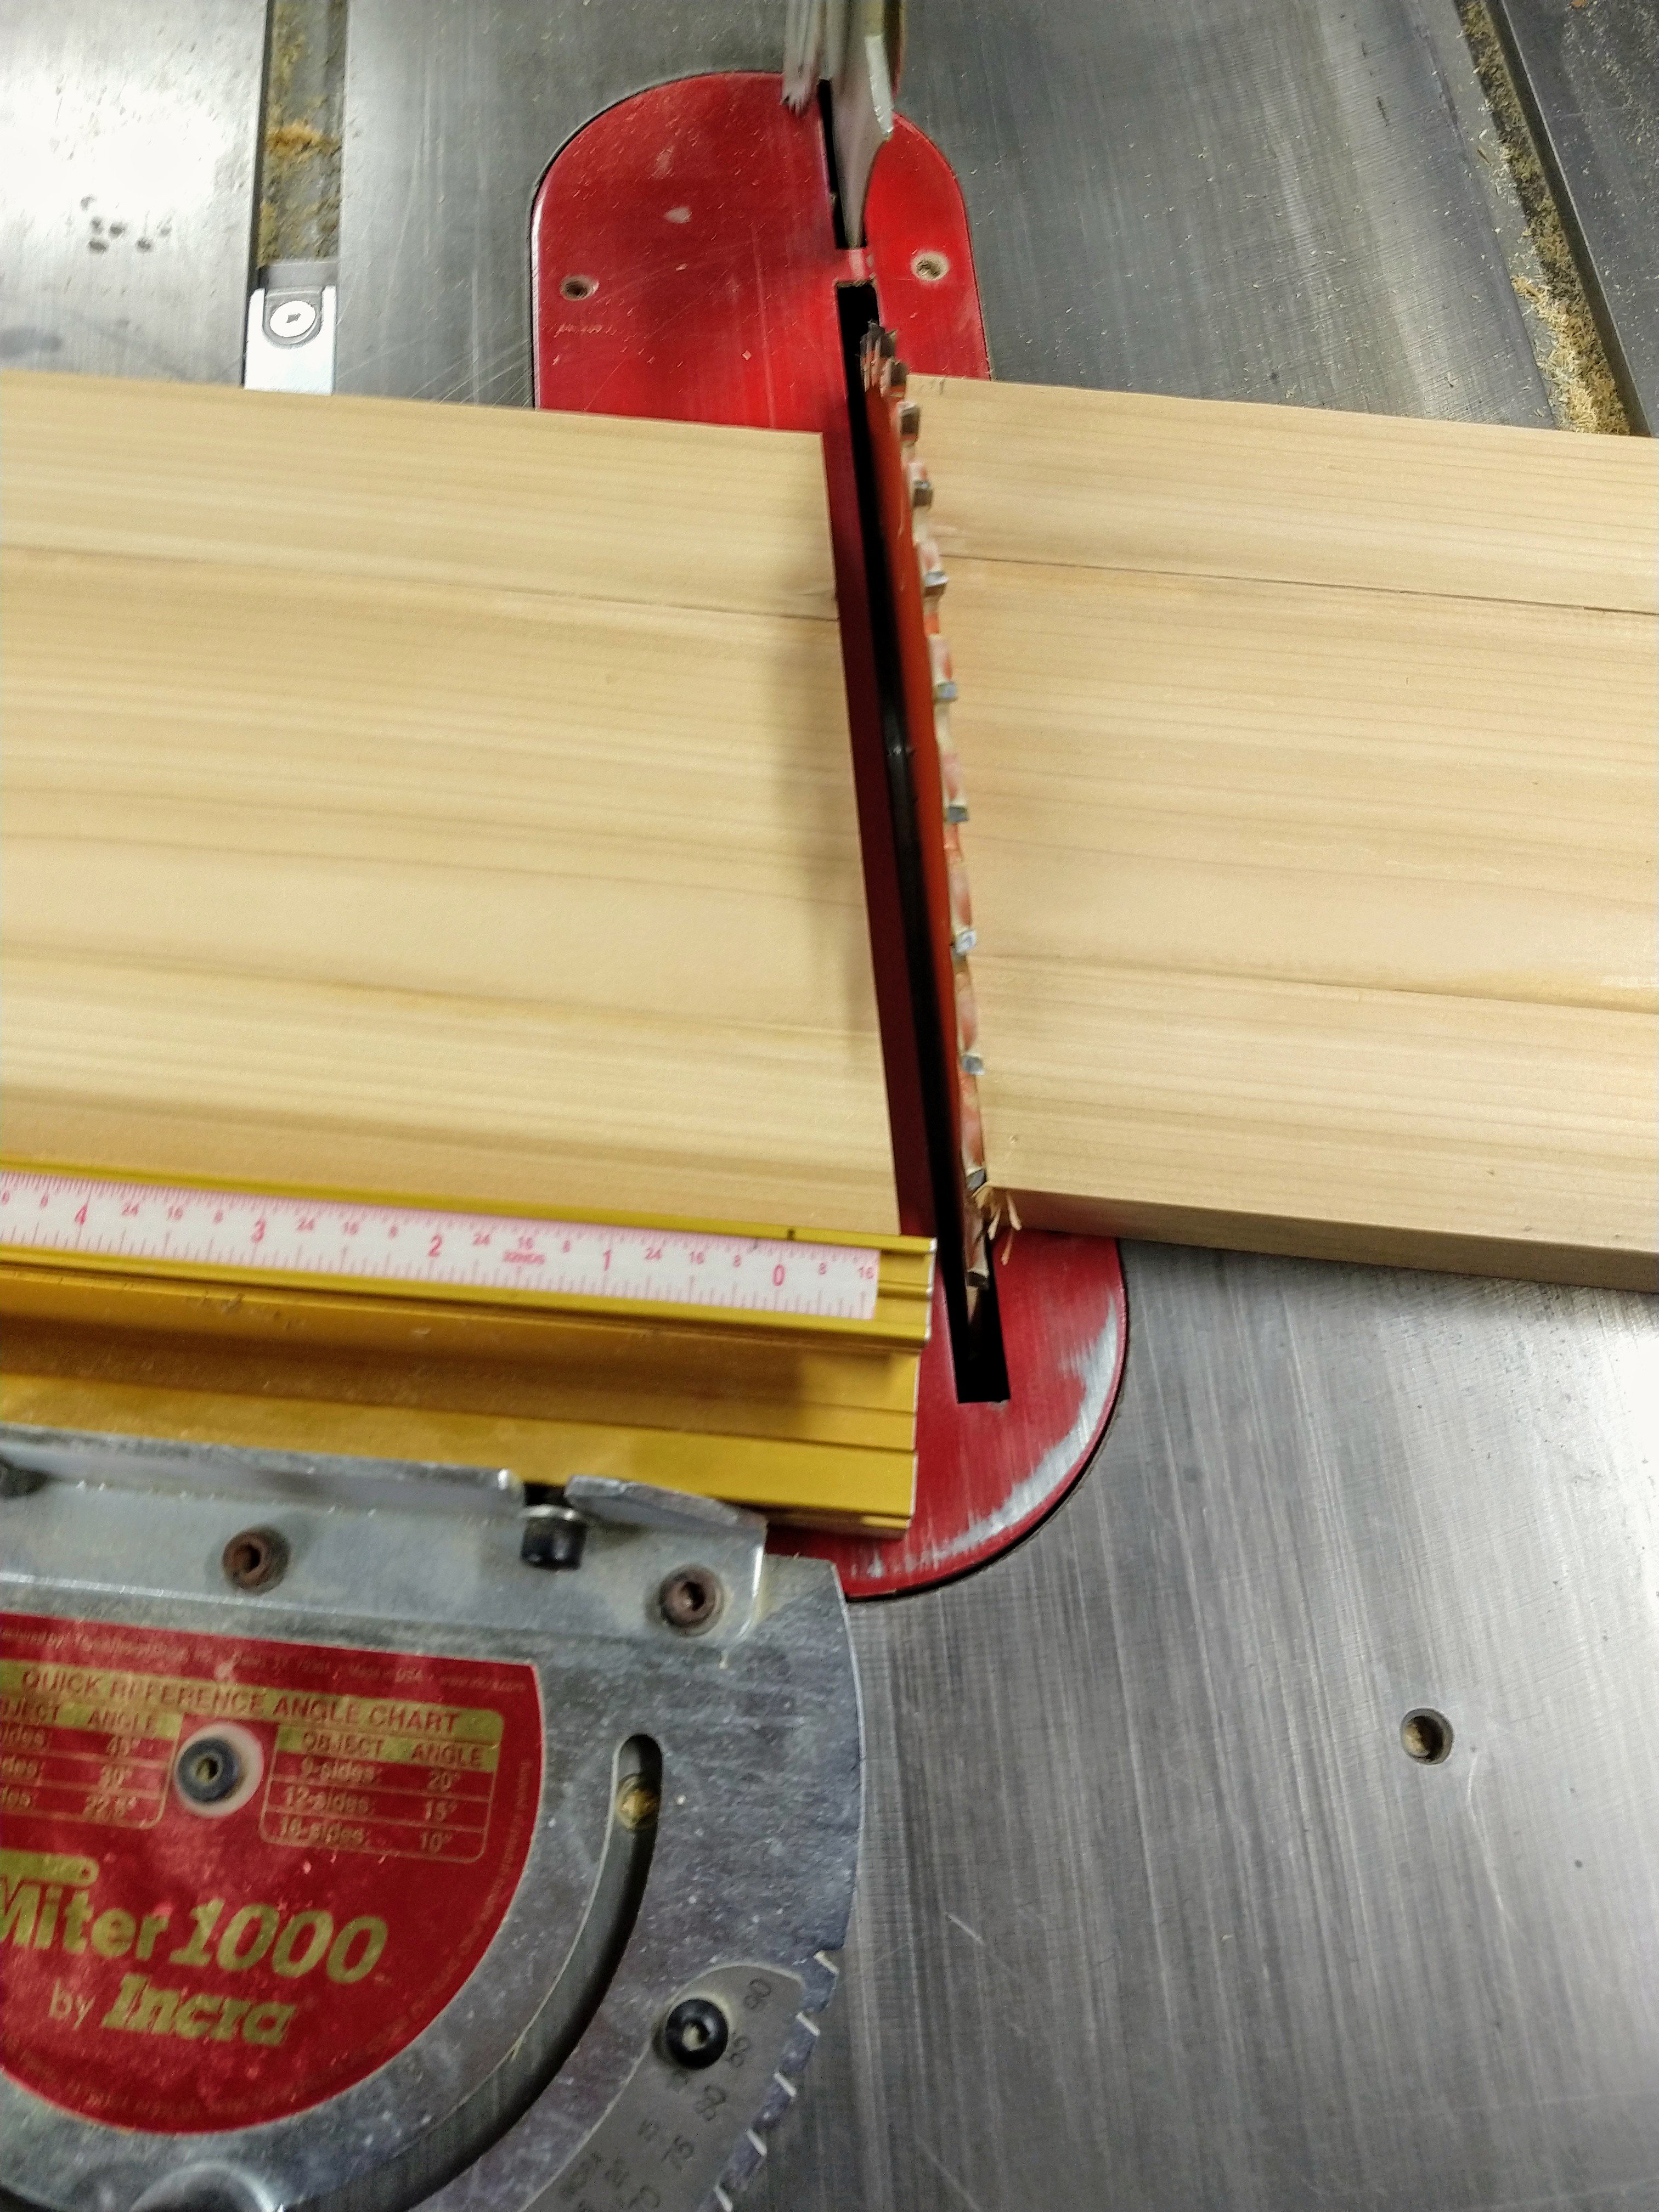
I first cut 9 pieces, 6 5/16" wide, to make the 11 cross grain router cuts, on both sides of the piece, with a 5/16" cove box bit, set to 5/32" deep, so the 2 cuts on opposing pieces meet to make a 5/16" diameter hole.
First cut:
First set of cuts on router table, using a 5/16 inch cove box bit. by pepperhead212, on Flickr
Last cut:
Last cut, at least with the router. by pepperhead212, on Flickr
Unfortunately, cedar is a wood that splinters a lot, and after each set of cuts, I had to take a piece of sandpaper, wrapped around a ¼" dowel, to clean out the grooves, and the splinters sticking up. Here is a photo, showing those splinters, and cleaning them out. It didn't take long, for each set of 16.
Cleaning out the grooves, using a 1/4 inch dowel, wrapped around 120 grit sandpaper. by pepperhead212, on Flickr
Here are the finished inserts, showing how it looks like 88 holes were drilled, all the way through.
The wood, loosely stacked, showing the future home for 88 mason bees. by pepperhead212, on Flickr
All I have to do now, is make a "cage", to hold them in, and protect them - the easy part of the job. I'll post that later.
-
- Super Green Thumb
- Posts: 2888
- Joined: Wed Oct 15, 2014 1:52 pm
- Location: Woodbury NJ Zone 7a/7b
-
- Super Green Thumb
- Posts: 2888
- Joined: Wed Oct 15, 2014 1:52 pm
- Location: Woodbury NJ Zone 7a/7b
I've almost finished the bee house today, all except for attaching the back, as I have to get a couple of SS straight braces, for mounting it outside.
Gluing up boards, to make the sides and shelves. by pepperhead212, on Flickr
Cutting one board at a 10 degree angle, to form the sides. by pepperhead212, on Flickr
Assembled house, shown from the front. by pepperhead212, on Flickr
Bee house, from the side. by pepperhead212, on Flickr
Bee house from the back, with a piece of plexiglass that will be screwed on. by pepperhead212, on Flickr
-
- Super Green Thumb
- Posts: 2888
- Joined: Wed Oct 15, 2014 1:52 pm
- Location: Woodbury NJ Zone 7a/7b
Here's the finished bee house - I had to get those straight SS brackets, to hang it from, and they took a long time to get here (one of those 3rd party sellers on Amazon). No big deal, as I'm not putting it up right away. I also had to order that hardware cloth, but that came right away.
Mason bee house, ready to hang. by pepperhead212, on Flickr
And here's the scraper I made, to clean out the cocoons with, in the fall. I just drew the design on the piece of wood, and cut out the empty sections with the bandsaw, then I rounded away the ends of the sections by nibbling them away on the bandsaw, until the fit in just right, then I tapered it toward the front on both sides on the belt sander. It fits great now!
Wooden scraper I made for scraping out the mason bee cocoons, in the fall. by pepperhead212, on Flickr
-
- Newly Registered
- Posts: 3
- Joined: Mon Feb 08, 2021 10:32 am
-
- Super Green Thumb
- Posts: 2888
- Joined: Wed Oct 15, 2014 1:52 pm
- Location: Woodbury NJ Zone 7a/7b