SQWIB
Greener Thumb
Posts: 970
Joined: Tue Feb 16, 2016 9:21 am
Location: Zone 7A - Philadelphia, PA

Grow Light Build 2015 - Updated 2018

This is my Grow Light Build journey, sorry if this was posted already, anyhow I started this in 2015 and just added a few tweaks this month

December 26th, 2015 - updated December 18th, 2018


For the upcoming 2016 garden year I decided to build a Grow Light/Germination area this winter. I also wanted to be able to grow some winter veggies for my salads and smoothies. I don't know if this is cost prohibitive but its not about saving money anymore, recently it has become a risky business purchasing lettuce, my wife has been ill twice due to e-coli poisoning and once she ended up in the ER.

Onto the build
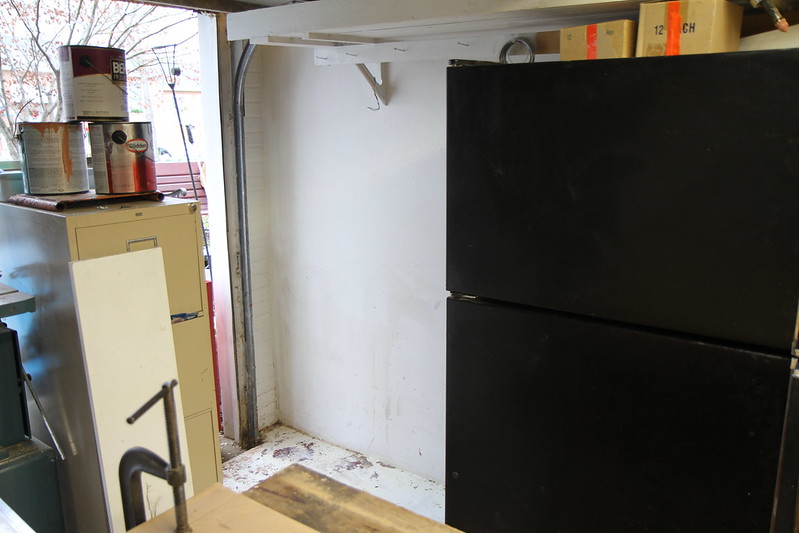
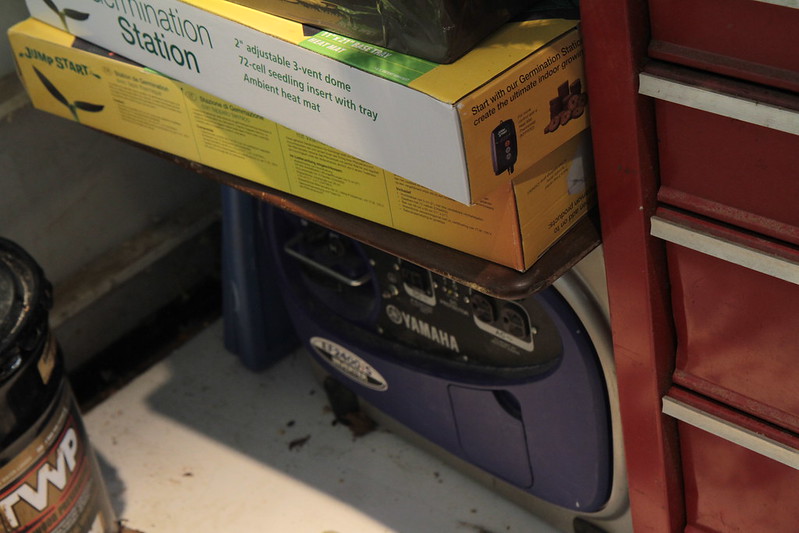
There was an area in my garage that is just the right size, (barely), but I was using it for storing scrap metal, paint, deck stain, my generator, a tool box and a bunch of other stuff. I decided I would much rather have the spot for a permanent grow area, so I thinned everything out and made it work. The generator and toolbox will stay, the toolbox was thinned out and a few drawers will be used for the indoor grow area tools and supplies. There is another problem with this corner as it can be quite drafty from the garage door, I am working on that.


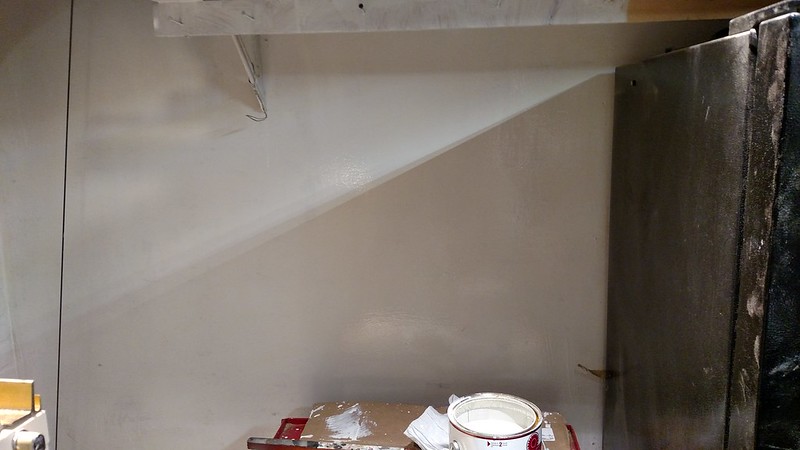
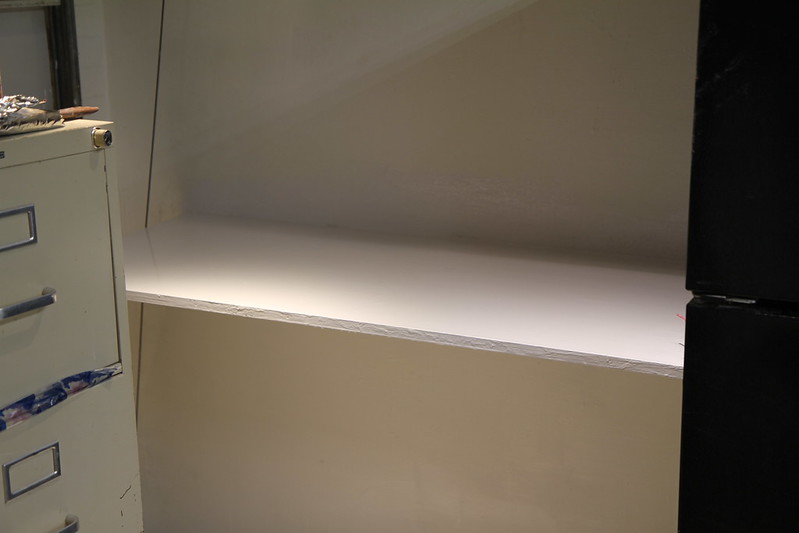
The area is cleaned out and wiped down then painted with a few coats of Kilz.
Image

Image


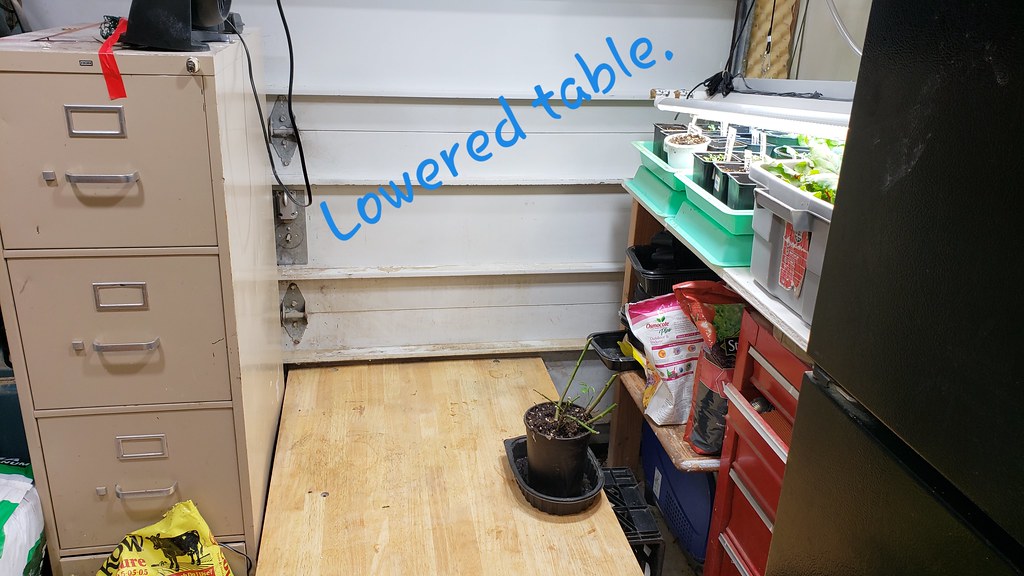
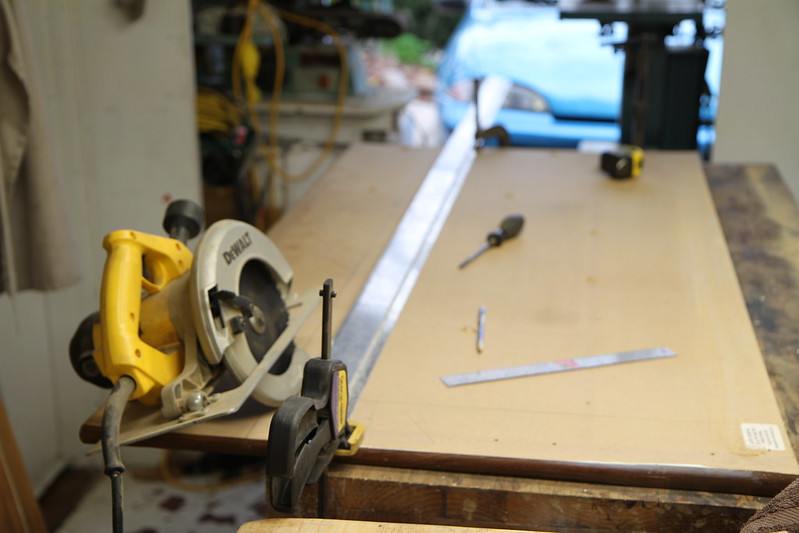
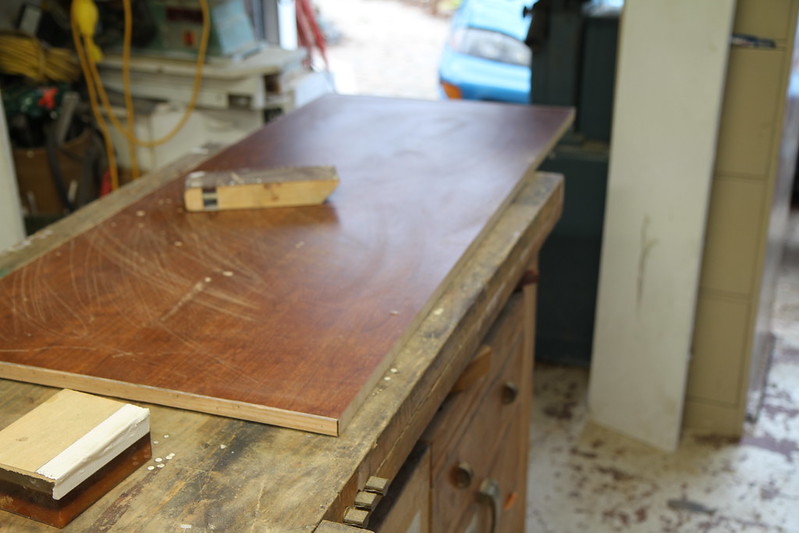
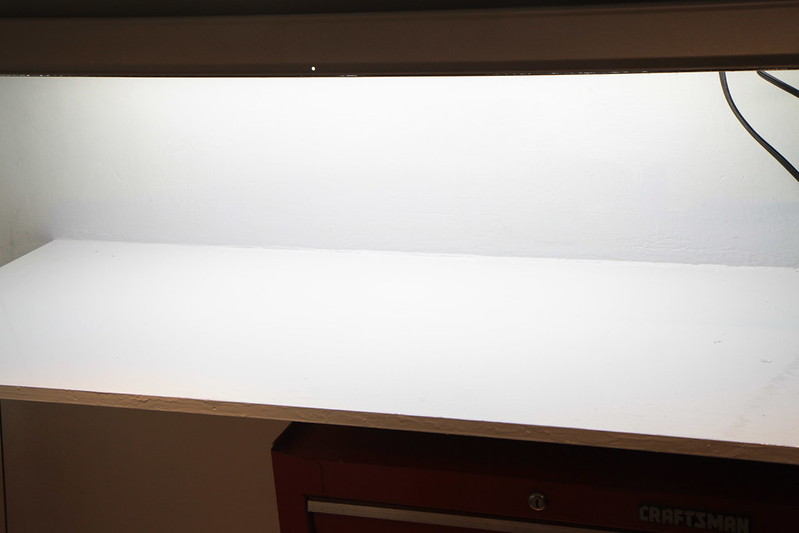
The next step was to make the table, I had a desk that was disassembled and sitting on the deck waiting for trash day, I decided to use the top from the desk as the table top. The desk was cut down to 52.5" a 22.5" then I glued and nailed some oak trim on the sides.
Image

Image


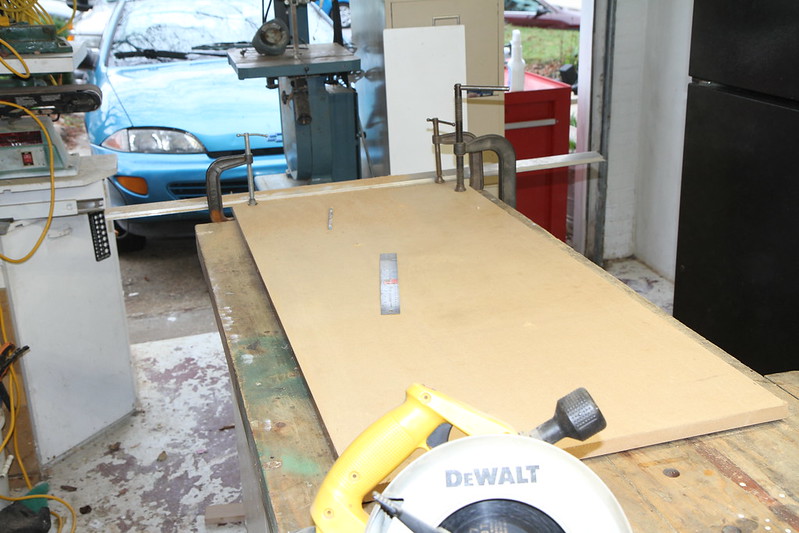
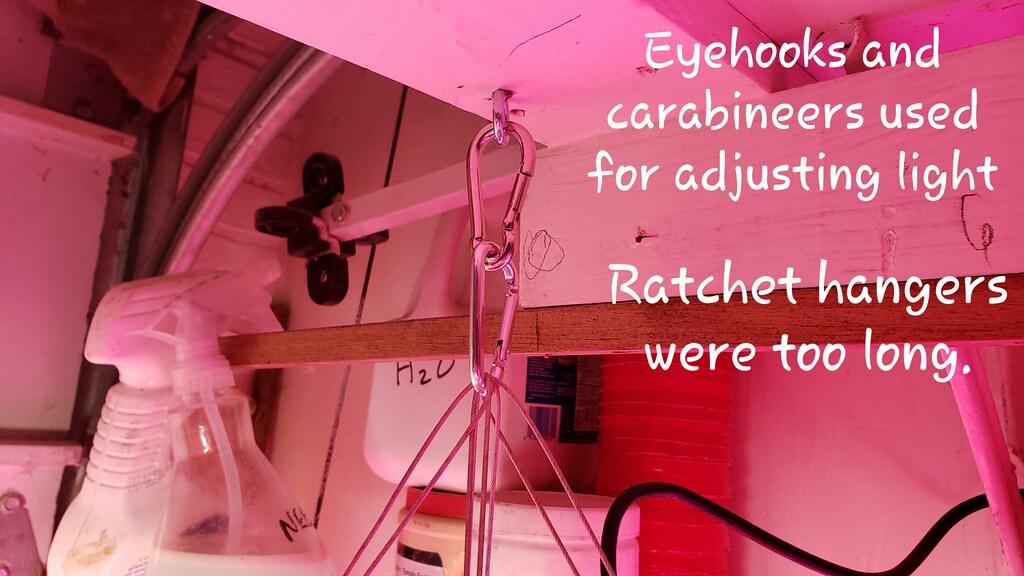
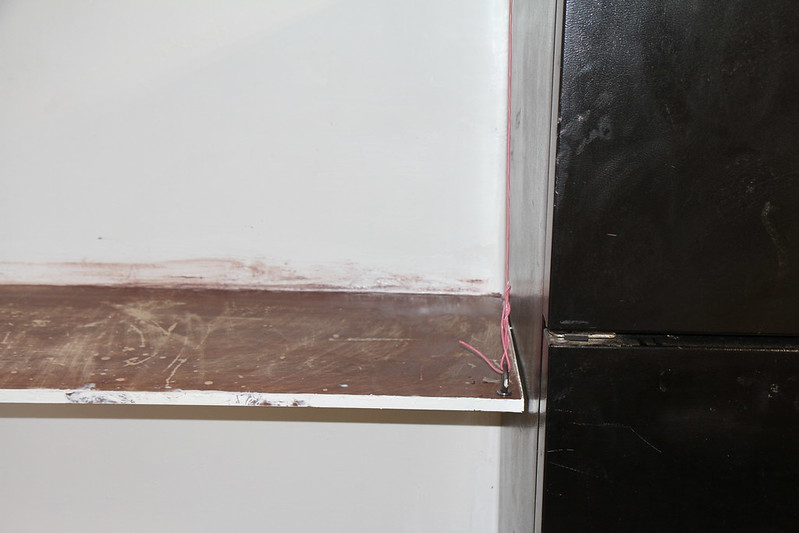
I didn't want legs on the table and wanted a "floating table", to do this, a hole was drilled in one corner and an eye-bolt is installed, I used a bead of silicone when installing the eye-bolt.
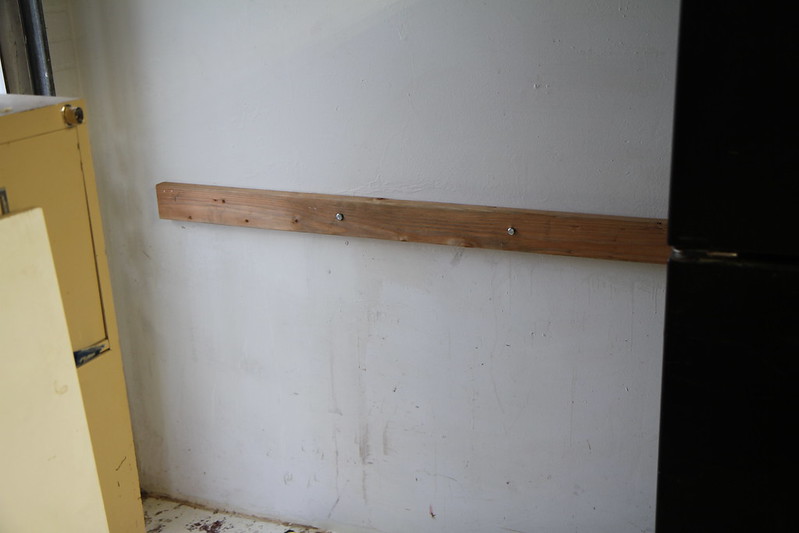
Another eye-bolt is installed in the shelf above where the table top eye-bolt is located, most on the weight will be on the nailer plate.


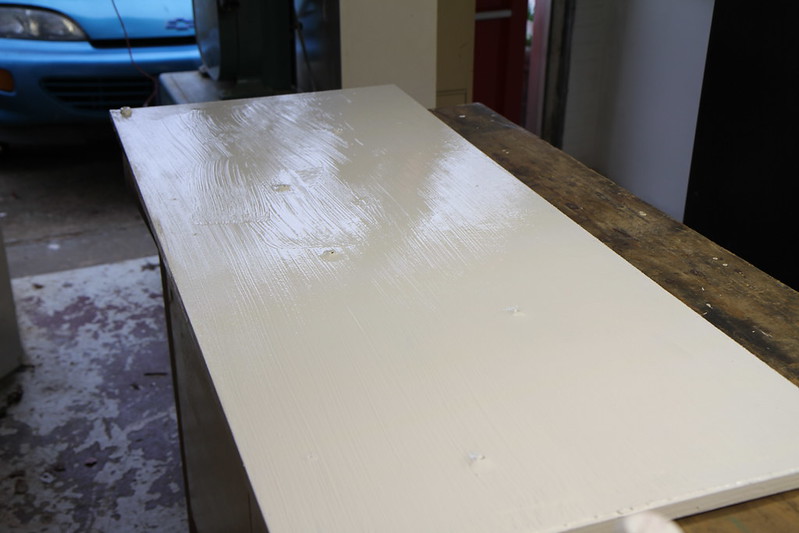
The bottom of the table top is painted with a heavy coat of Kilz... love those goopy brush strokes!
Image


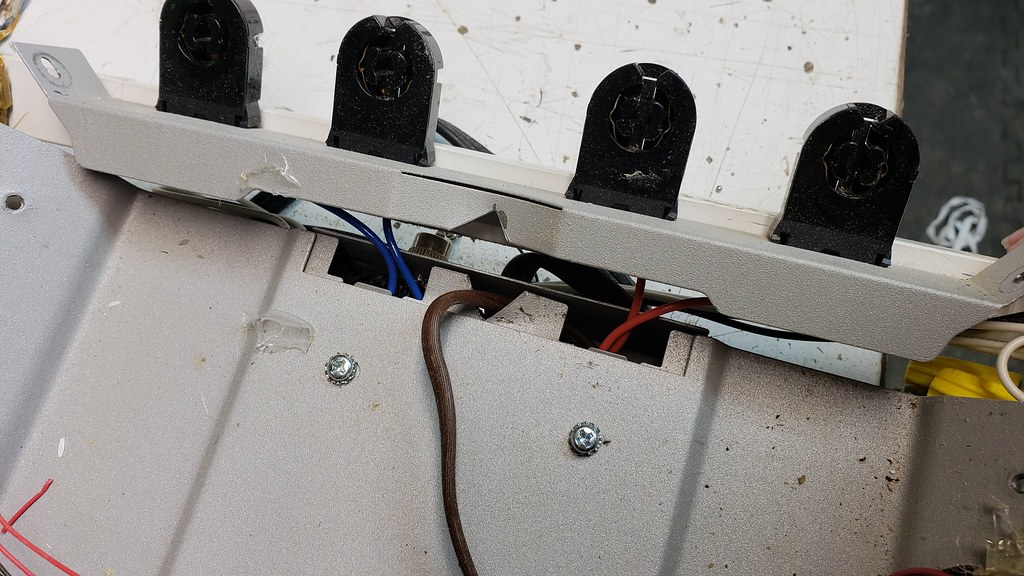
I installed a 2"x 4" nailer with two lags and caught 2 studs.
Image


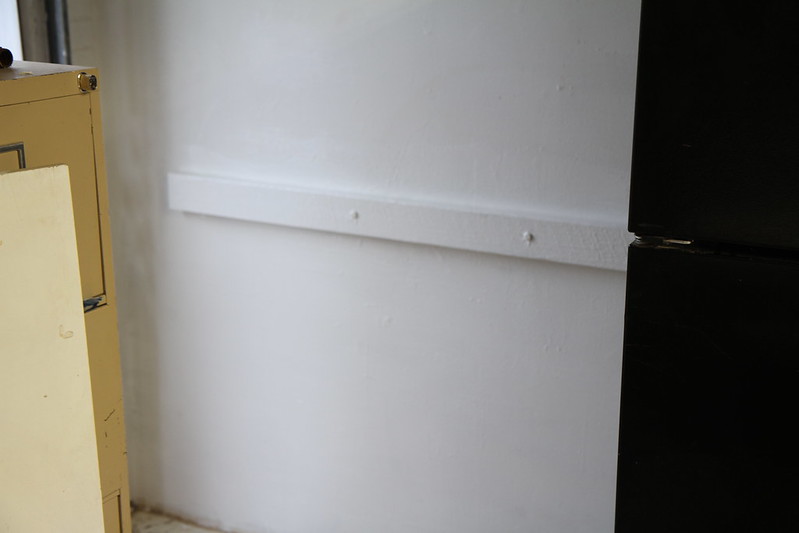
The wall is painted with Kilz again and two coats are applied to the nailer.
Image


The table top is scratched up for better paint adhesion.
Image


I caulked the back of the table top (only had brown caulk) then the table top is slid into position and a temporary wire is added for support. About 8 pilot/countersunk holes are drilled and the tabletop is secured to the nailer using HD Coated deck screws.
Image


The tabletop and the floor are painted with an oil base paint. My neighbor came over to say hello and swears I'm growing "Ganja".
Image


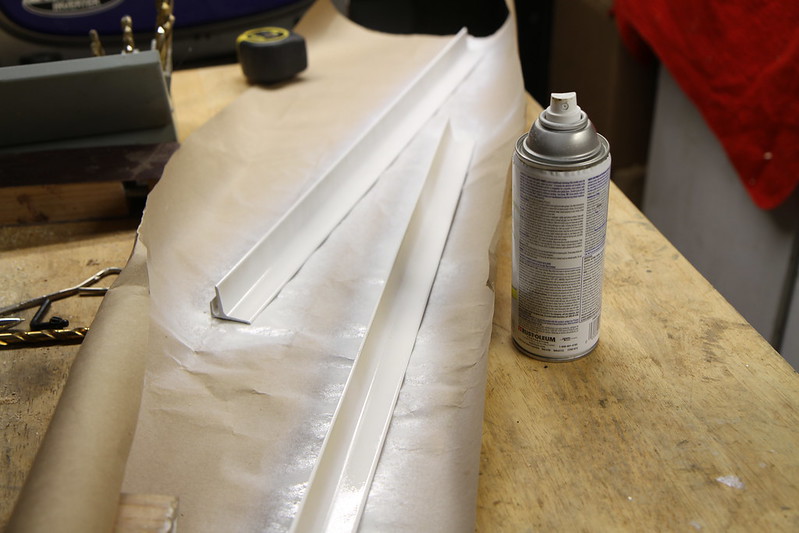
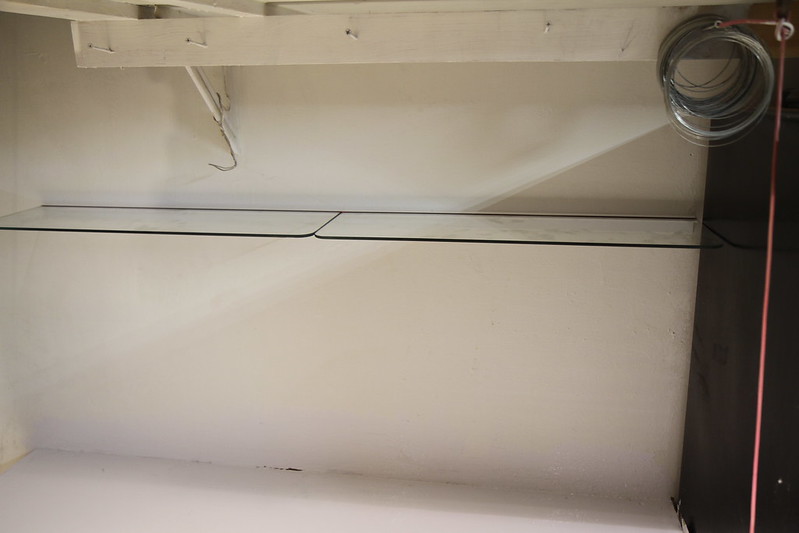
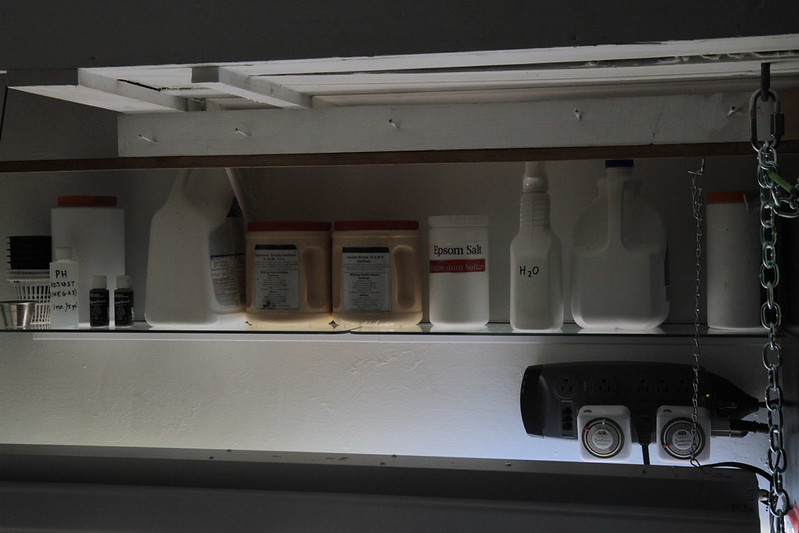
When I was thinning out my junk, I came across a few glass floating shelves that I had removed from over top my old fish tank about 5 years ago, I decided to install the shelves above the table, the only problem is that they were shiny brass, so I put on 4 coats of flat white spray paint.
Image


December 27th, 2015 -

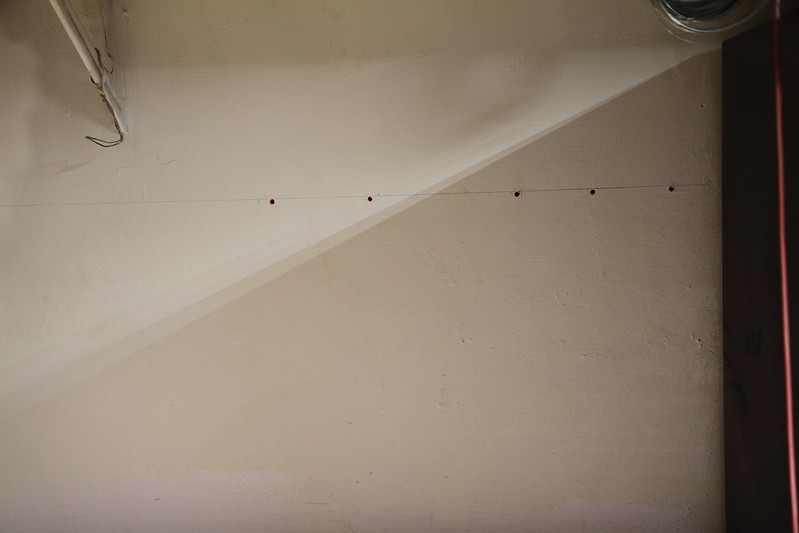
I ran a level and popped in some drywall anchors for the shelf. I had to modify the screws on a grinder as these shelves take special size screws using very narrow heads. The floating shelf supports are installed with the modded screws and touched up with a few more coats of flat spray paint.
Image


The glass shelves are usually secured with rubber inserts but since I have no idea where they are, I just placed a few strips of electrical tape on the glass and the fit is perfect... nice and snug!
Image


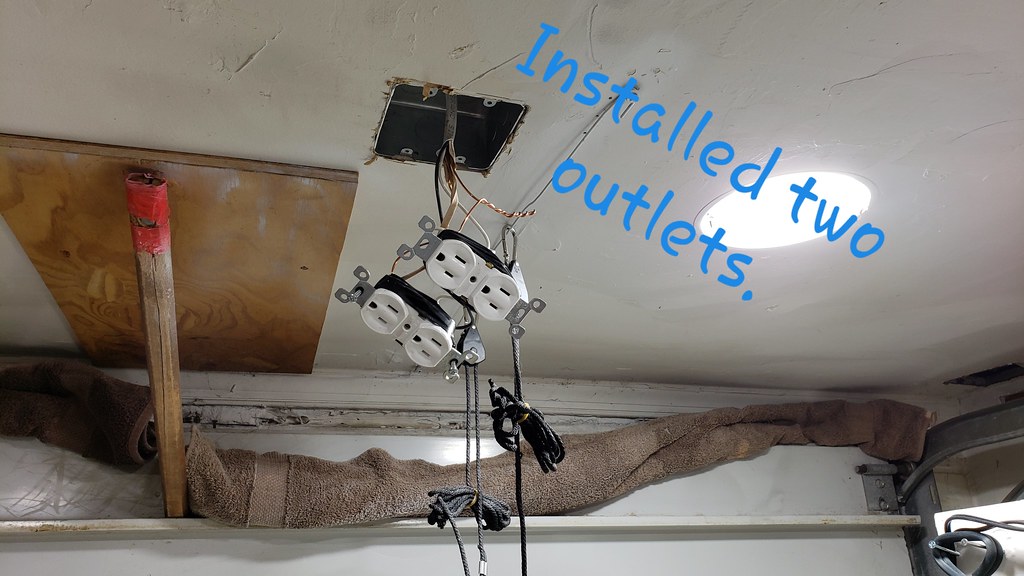
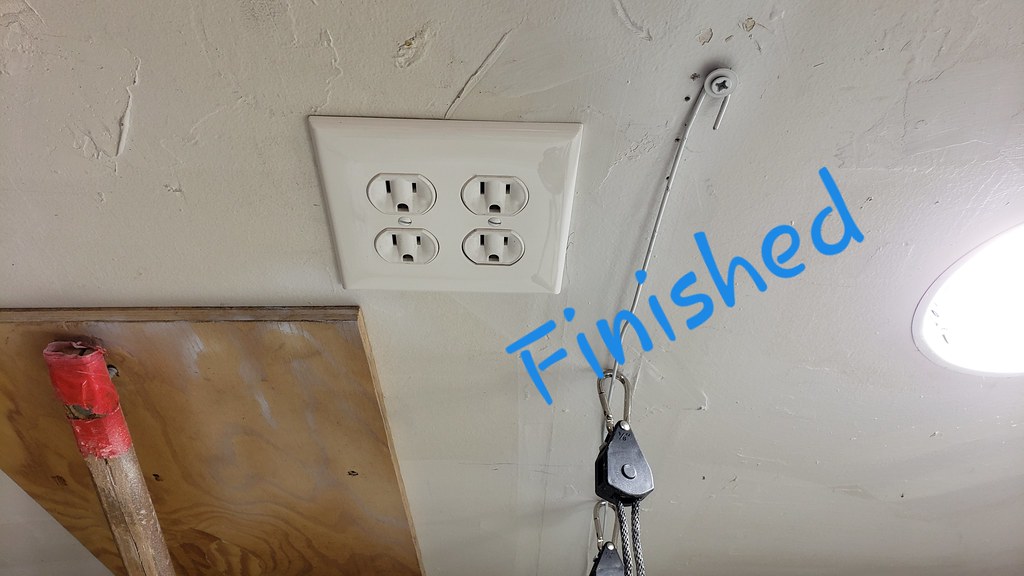
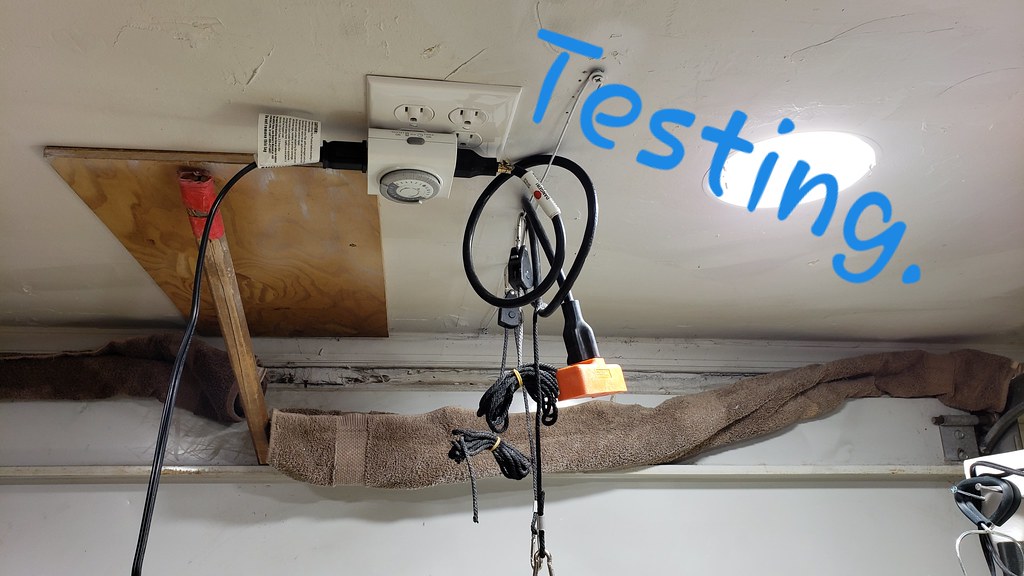
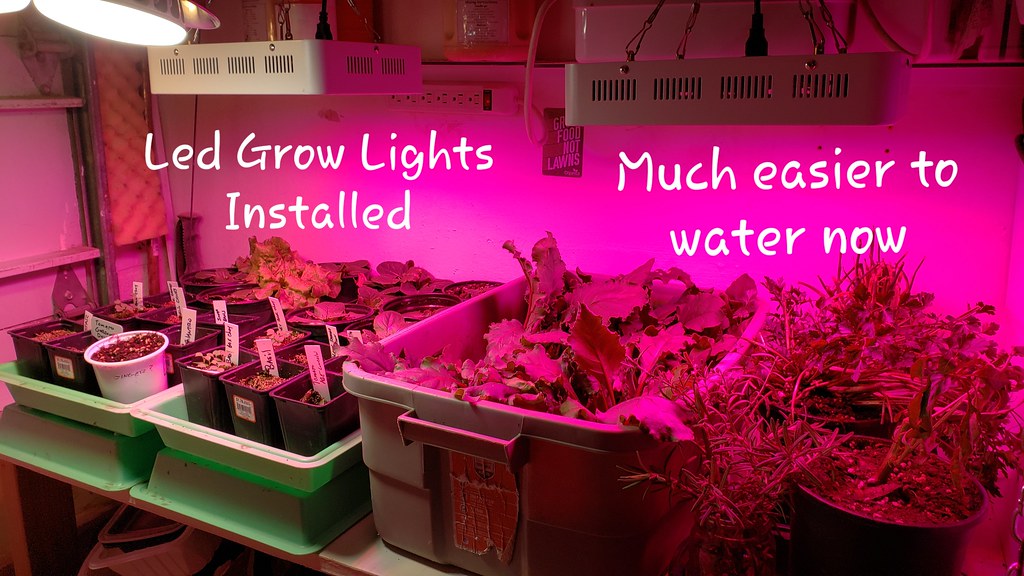
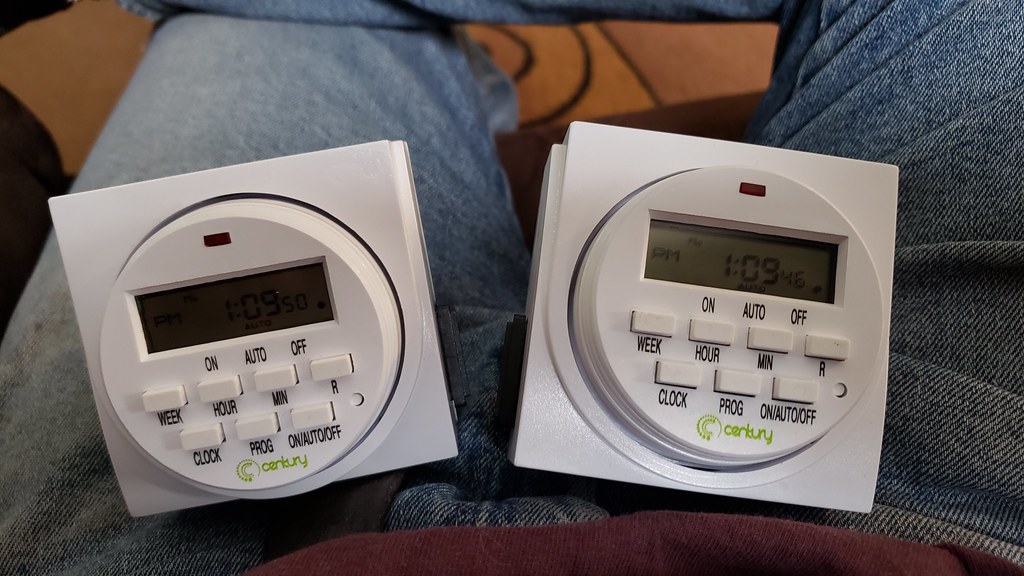
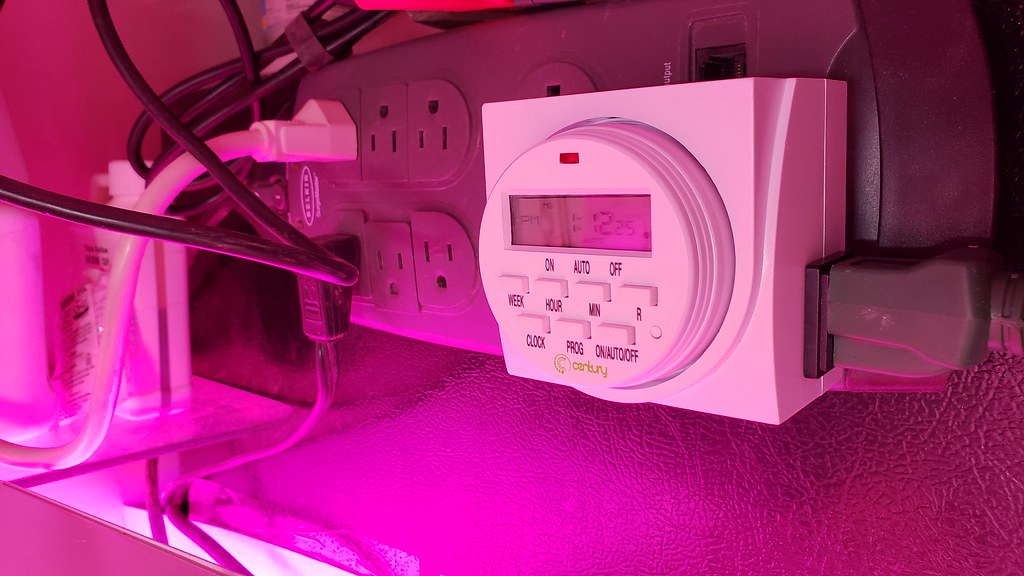
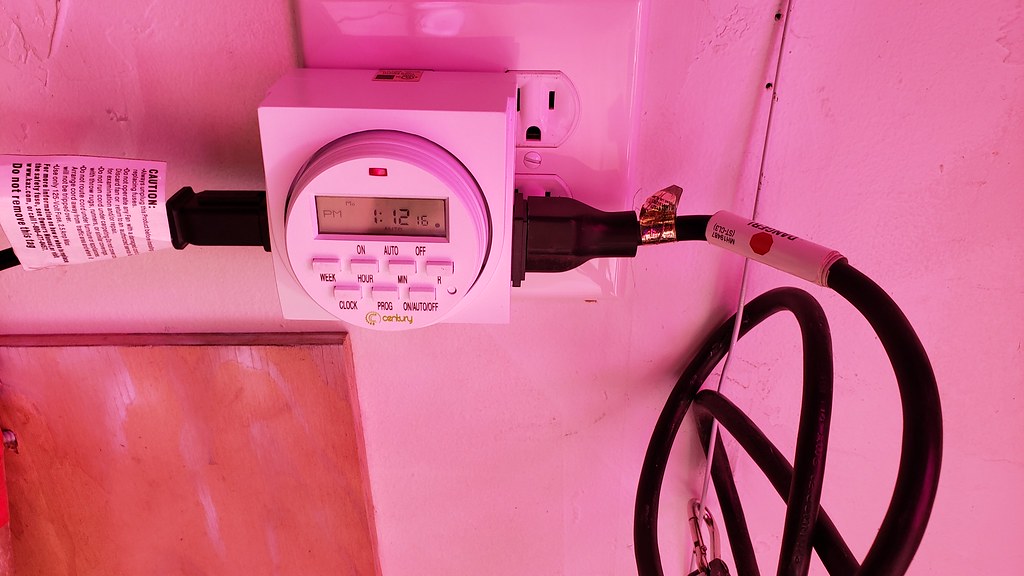
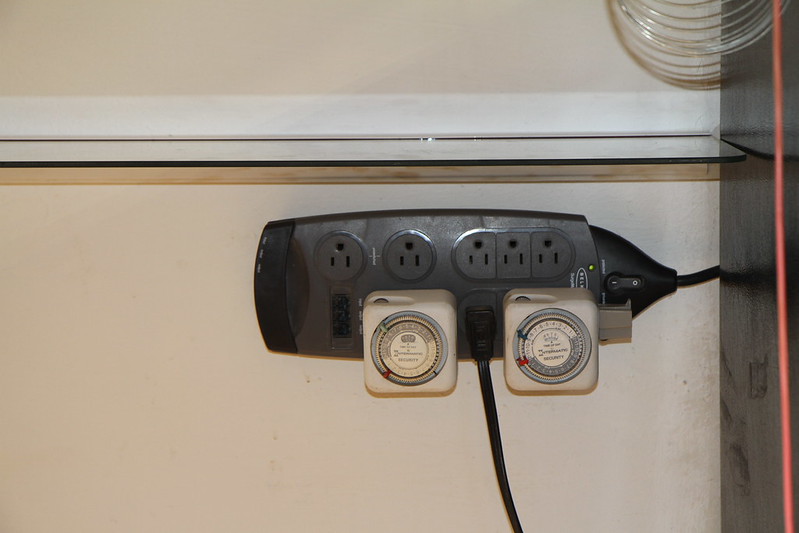
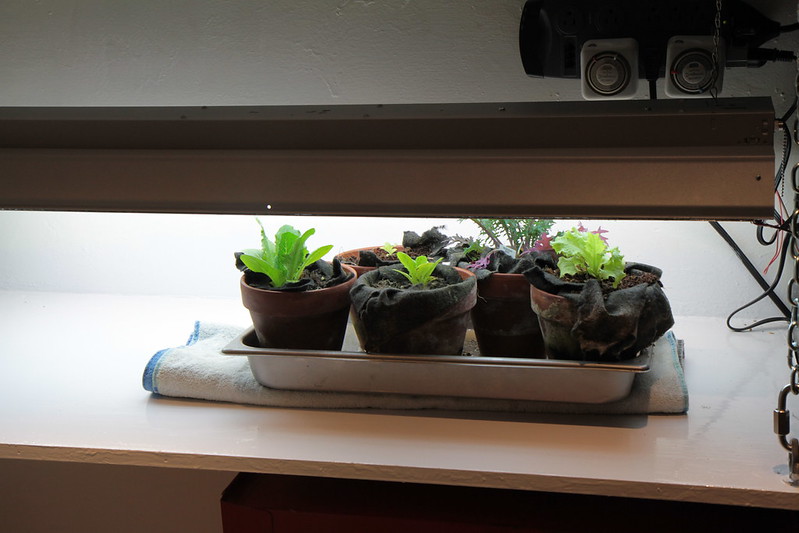
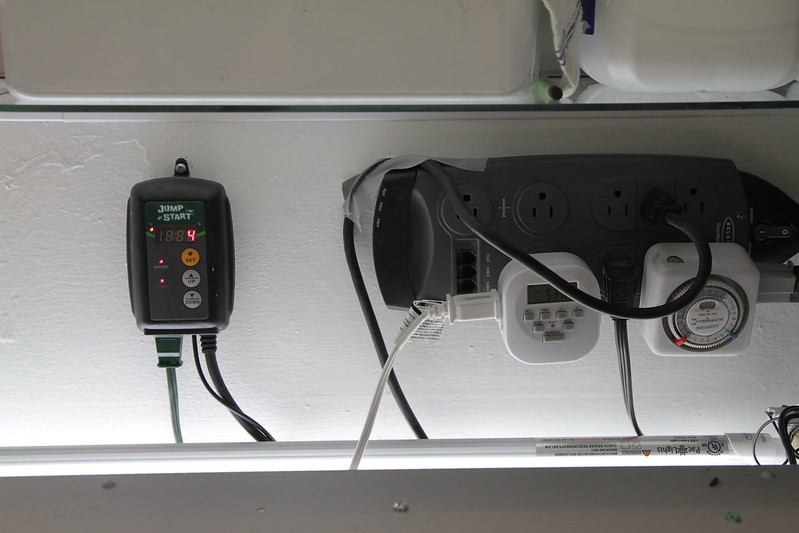
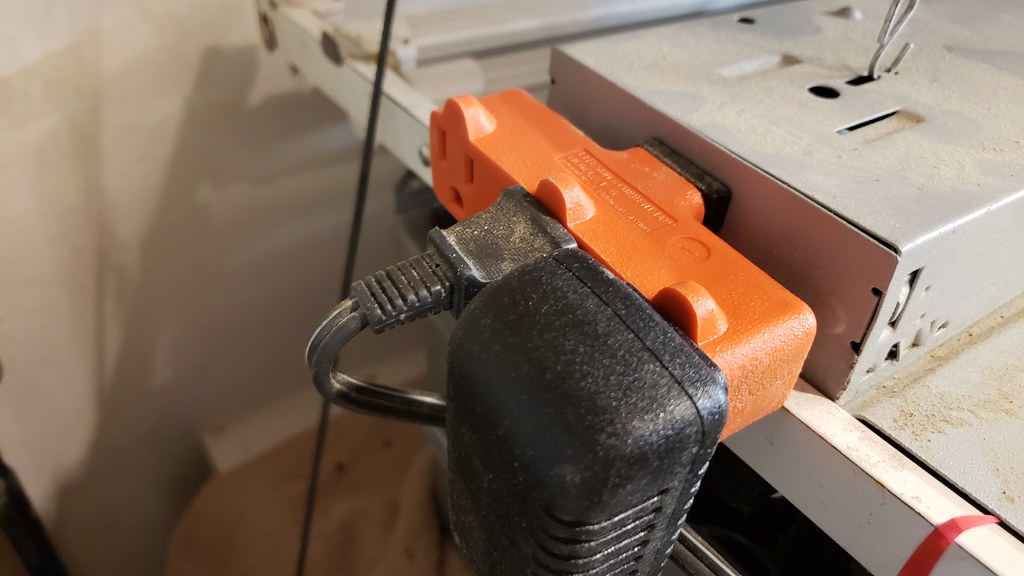
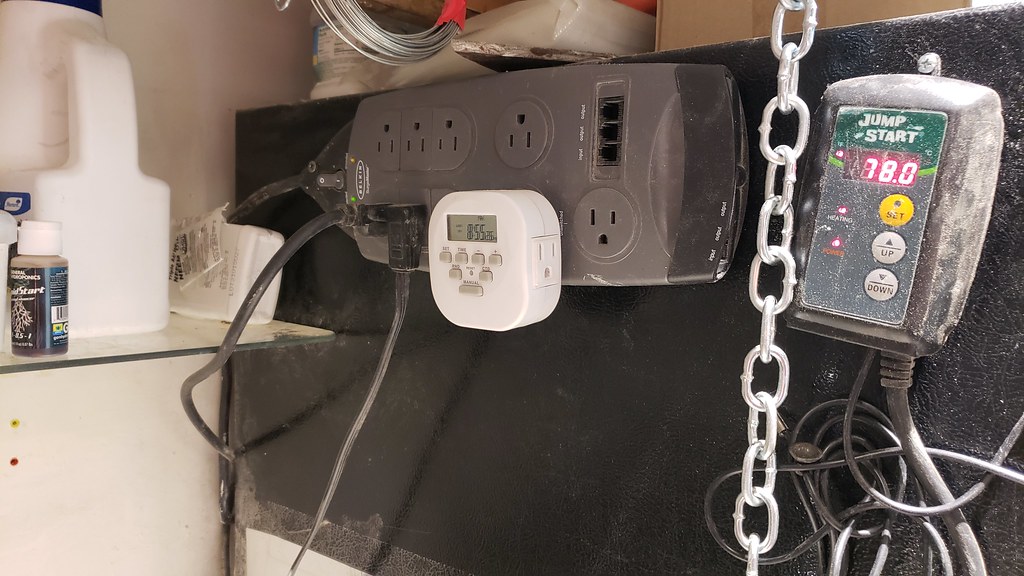
Then I installed the power station and some timers. One timer will control the light and the other timer will control the oscillating fan.
Image


After the shelf install I put on another coat of oil base enamel on the tabletop.


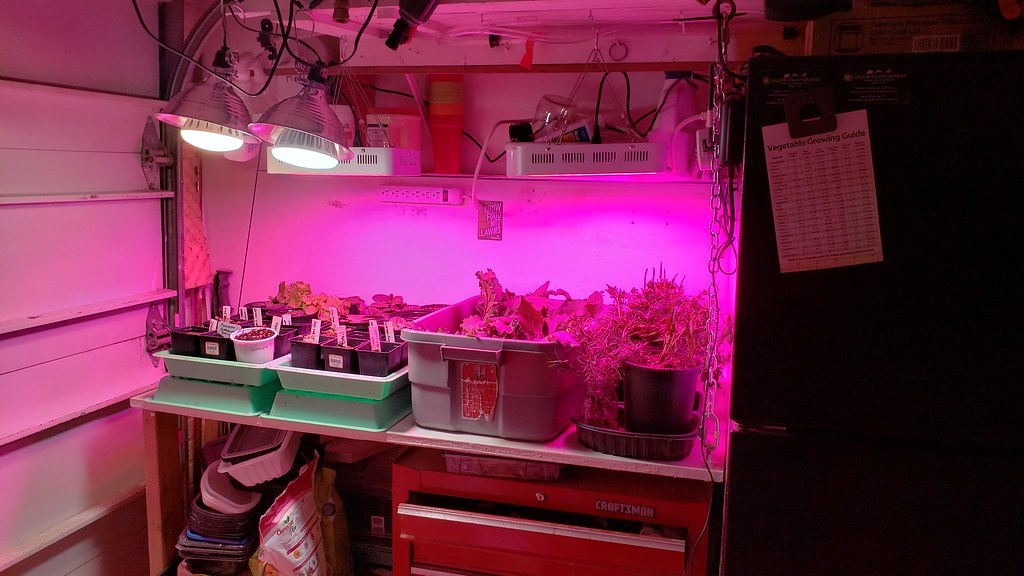
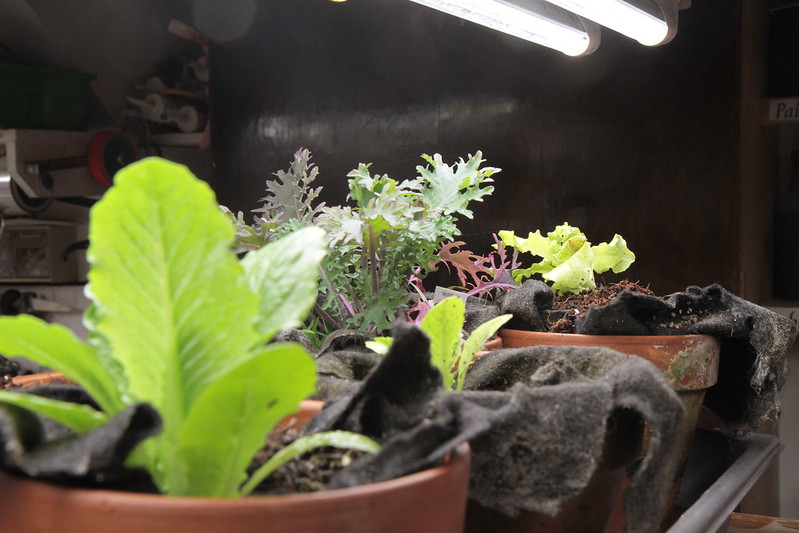
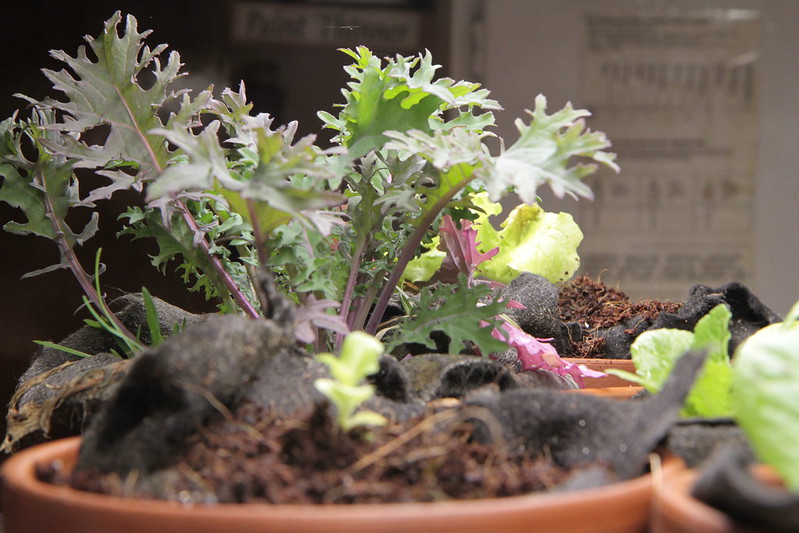
I had a few lettuces growing, a few were growing in the shut down Aquaponics planter by the Koi pond and a couple sprouted from seed I had planted late in the season in the shut down Aquaponics rail NFT/Deep water culture hybrid system. I figured this would sort of be a trial, the plants are placed under one of my 2 bulb LED shop lights. The plants are in terracotta planters lined with a wicking material (pond underlayment) then placed in a steamer pan with some water and a bit of fertilizer. These will be moved to the grow table once the table is completed.
Image

Image


December 28th, 2015
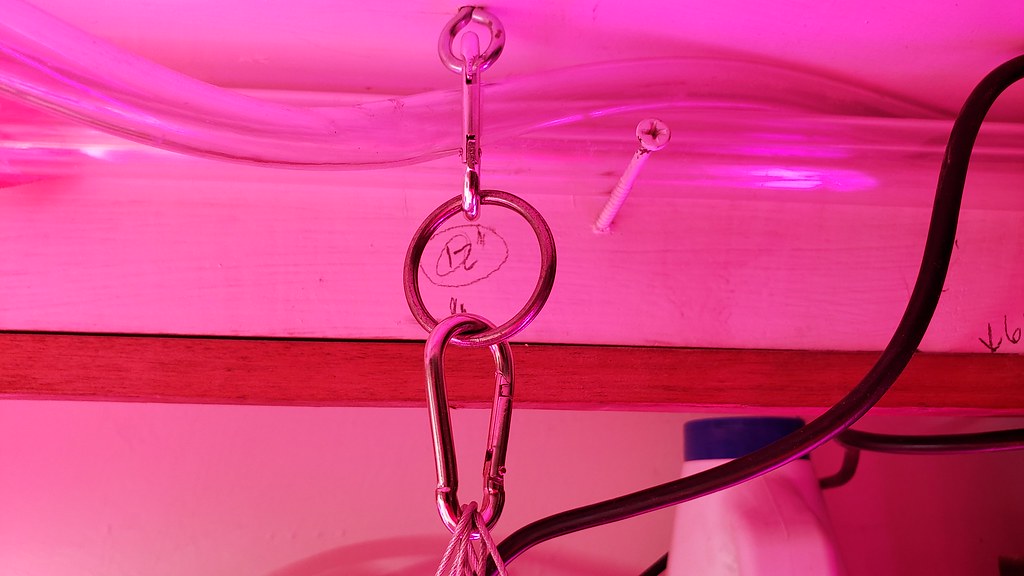
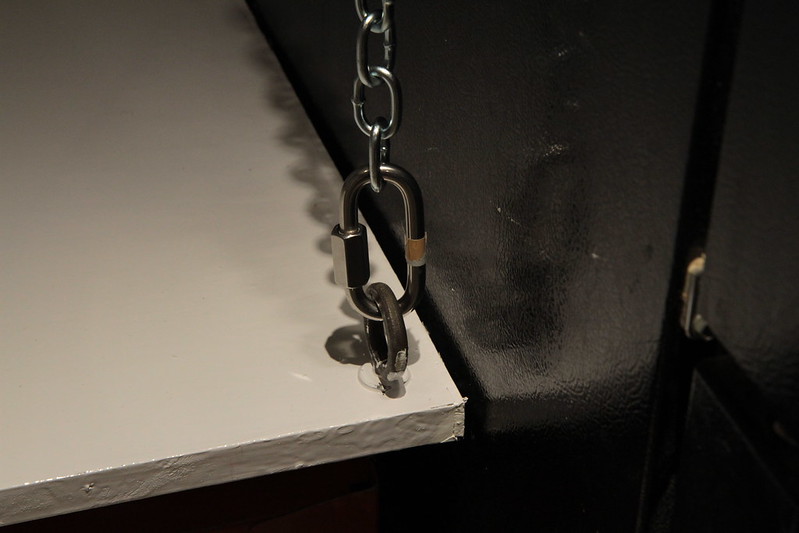
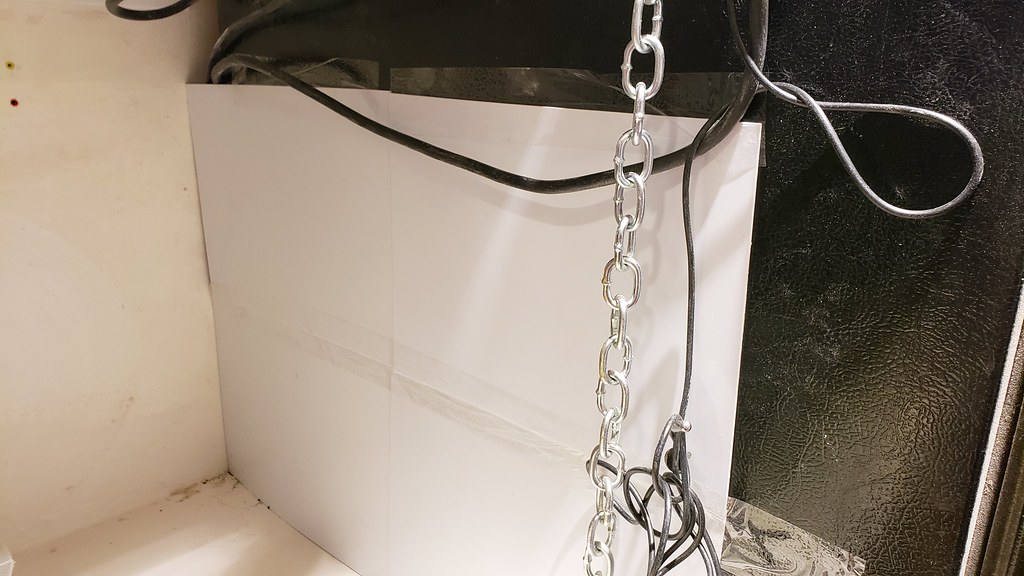
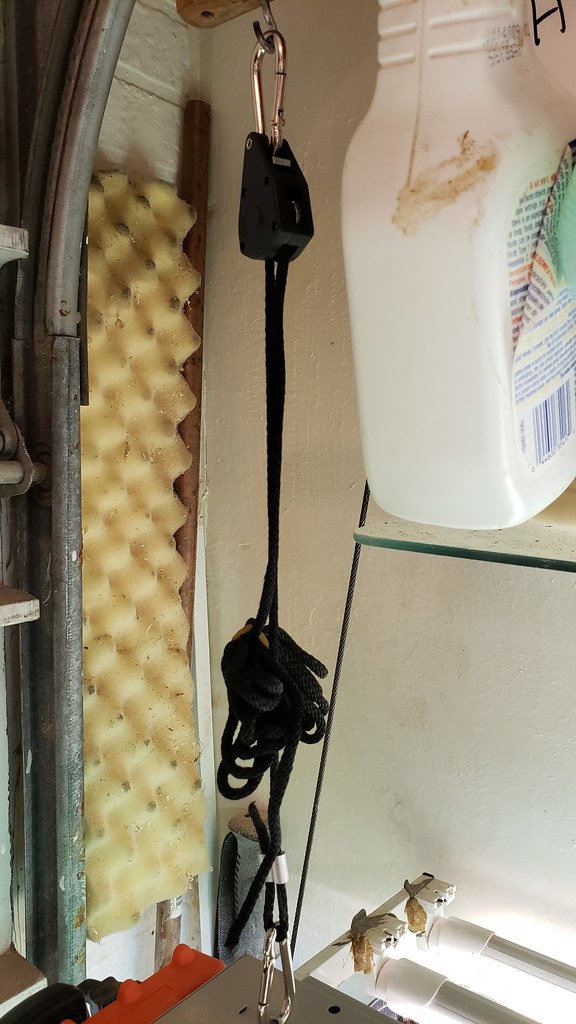
Installed the new chain and Safety Chain Clip Quick Links.

Image


Rolled in the Tool Box.
Image


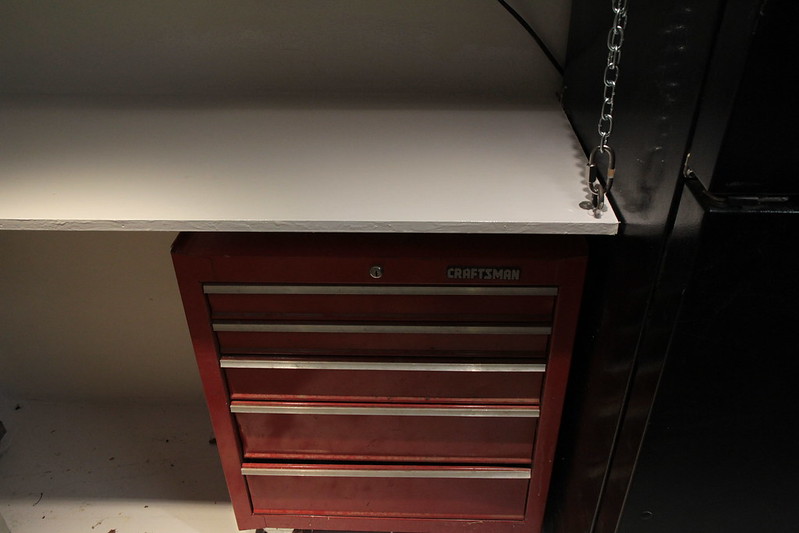
Grow table tool box.
Image


The Generator needs to stay in this spot.
Image


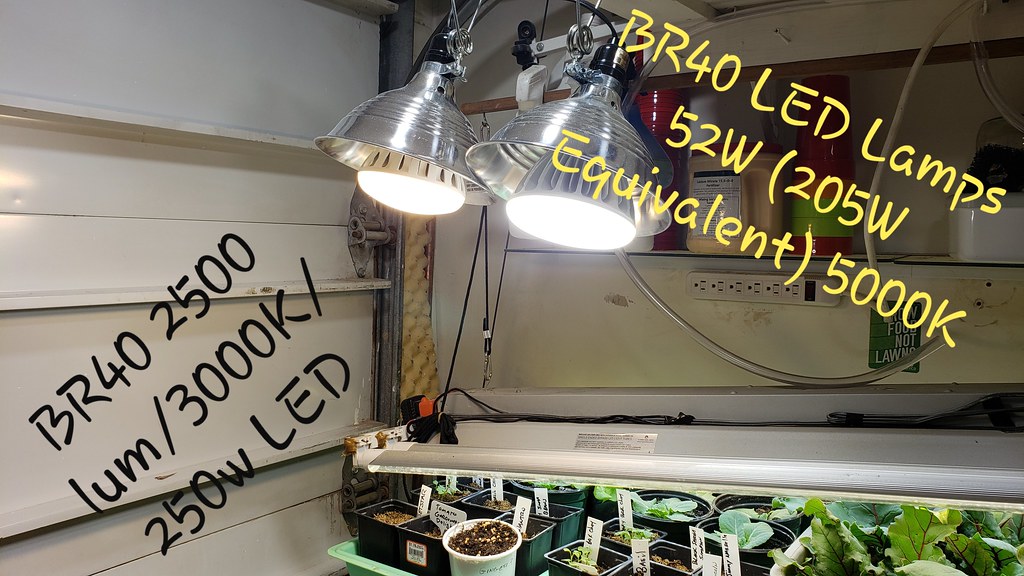
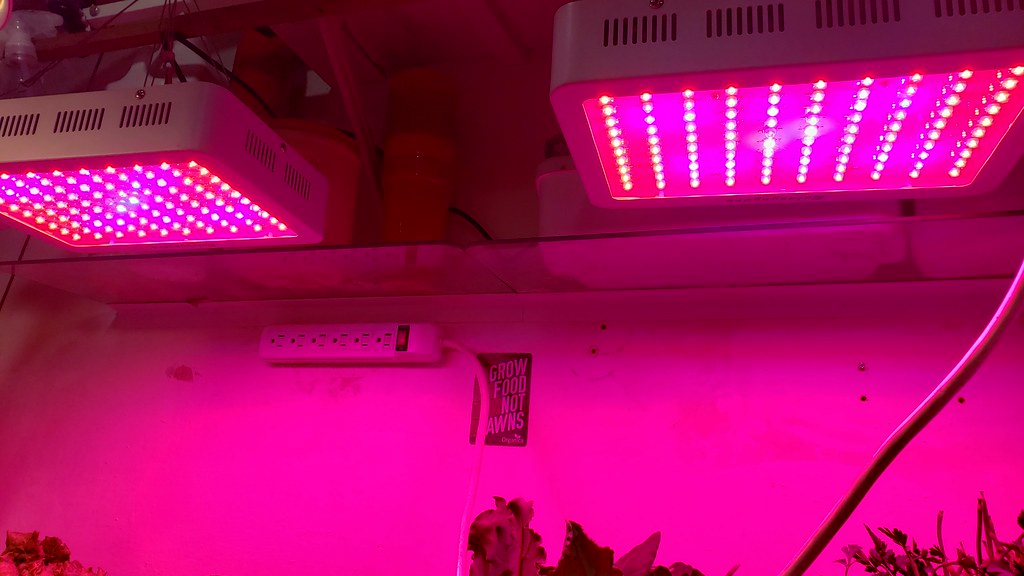
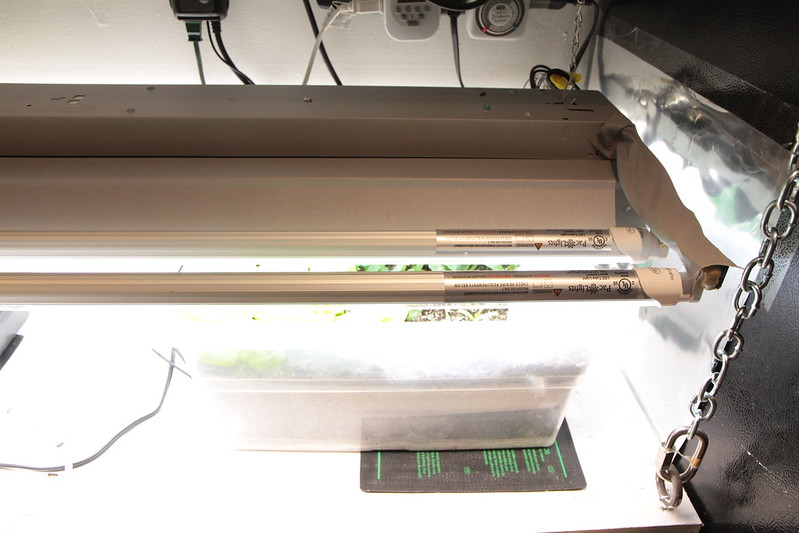
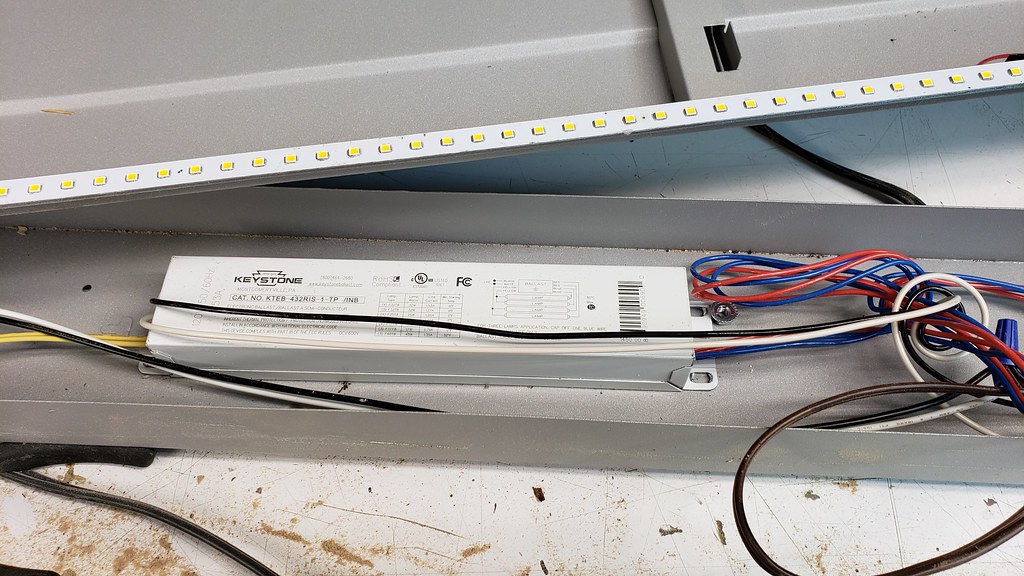
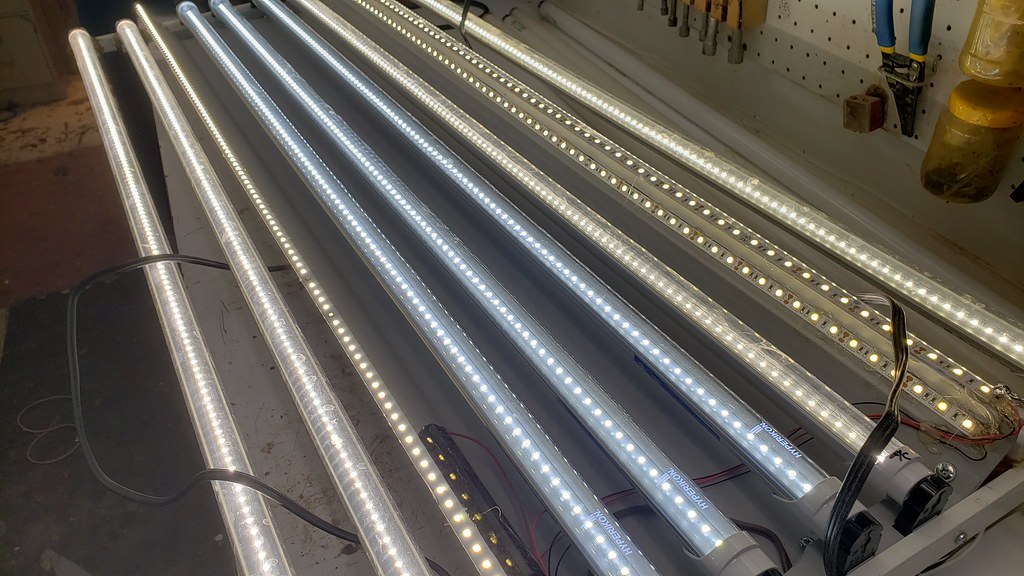
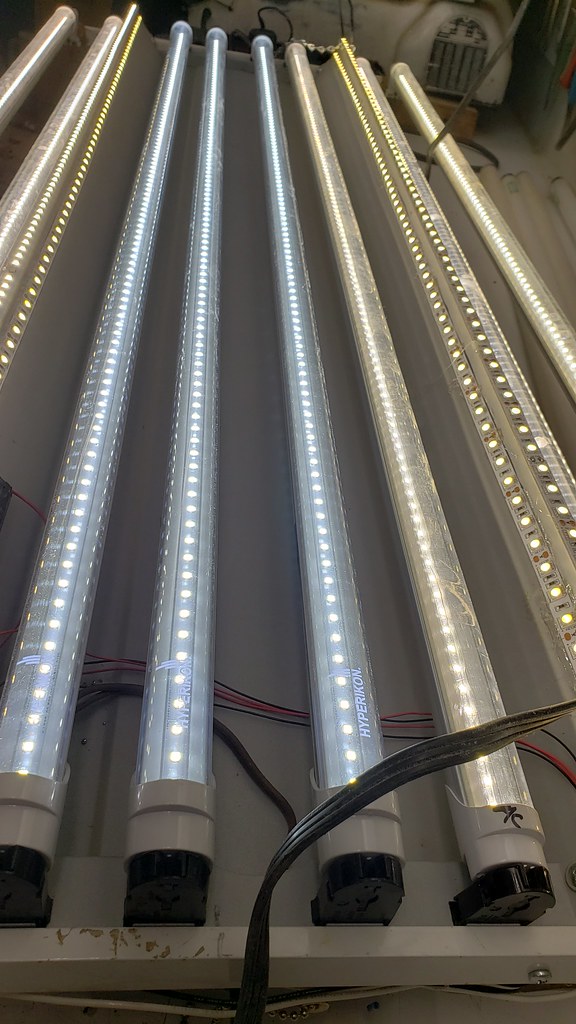
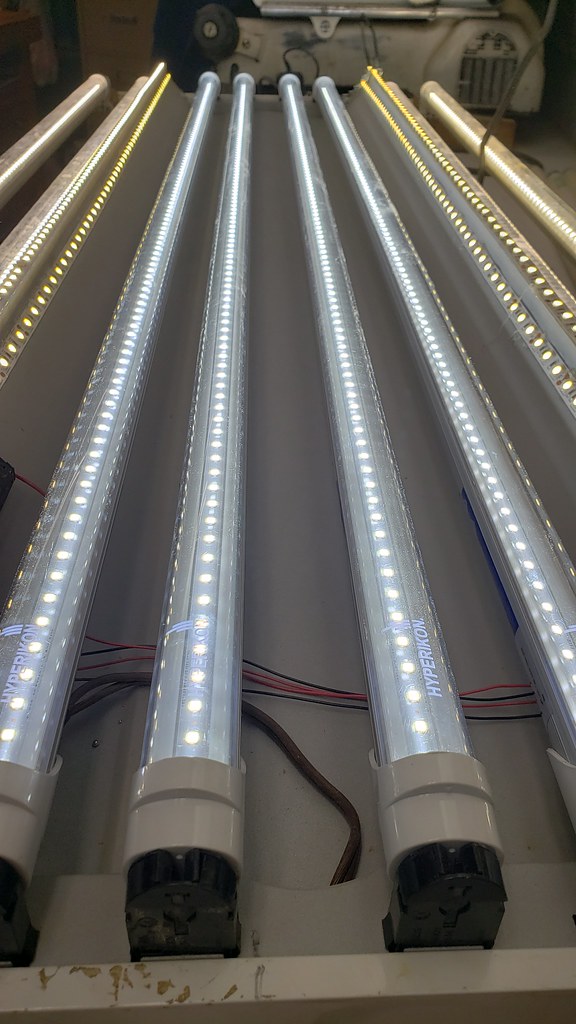
After a bit of research I decided on a 4 bulb 4' Fluorescent fixture using 6500 Kelvin bulbs. I almost purchased this T5 grow light from Amazon, it seems like a pretty good deal and is worth looking into.

I don't need to cover the Red spectrum for seedlings and greens.
Warm Glow - 2200k, Soft White - 2700k, Bright White - 3000k, Daylight - 5000k, Cool White - 6500k

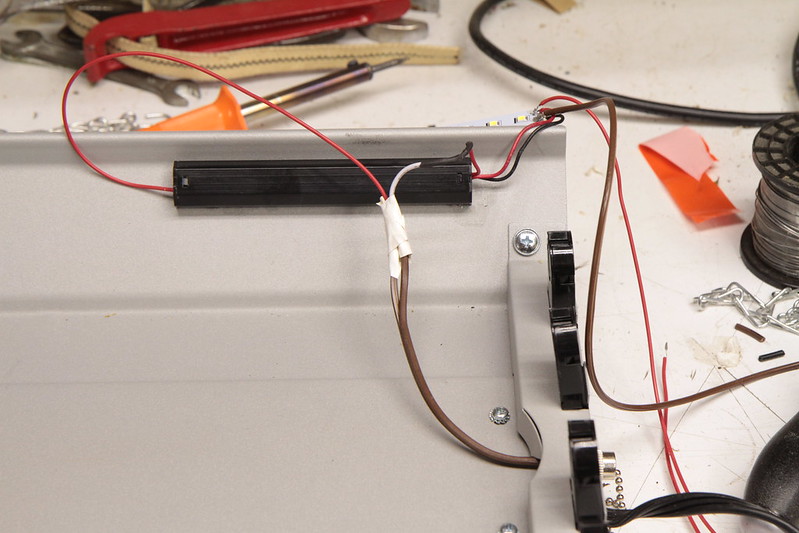
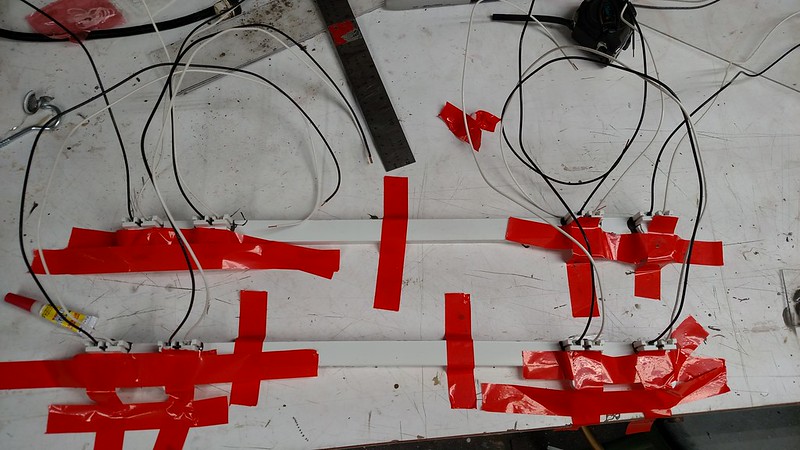
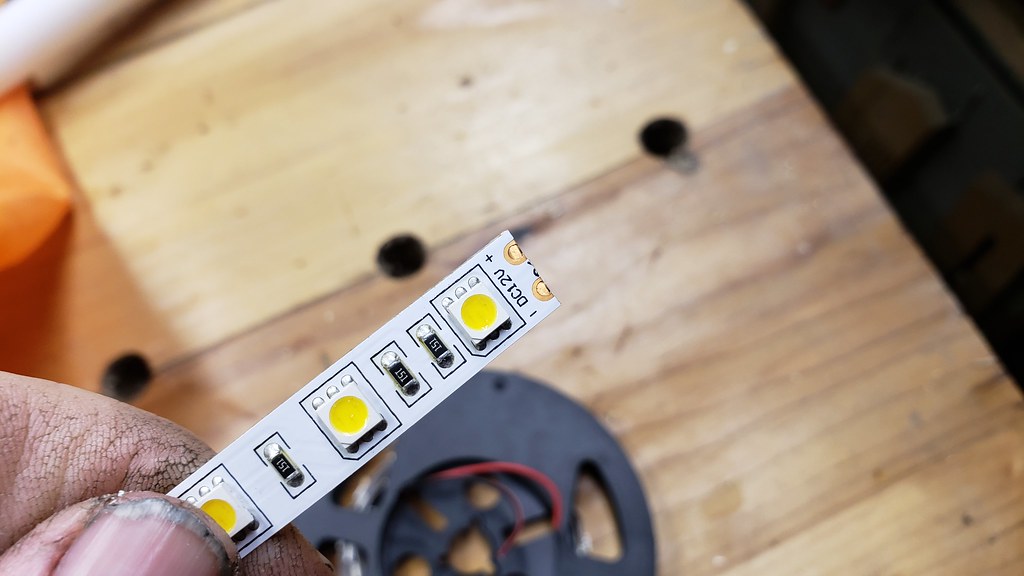
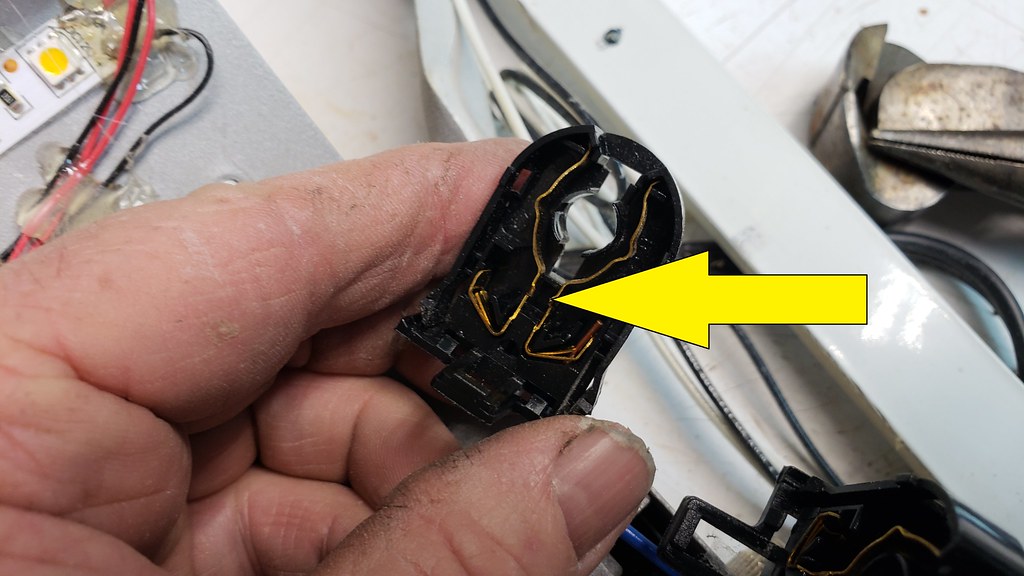
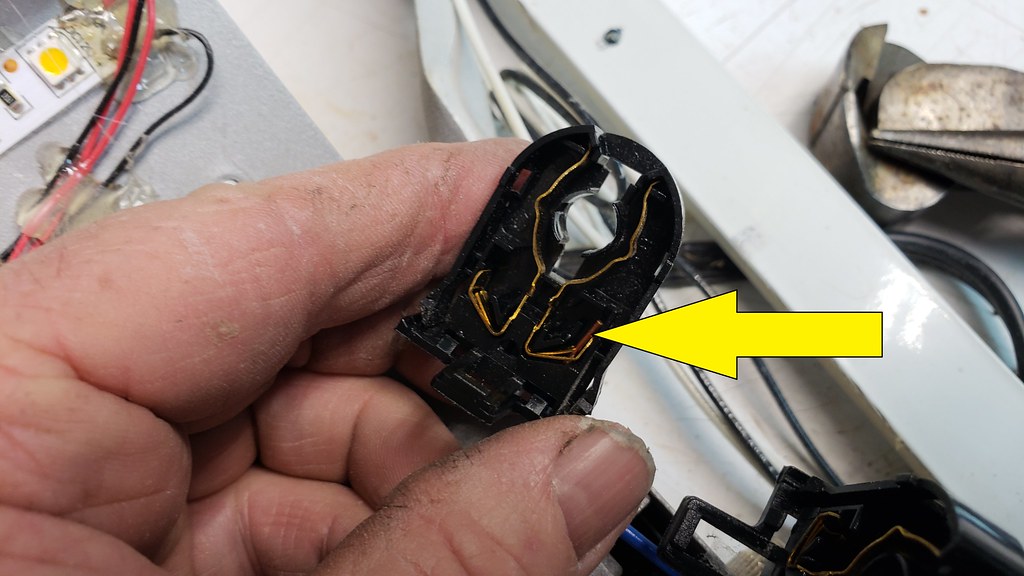
The shop light is modified with 2 strips of LED's, these LED strips were removed from two 48" LED shop lights, one had a bad internal driver and the other was a wrong bulb sent to me as a replacement for a bad bulb from a 4 pack (the replacement bulb was a "linear led" and since my existing setup was a ballast bypass type LED with shunted tombstones, you can imagine my surprise when I popped this bulb in and sparks shot out and blew the circuit.
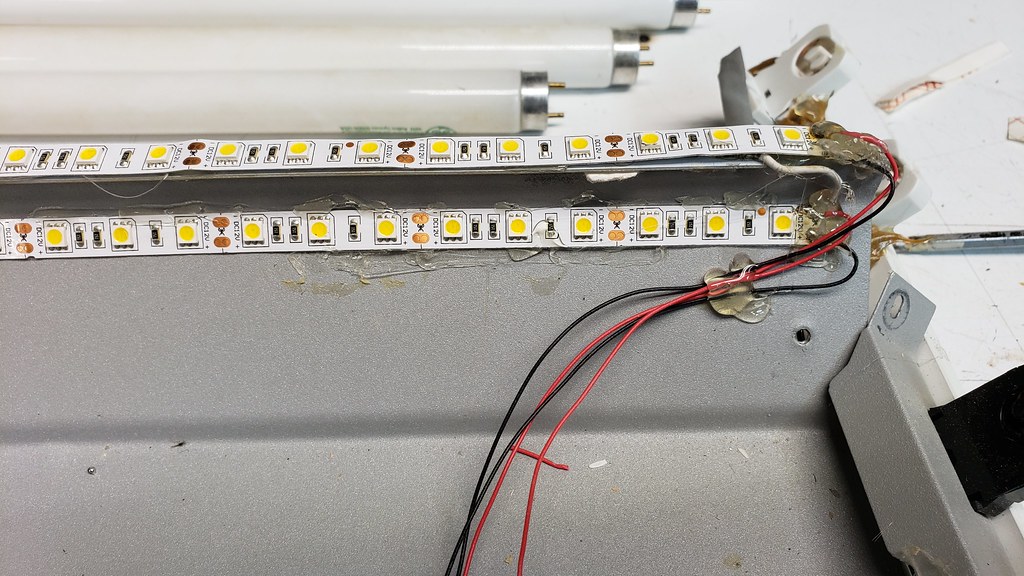
Anyhow the LED's are stripped out and wired together to share the driver, then the LED strips are glued to the lamp housing, giving me a 6 bulb fixture.


Adding strip LED's and driver to the reflector for added light.
Image

Image


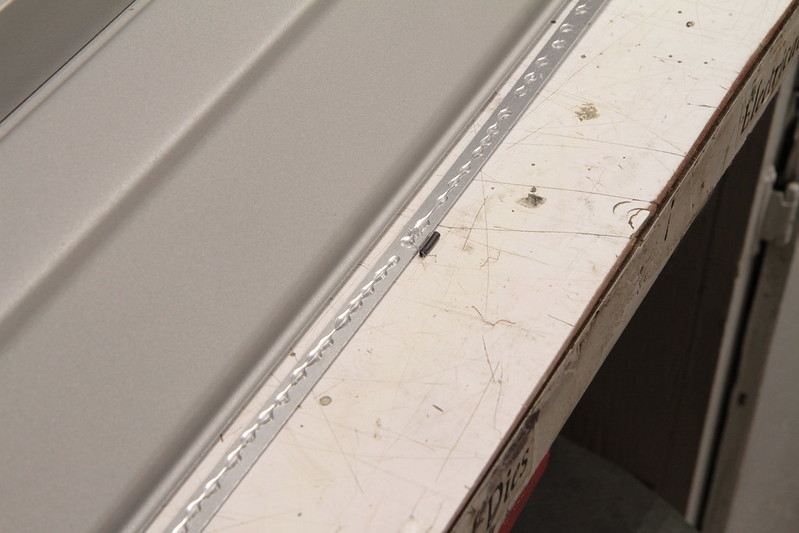
FARTS!! I shorted out one LED strip with the chain, I ordered a replacement bulb to bastardize.
Image


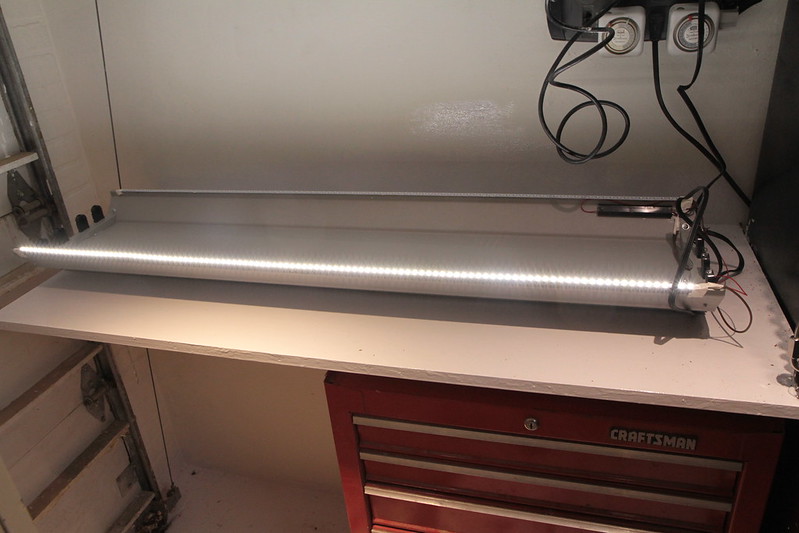
Wooohoo, we have light.
Image


Test plants are in place on 16 hours of light.
Image


December 30, 2015

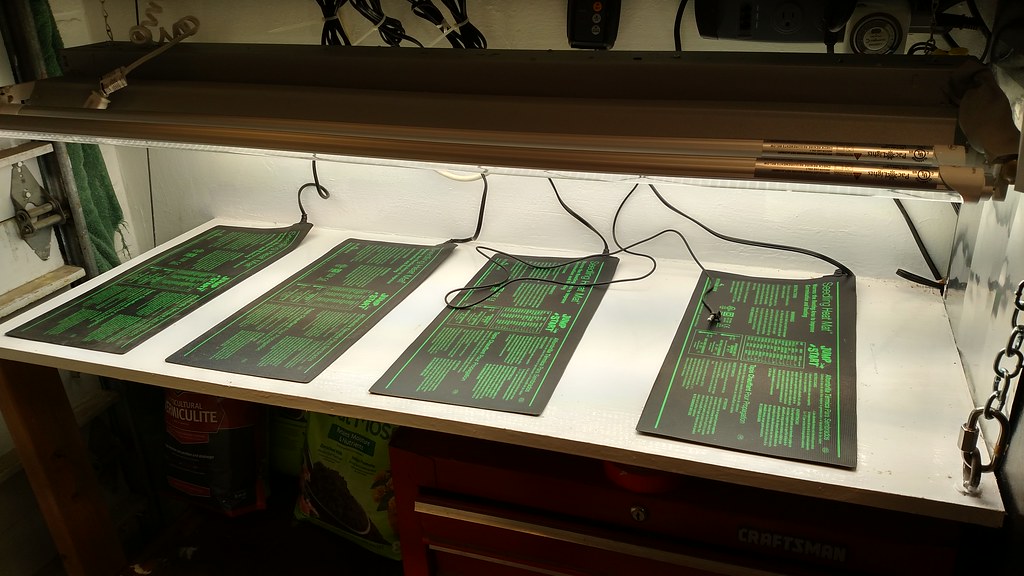
The bad LED strip is removed and the new LED strip is added. The Hydrofarm Germination Station heat mats are in place but are not turned on yet.
Image


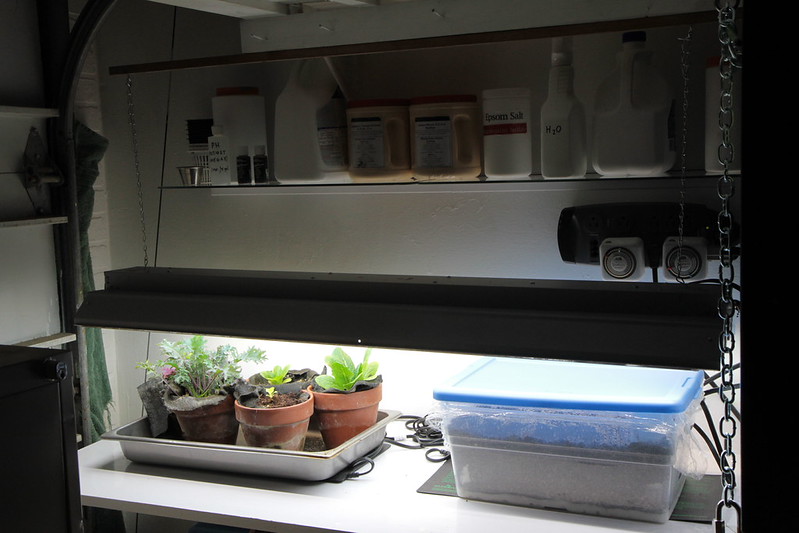
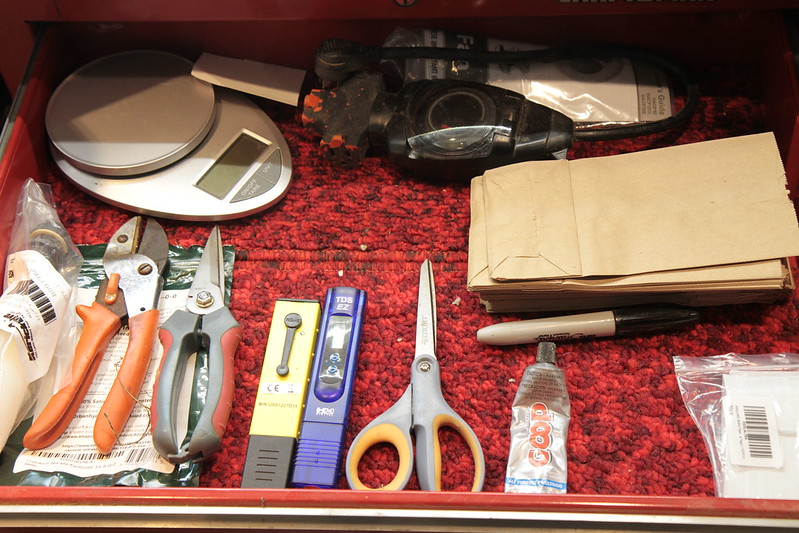
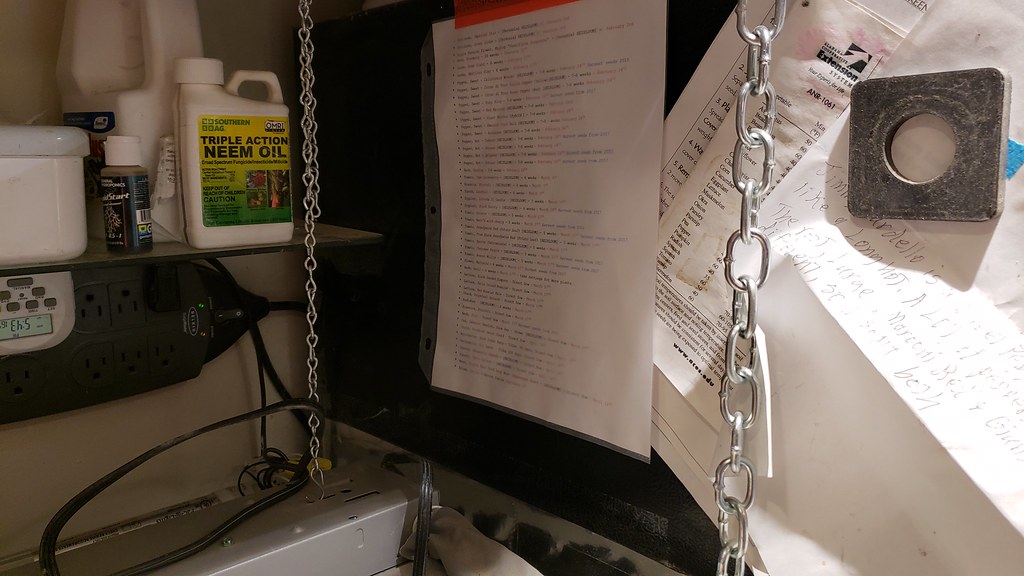
Organized and labeled my supplies.
Image


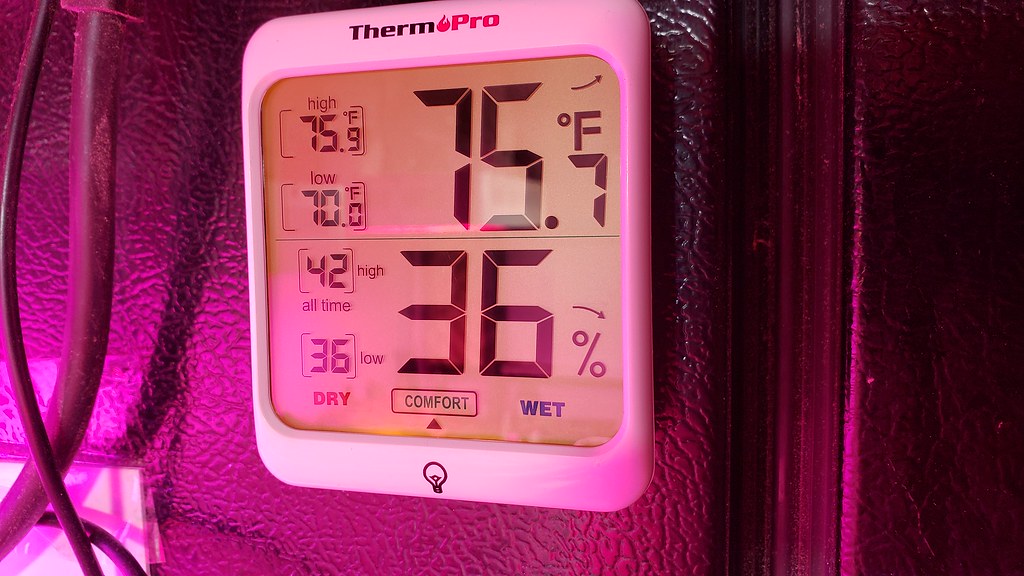
Mounted the Temperature controller and ran an extension cord to power both heat mats.
Image


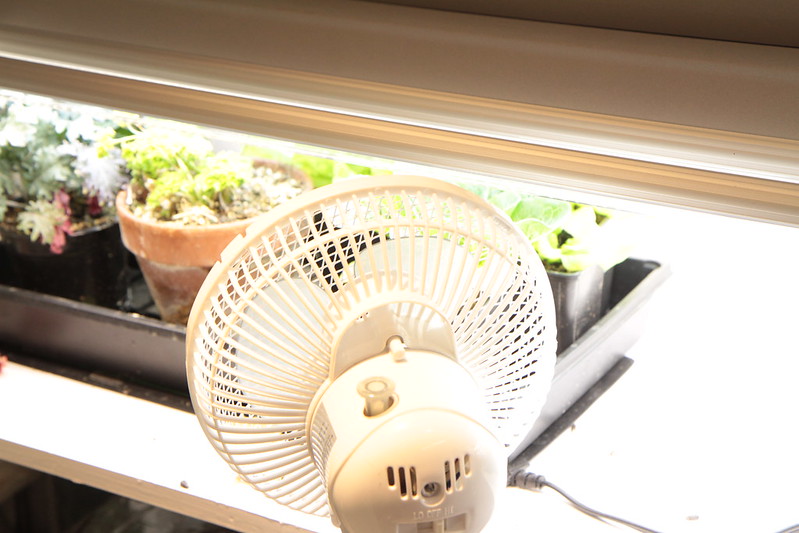
Installed an oscillating fan to run several hours a day to help promote stronger stems this is called thigmomorphogenesis, I also have read it helps prevent dampening off.
Image


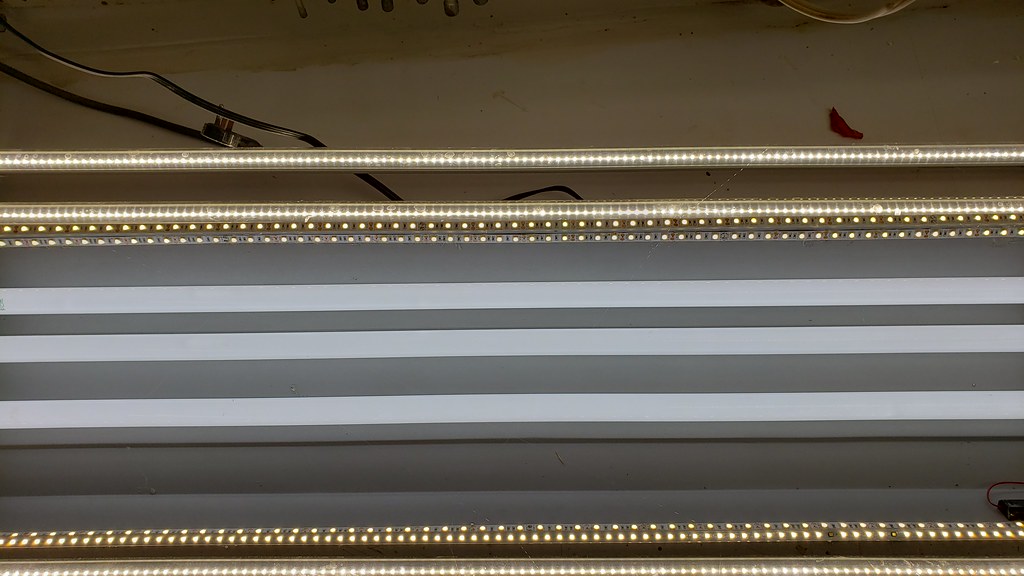
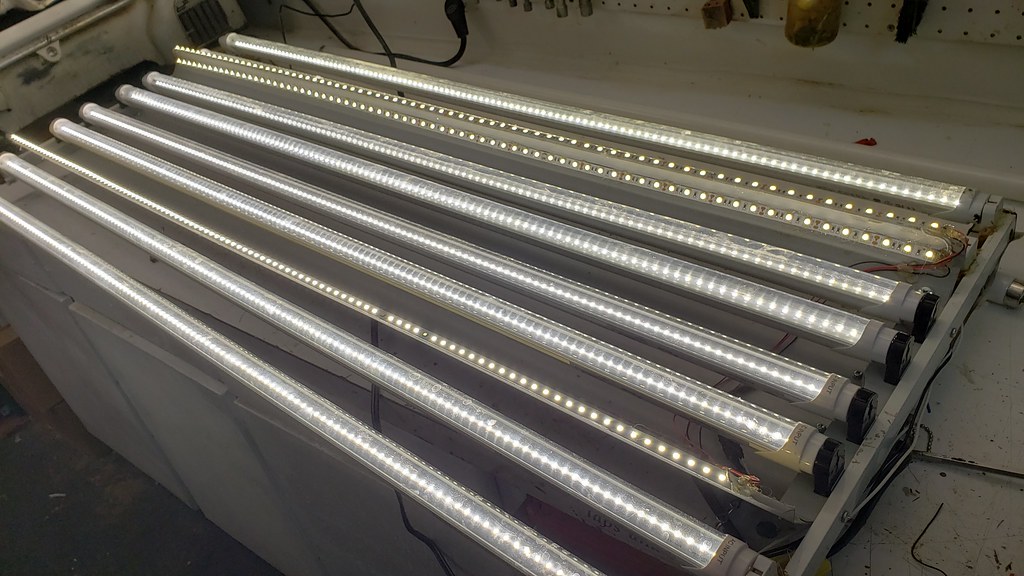
Four more lights were added using led's this time, I glued 4 tombstones on each side of aluminum bar stock from an EZ-Up and secured to the shop light using 3/4" self tapping screws. The tombstones are wired to a cord with a plug scavenged from an old lamp, this is then plugged into the other end of the shop light, I can now turn the 11" x 22" trays 90° allowing four side by side trays if need be.

I had to tape everything in place until the epoxy cured, lol...
Image


The bulbs came in and they were the correct kelvin but the wrong type bulb... can you say Sparks!! Instead of sending back the bulbs I liberated 4 from one of my shop-lights and had to rewire that shop-light differently to accept the new bulbs, I may order 6500 next year.

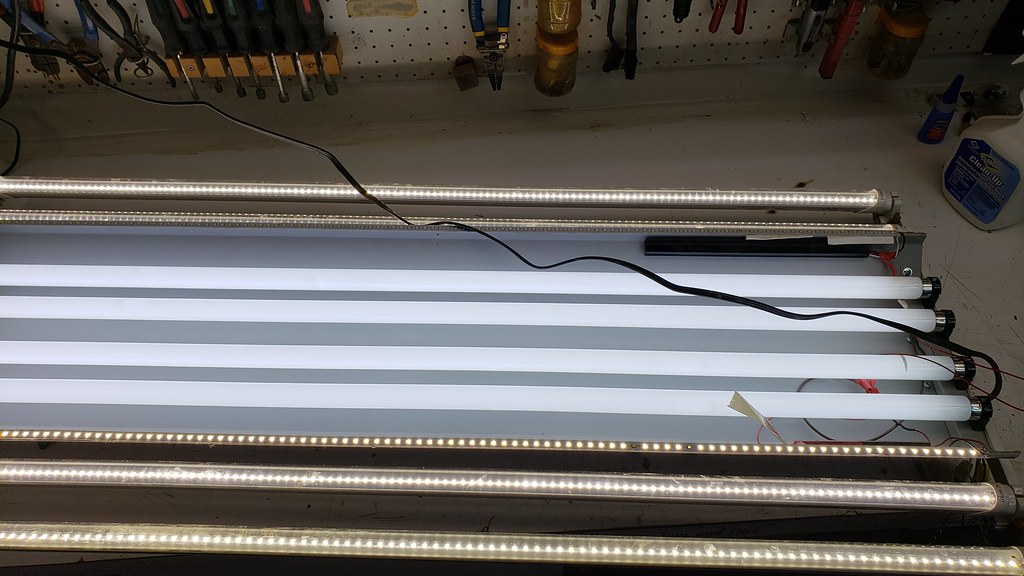
Ten bulb shop-light in place, the outer 4 LED bulbs can be unplugged if needed.
Image


The test subjects seem to be thriving so the lights seem adequate for greens.

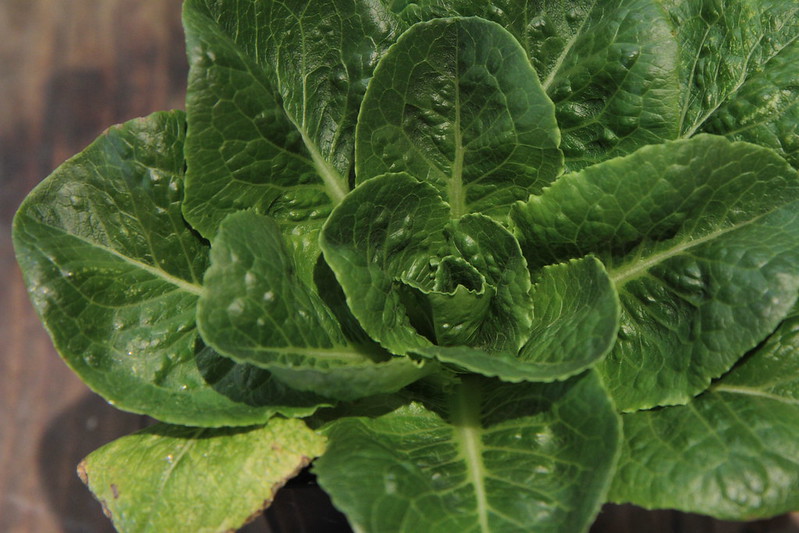
Black seeded Simpson
Image


I think this is Parris Island Romaine.
Image


Heat Mats are all on the same temperature controller.
Image


I ordered new trays, my original trays would split after a season of use.
These are Permanest Tray and domes from Indoor Garden Supplies.

Tray# GS2211 and the dome is a V2211.
Image

Image

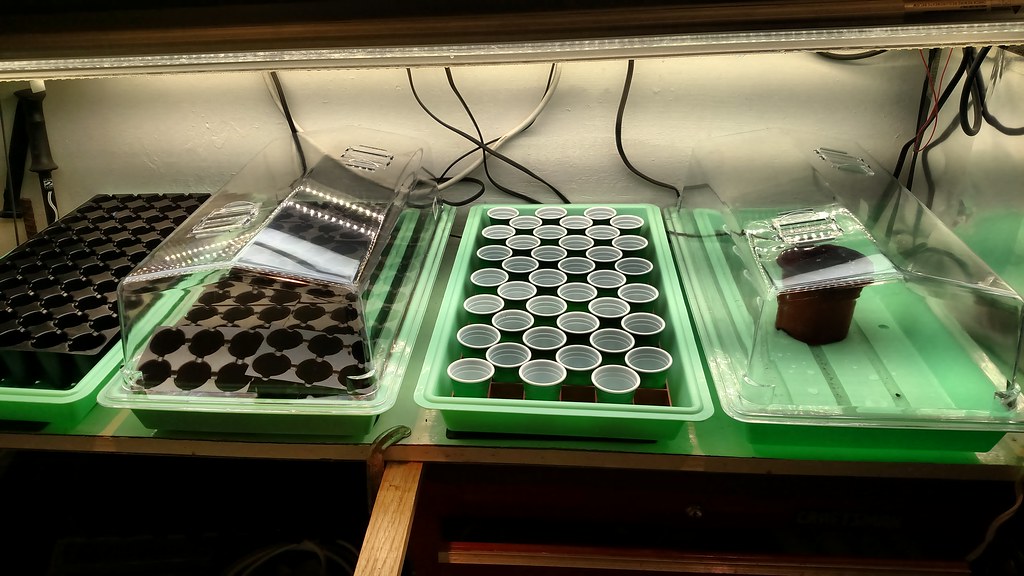
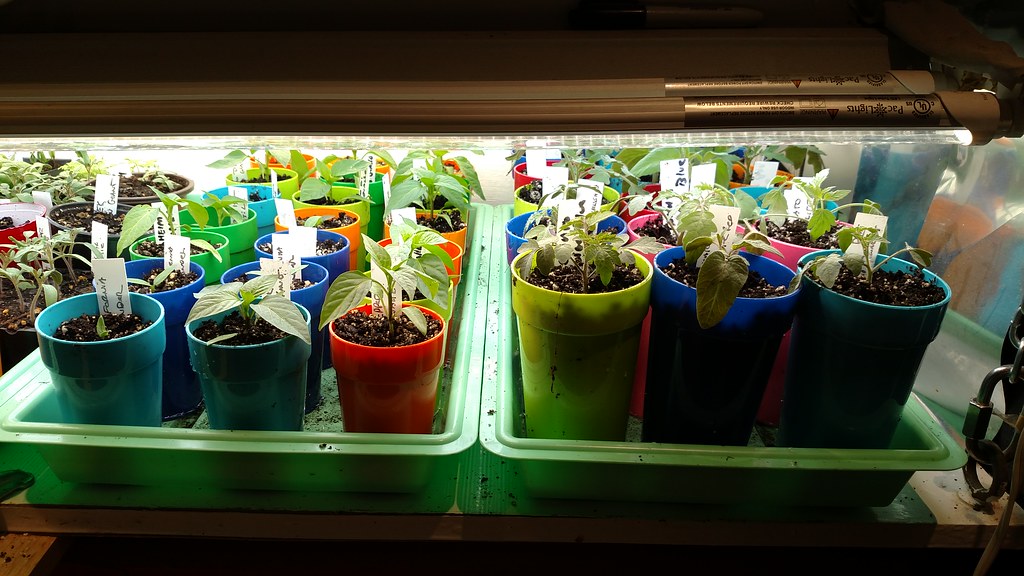
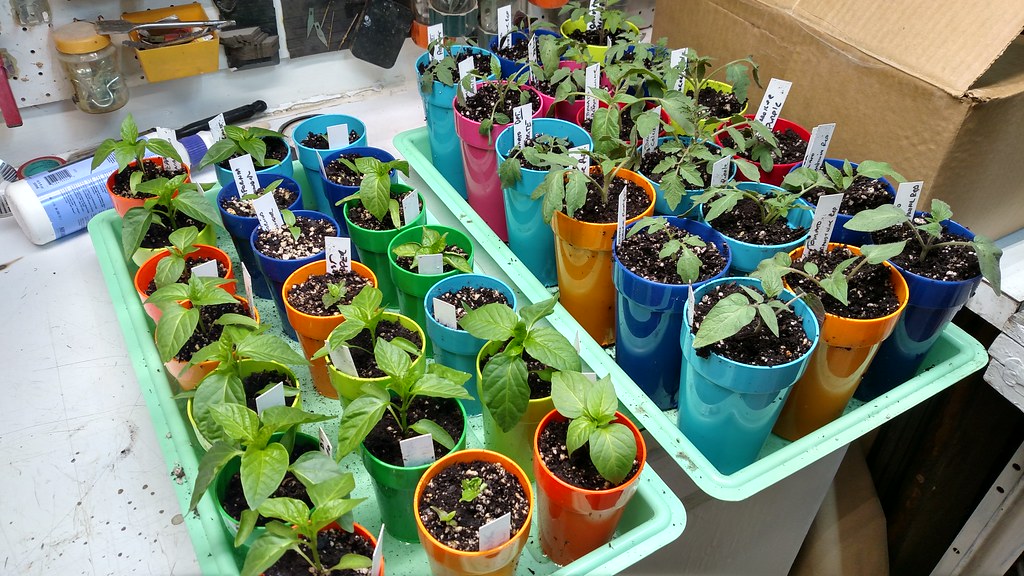
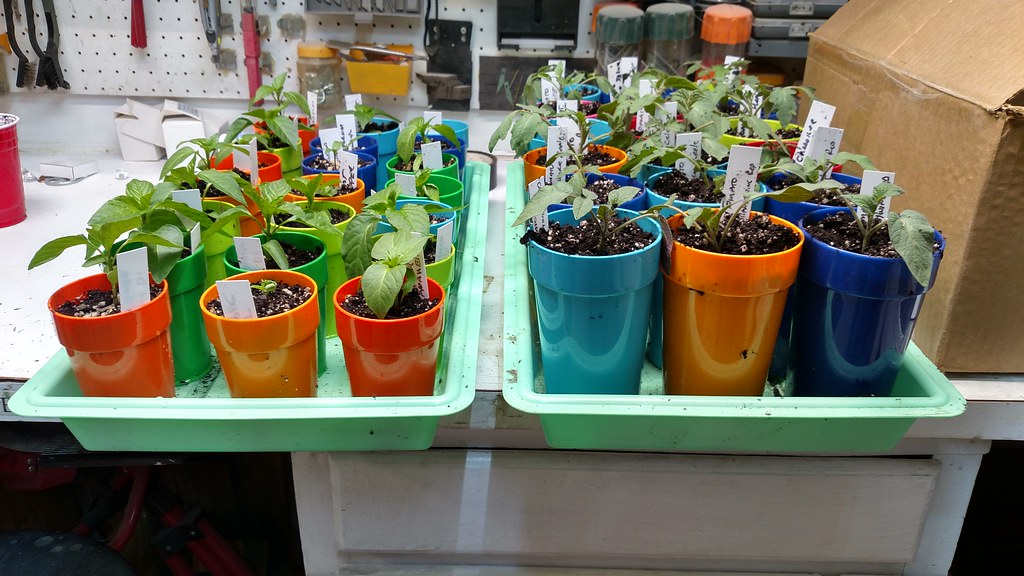
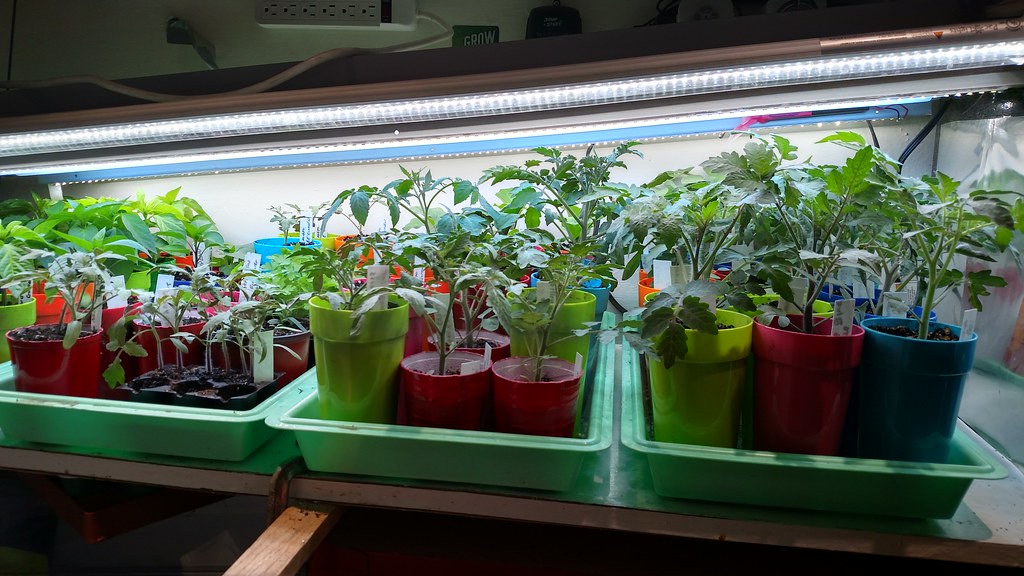
I decided to order "permanent cups" These cups are awesome, nice and sturdy, and can be run through the dishwasher. The taller ones are 20 oz. cups and fit 18 to a tray (barely) and 17 to a tray (comfortably). The smaller ones are 10 oz. cups and fit 21 to a tray (comfortably). The different colors are nice too, so I can plant according to color for a quick reference.
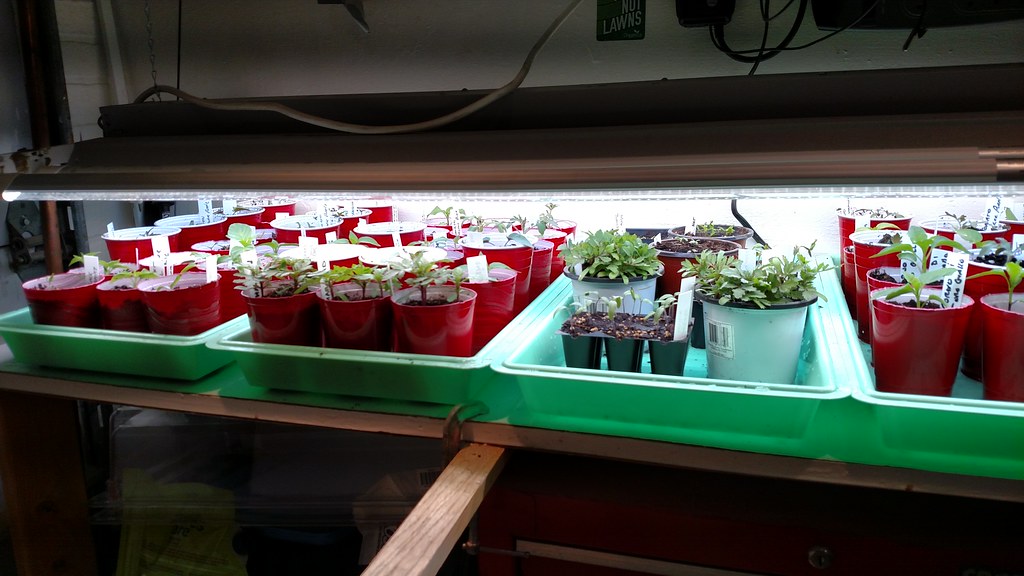
Image

Image

Image


April 3rd, 2016

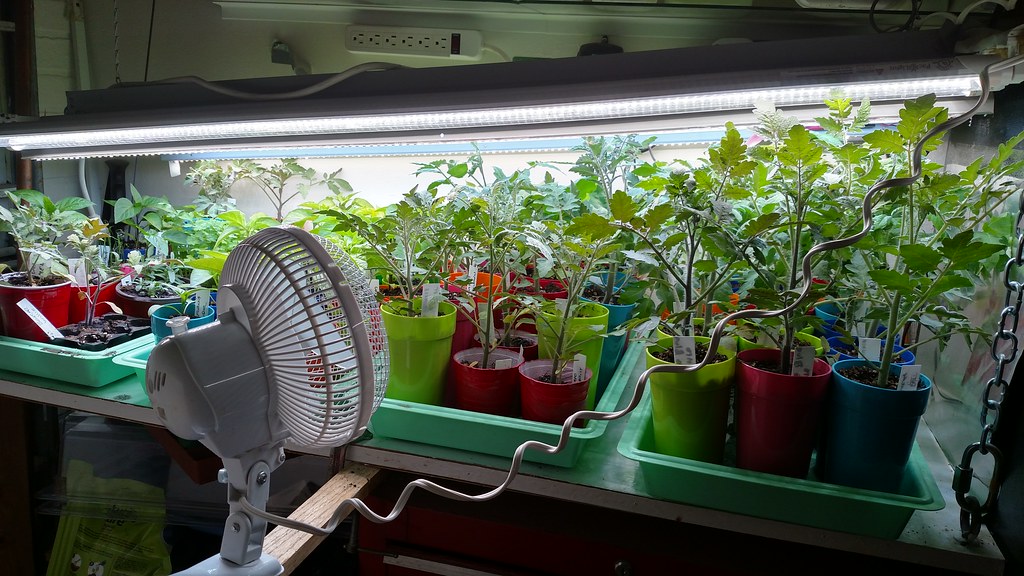
This is how things look right before hardening off.
Image

Image
Last edited by SQWIB on Wed Dec 19, 2018 7:14 am, edited 1 time in total.

SQWIB
Greener Thumb
Posts: 970
Joined: Tue Feb 16, 2016 9:21 am
Location: Zone 7A - Philadelphia, PA

2018 Grow Area Updates


Supply List (updated 2018), sorry links didn't show up on the copy/paste

Timer - Amazon
4 light Shop Light - Home Depot
Germination Station - Midland Hardware
Heat Mat Thermostat
Garden Stake Tags - Amazon
6500k - Lowes 2018 Replaced with 6000k Led bulbs Amazon
Oscillating Fan
Power Strip Not the one in the picture, but this is what I use for my fish tank.
4 pack of LED Bulbs
Tray# GS2211 and the dome is a V2211.
Non Shunted Tombstones for Led's
20 oz. Tumblers
16 oz. Tumblers
Adjustable Grow Light Rope Hanger


December 18th, 2018


Update on the grow table

Since I am going into my 4th year with the light, I decided to replace the 4 three year old fluorescent tubes with 6000k Led bulbs from Amazon, the cost of the Led's is 42.00 as opposed to 23.00 for new 6500k fluorescent bulbs at Lowes.

My new bulbs are due to come in Friday but I had some motivation so I decided to do the mod and use my existing shop bulbs until the new bulbs come in.

When I took the light down, I noticed a strip of Led's that were out, the Led strip still works but the driver is shot, I didn't feel like trying to figure out what driver it needed so I replaced with Led tape, and let me tell you, soldering Led tape is not fun! Pardon the grimy fingers, I'm a Printer by Trade.
Image

I installed three strips, 2 on the bad side and 1 on the good side. I placed the strip directly over top of the old strip and secured with hot melt glue.
Image

Image


These fluorescent bulbs are three years old.
Image


Time to mod the fixture for the new Led's. The new Led's are "Single end powered ballast bypass" or "direct wire LED fluorescent replacement tubes" that means they are powered on one side and that there is a positive and negative on one side of the Led bulb and the other side is not powered.

Disassembly and ballast removal. Ballast wires are cut a few inches from the ballast for two reasons; 1) to reuse the wires and 2) just in case I need to reuse the ballast.
Image

Tombstones have one wire so they are shunted.
Image

I checked the tombstones with a volt meter and verified that they are indeed shunted, so I need to fix that problem.
Image

Shunted
Image

Shunt removed. There is a little tab in the center that connects the two sides, this is a shunted tombstone, after the tab is removed it is now a non-shunted tombstone.
Image

Notice the wire touching the metal in the tombstone, this existing wire will be for the hot, I now need to add a wire on the other side so I have a neutral and hot on each tombstone.
Image


I removed the Ballast and used the wires from the ballast to rewire the tombstones, the problem here was that the hole in the tombstone to feed the wire on the other side did not go through to the metal piece like shown above, so I had to drill out the hole to accommodate the new wire. One side is red, the other side is blue.

Testing time
Image


My 12 bulb Led grow light is working perfectly. 8 led tubes and 4 led tape strips.
Image


I have the light setup as follows. The four led bulbs in the center are one group, the 4 outer Led's are another group and the led tape strips recently installed are another group, so they all work independently from one another. This works great If I am using two trays lengthwise. I turn on all the lights when using 4 trays side by side.

Plugs for outside Fluorescent bulbs and Led strip lighting.
Image

The new 6000k Led bulbs came in. you can see the difference, one bulb in the center 4 (to the right) is a 4oook I believe.
Image

Image

Image


I moved the Temperature controller and power station to the side, it was a bit of a PITA when I had to make adjustments on the light height with the timers plugged into the power strip.
Image

Image


Removed the silver Mylar and added flat white plastic tiles.
Image

Tidying up the drawers
Image

My indoor gardening is about to get a little bit easier
Image

I installed these Adjustable Grow Light Rope Hangers and it is one of the best things I have done to this grow area.
Image

imafan26
Mod
Posts: 13993
Joined: Tue Jan 01, 2013 8:32 am
Location: Hawaii, zone 12a 587 ft elev.

Lots of work and ingenuity. I have the best grow lite.. I call it the sun. I am glad the weather is mostly great enough to grow everything outside. I do need a better slug and snail barrier. I only have a PVC frame over the benches with 47% shade cloth for the orchids. Most of which I need to repair since the neighbors vine has caused two to collapse and part of the third as well.

User avatar
applestar
Mod
Posts: 30543
Joined: Thu May 01, 2008 7:21 pm
Location: Zone 6, NJ (3/M)4/E ~ 10/M(11/B)

You’ve got MAD SKILLS, SQWIB!!

I am absolutely Image with envy. :mrgreen:

SQWIB
Greener Thumb
Posts: 970
Joined: Tue Feb 16, 2016 9:21 am
Location: Zone 7A - Philadelphia, PA

Thanks Apple

Imafan, Sun? Whats that? I haven't seen much of it since 2017, seems like it rained 15 days out of each month, not complaining about the rain though. I did see the sun yesterday and asked my daughter, "what is that big glowy thing in the sky", she said, "DAD! It's the sun", I said, "Oh so that's the sun"!

User avatar
Gary350
Super Green Thumb
Posts: 7420
Joined: Mon Mar 23, 2009 1:59 pm
Location: TN. 50 years of gardening experience.

WOW your plants look good. I have given up growing plants inside I'm not as good at it as mother nature. Many years ago I tried growing beets outside & inside for several years they all died. I got frustrated & threw all my beet seeds in the snow. Spring came it was time to till the garden I went out to the garden & found a wonderful crop of beets scattered all over the garden. LOL. Those were the best flavor beets we ever had they taste nothing like those horrible grocery store beets. The past few years I have been trying to grow beets again, 2" tall plants get stem rot and die. I have planted seeds in a dozen different places even pots outside they all get stem rot and die. I think maybe TN gets too much rain & humidity is too high for beets.

It has been many years since I worked with fluorescent lights, ballasts use to be, 1 high voltage winding & 2 low voltage winding's. The new LED fixtures appear to be different. If I could see a circuit drawing I would understand way contacts have shunts and why shunts need to be removed. I have 9 solar panels to run 3 old fluorescent light fixtures but I am not using them.

I didn't plant much of a winter garden this year, carrots look good so far, beets died again.

SQWIB
Greener Thumb
Posts: 970
Joined: Tue Feb 16, 2016 9:21 am
Location: Zone 7A - Philadelphia, PA

Gary350 wrote: beets died again.
hanks Gary, sorry but I had to chuckle with your last sentence.
Any Idea whats going on with your beets?
I haven't had any luck with them either but have with radish

SQWIB
Greener Thumb
Posts: 970
Joined: Tue Feb 16, 2016 9:21 am
Location: Zone 7A - Philadelphia, PA

December 24th, 2018

I had ordered 2 new Led grow lights for the new indoor garden area, but it got me to thinking, and you know what happens when I start thinking $$$.
I was reviewing led grow lights and came across the Viparspectra 700w led that looked perfect for the new grow area but it was just too expensive at $300.00,
I surfed the net all day and best I could find was $285 free ship but was still on the fence with ordering one, until I came across one on e-bay brand new still in box.

It was an auction and was @ $110.00 when I placed a bid, but was outbid in a few hours. The auction still had two days and 9 hours to go. I decided to set my max bid 3 seconds before closing, so I stayed up late Saturday night 12:30 I believe and was watching the seconds count down and submitted my bid 3 seconds before closing and won at $222.50, not bad. So I decided to use the 1,000w lights for the existing table and the new 700w for the new grow area.


December 22nd, 2018

I had some work ahead of me to accommodate the Viparspectra led.
Image

Image

Image

Image

Image

Image

Image

Image


December 23rd, 2018

Sunday mid day I got a wonderful surprise.
Image

First I installed the new BR bulbs then sadly removed the existing Led tube grow light.
Image

Image

Image

Image

Image

Image

Image

Image

Image


I will store my led tube grow light until I am sure that these will work with seedlings, then I'll probably disassemble and store the parts.

SQWIB
Greener Thumb
Posts: 970
Joined: Tue Feb 16, 2016 9:21 am
Location: Zone 7A - Philadelphia, PA

December 24th, 2018

A few more toys came in
Image


Now I can coordinate both grow areas.
Image

Image

Image


Return to “Vegetable Gardening Forum”