December 26th, 2015 - updated December 18th, 2018
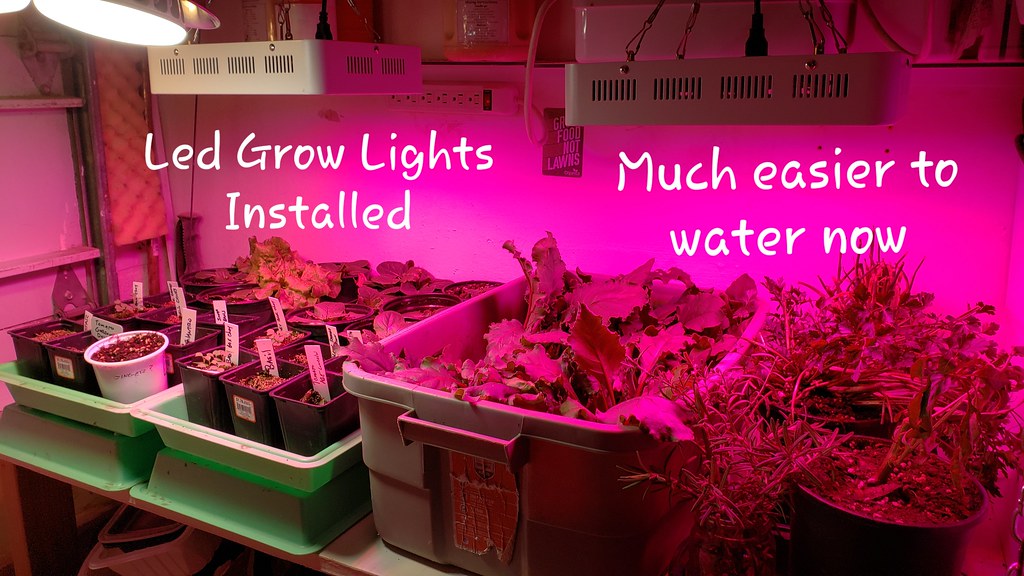
For the upcoming 2016 garden year I decided to build a Grow Light/Germination area this winter. I also wanted to be able to grow some winter veggies for my salads and smoothies. I don't know if this is cost prohibitive but its not about saving money anymore, recently it has become a risky business purchasing lettuce, my wife has been ill twice due to e-coli poisoning and once she ended up in the ER.
Onto the build
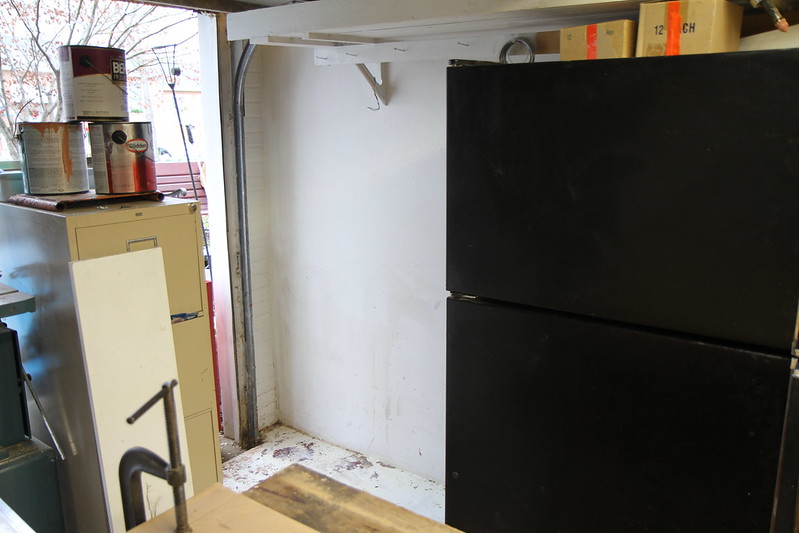
There was an area in my garage that is just the right size, (barely), but I was using it for storing scrap metal, paint, deck stain, my generator, a tool box and a bunch of other stuff. I decided I would much rather have the spot for a permanent grow area, so I thinned everything out and made it work. The generator and toolbox will stay, the toolbox was thinned out and a few drawers will be used for the indoor grow area tools and supplies. There is another problem with this corner as it can be quite drafty from the garage door, I am working on that.
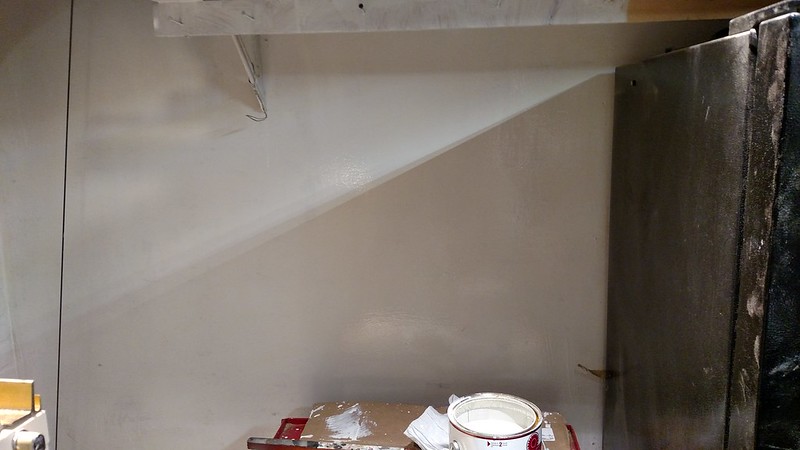
The area is cleaned out and wiped down then painted with a few coats of Kilz.
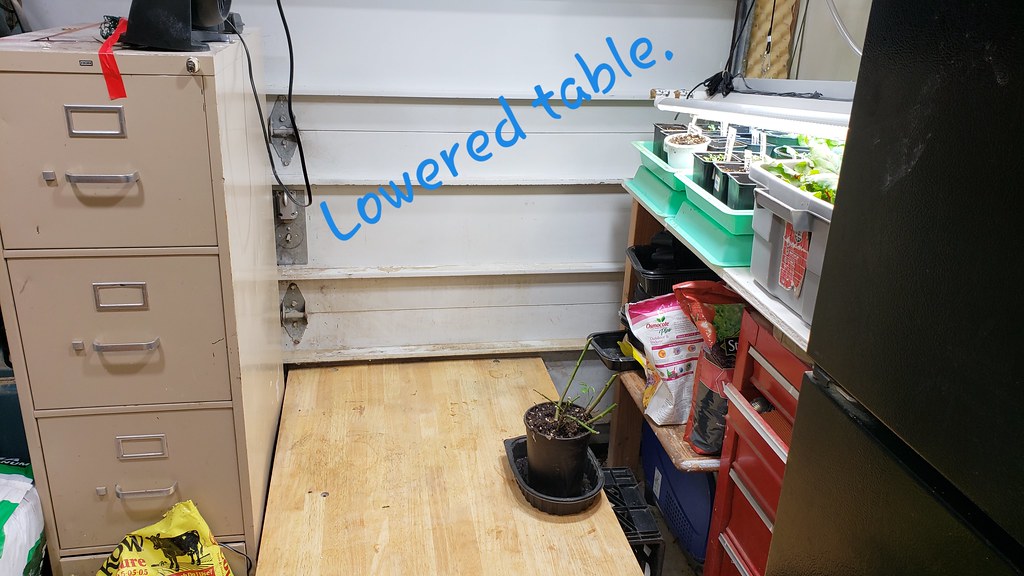
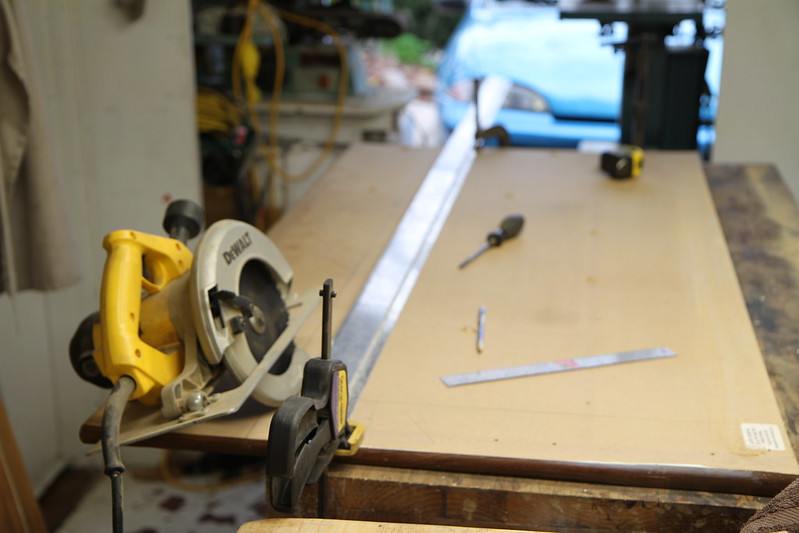
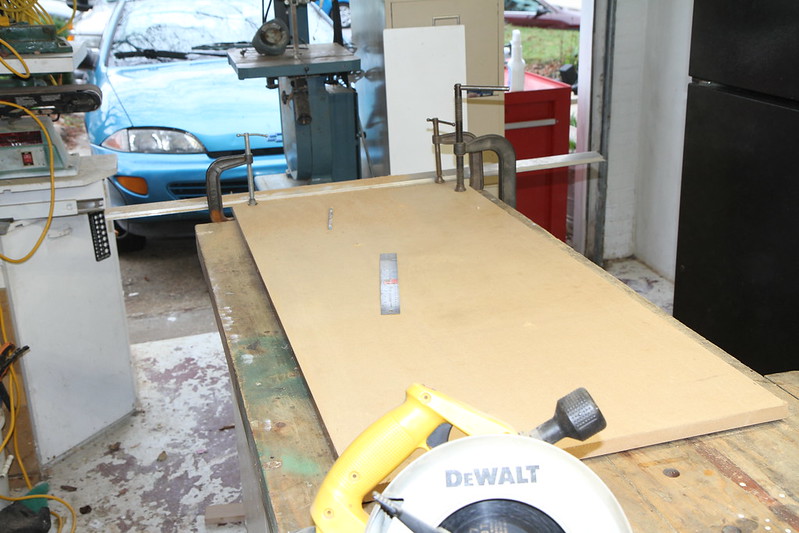
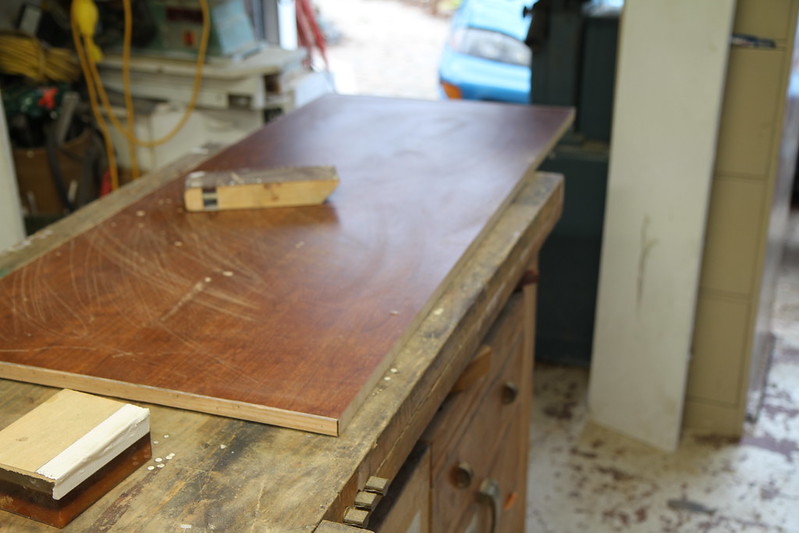
The next step was to make the table, I had a desk that was disassembled and sitting on the deck waiting for trash day, I decided to use the top from the desk as the table top. The desk was cut down to 52.5" a 22.5" then I glued and nailed some oak trim on the sides.
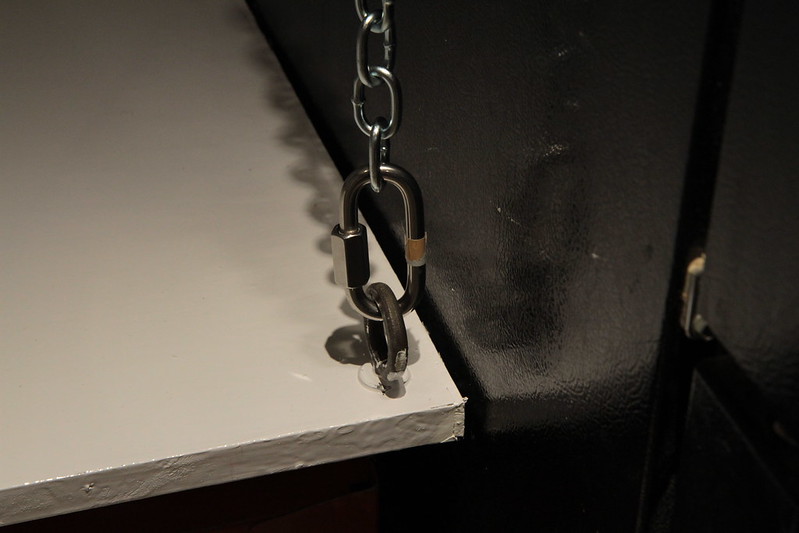
I didn't want legs on the table and wanted a "floating table", to do this, a hole was drilled in one corner and an eye-bolt is installed, I used a bead of silicone when installing the eye-bolt.
Another eye-bolt is installed in the shelf above where the table top eye-bolt is located, most on the weight will be on the nailer plate.
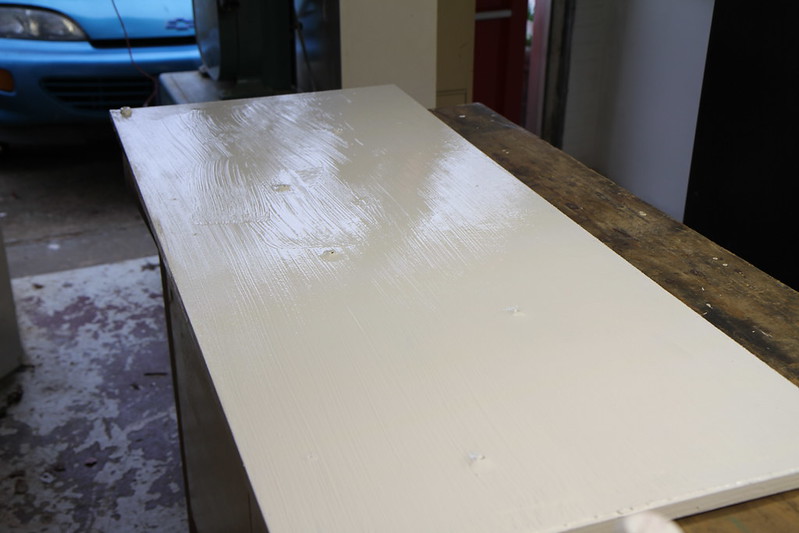
The bottom of the table top is painted with a heavy coat of Kilz... love those goopy brush strokes!
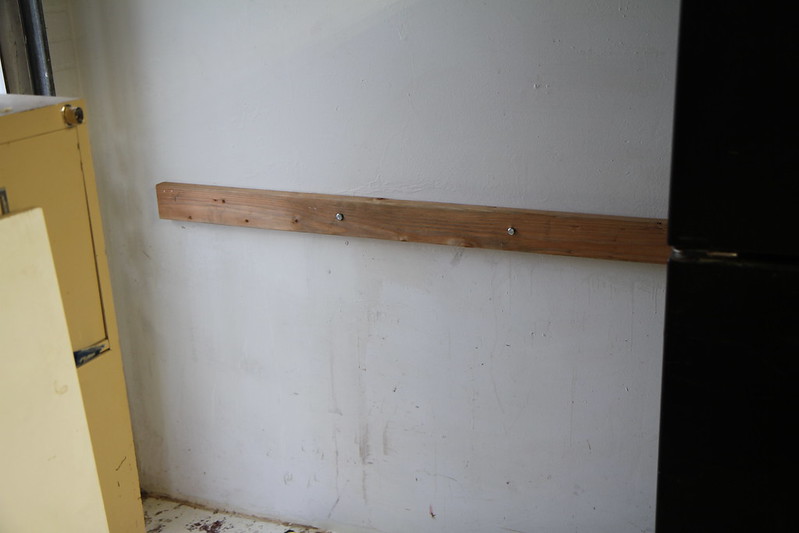
I installed a 2"x 4" nailer with two lags and caught 2 studs.
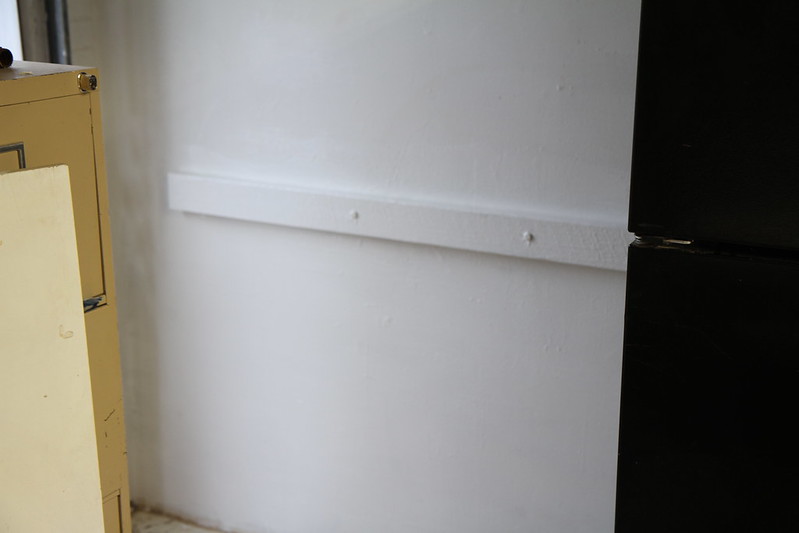
The wall is painted with Kilz again and two coats are applied to the nailer.
The table top is scratched up for better paint adhesion.
I caulked the back of the table top (only had brown caulk) then the table top is slid into position and a temporary wire is added for support. About 8 pilot/countersunk holes are drilled and the tabletop is secured to the nailer using HD Coated deck screws.
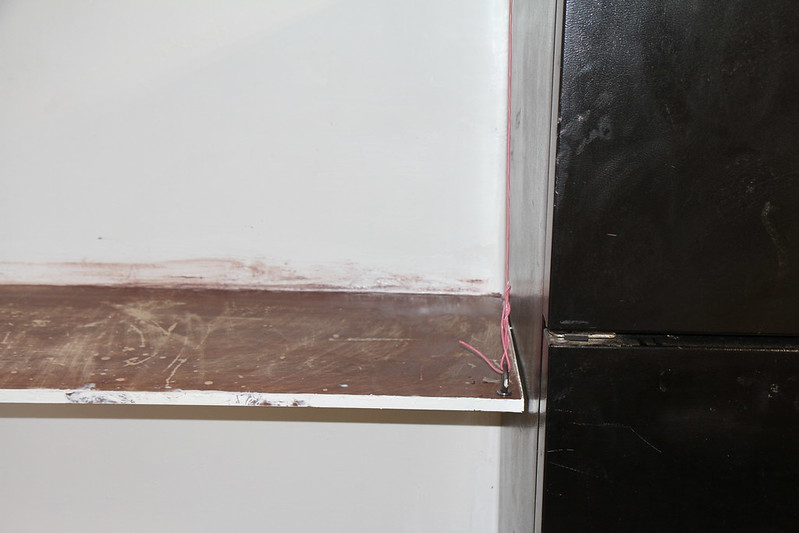
The tabletop and the floor are painted with an oil base paint. My neighbor came over to say hello and swears I'm growing "Ganja".
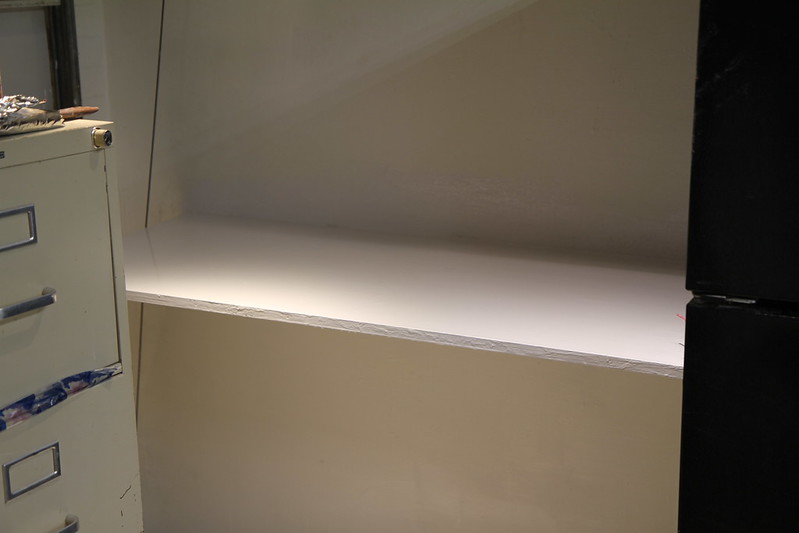
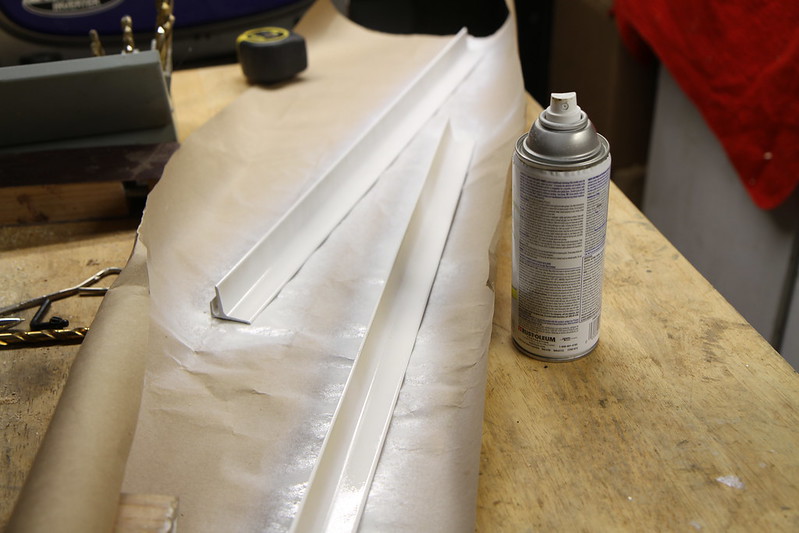
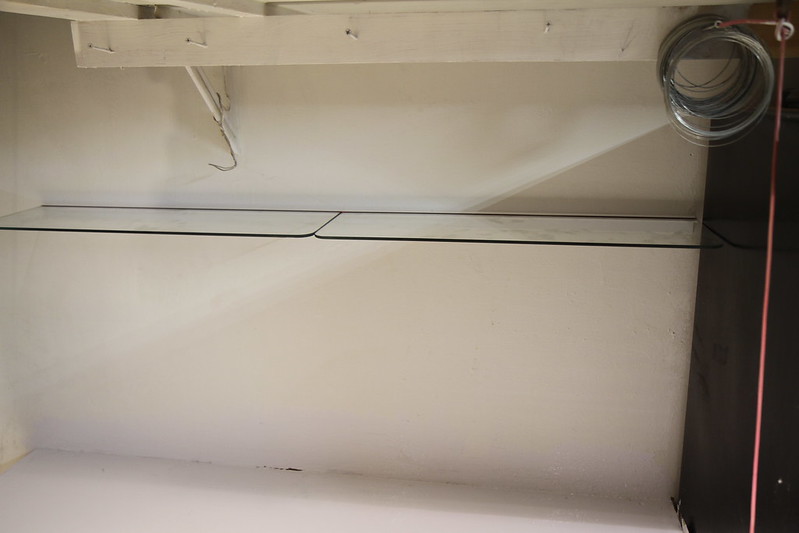
When I was thinning out my junk, I came across a few glass floating shelves that I had removed from over top my old fish tank about 5 years ago, I decided to install the shelves above the table, the only problem is that they were shiny brass, so I put on 4 coats of flat white spray paint.
December 27th, 2015 -
I ran a level and popped in some drywall anchors for the shelf. I had to modify the screws on a grinder as these shelves take special size screws using very narrow heads. The floating shelf supports are installed with the modded screws and touched up with a few more coats of flat spray paint.
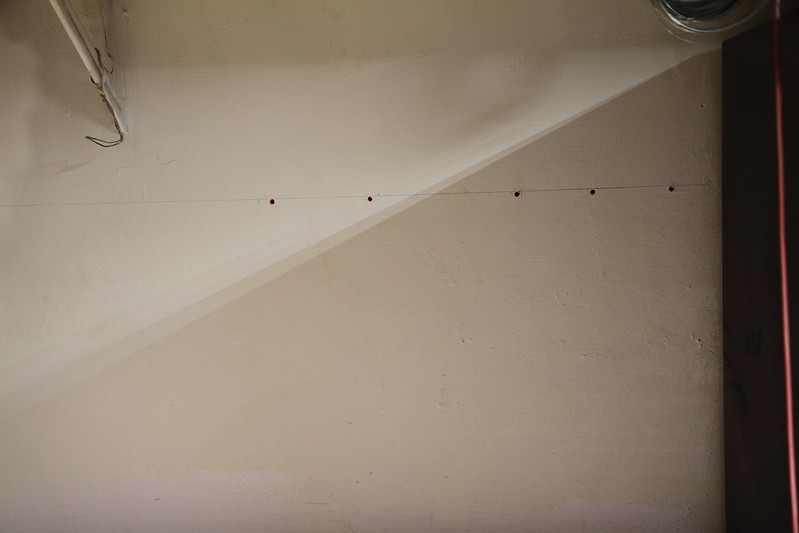
The glass shelves are usually secured with rubber inserts but since I have no idea where they are, I just placed a few strips of electrical tape on the glass and the fit is perfect... nice and snug!
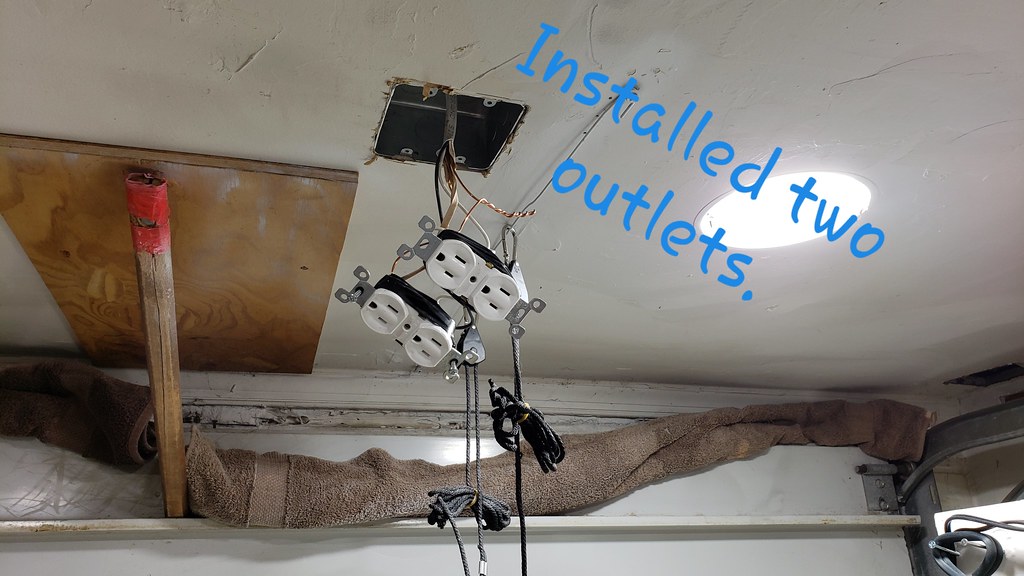
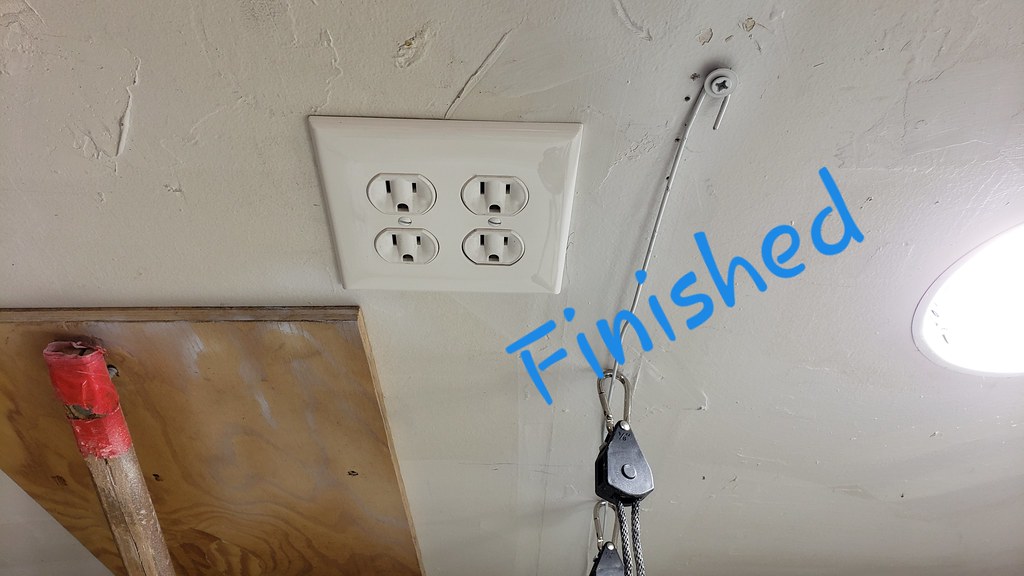
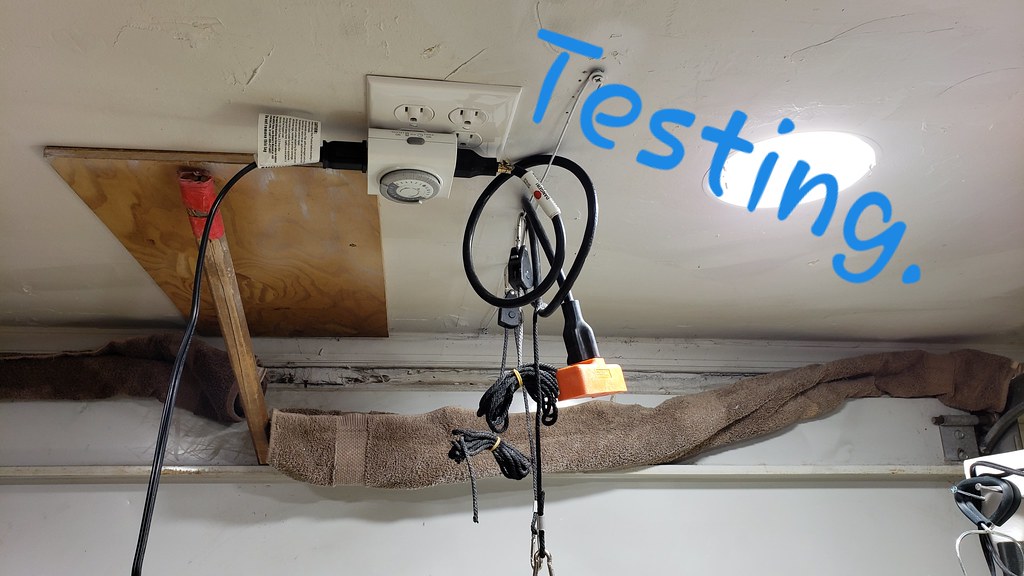
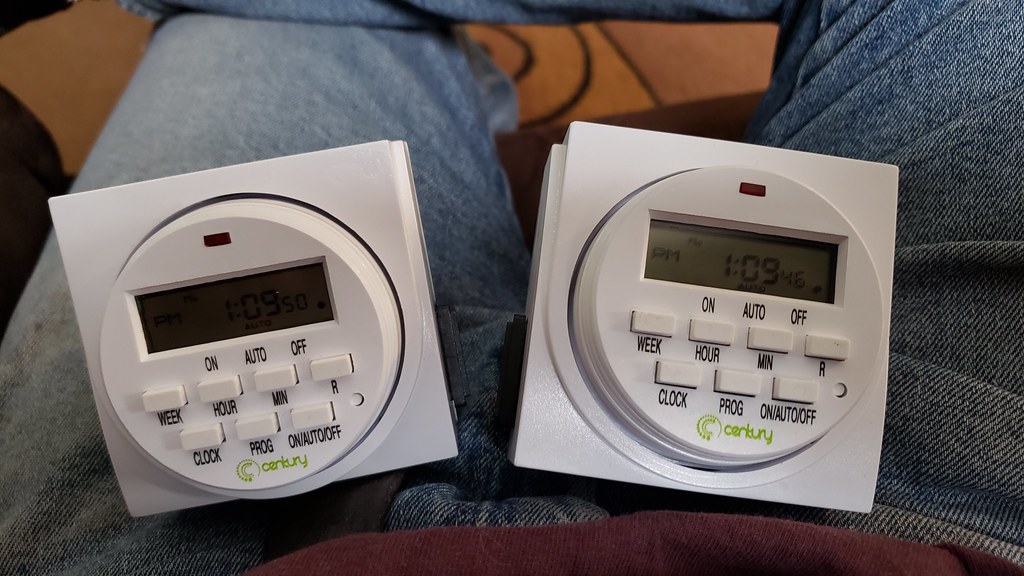
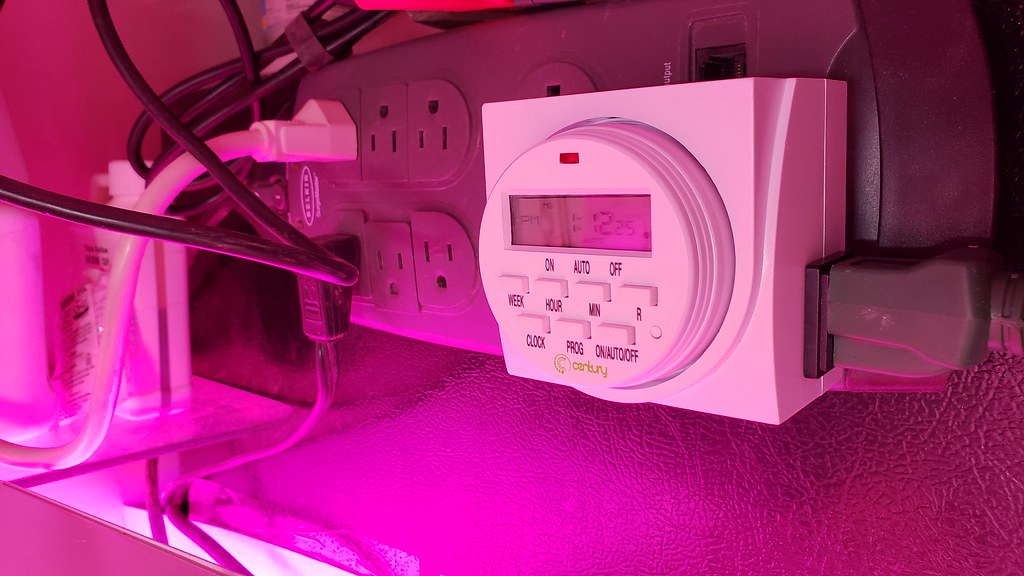
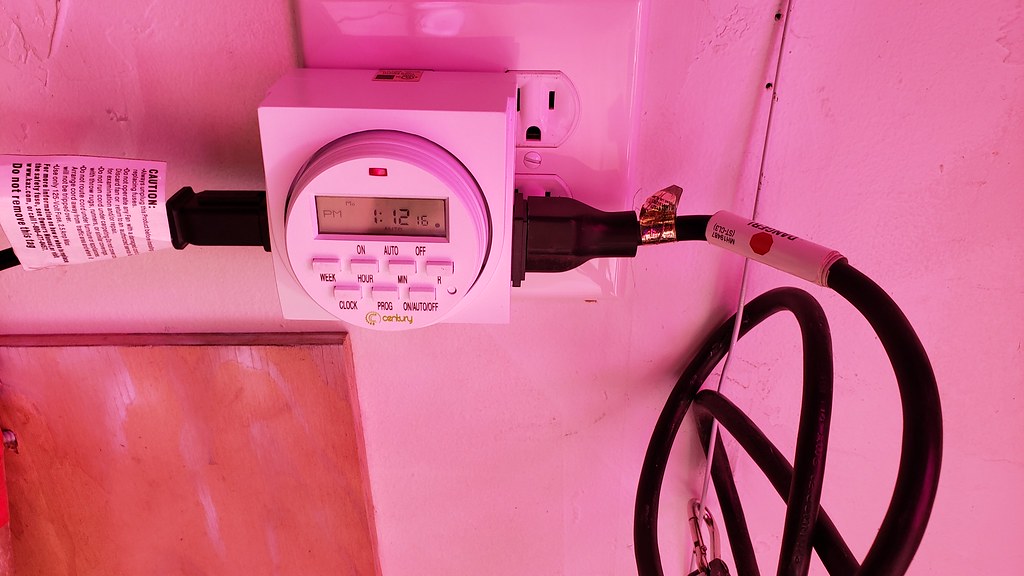
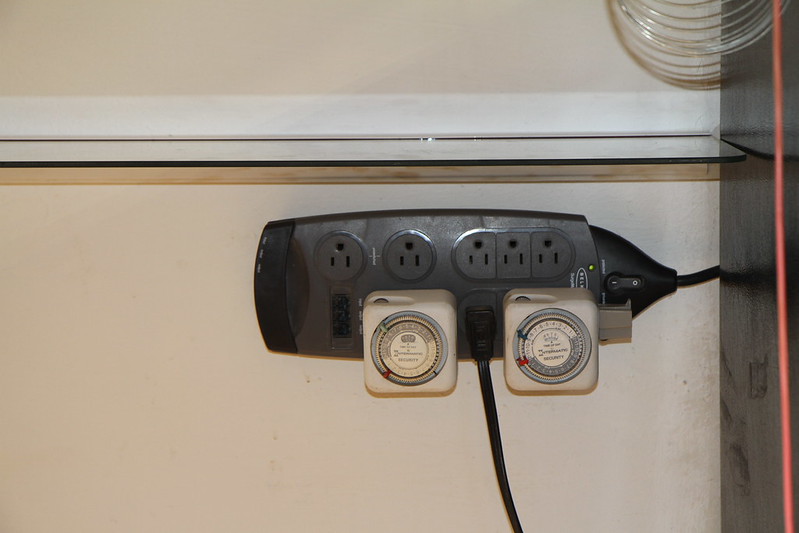
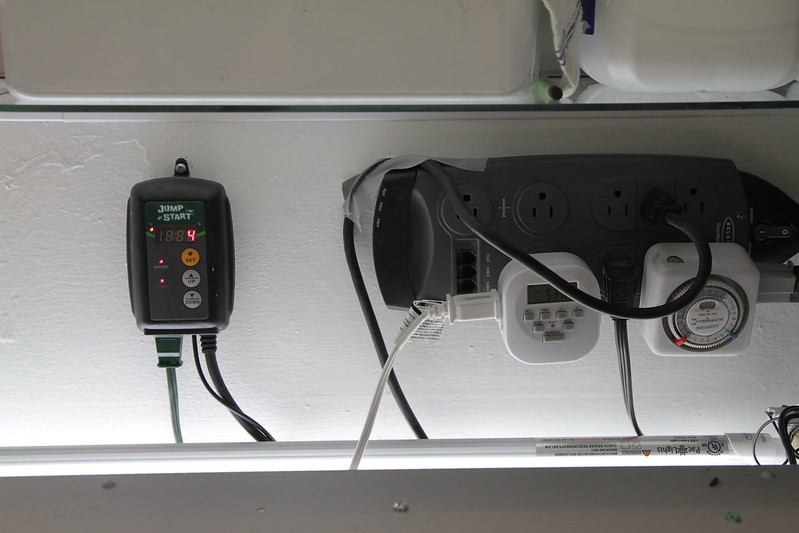
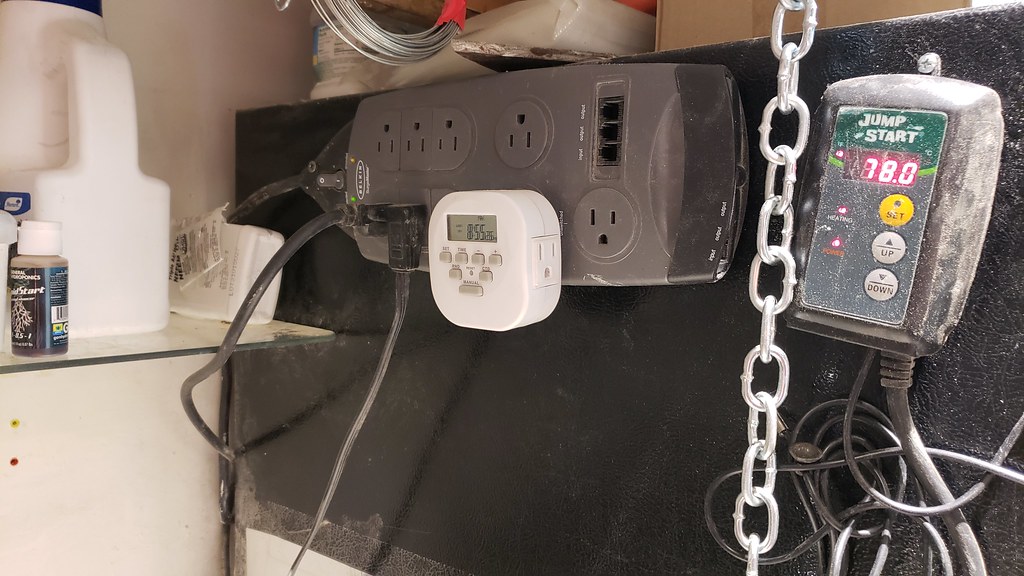
Then I installed the power station and some timers. One timer will control the light and the other timer will control the oscillating fan.
After the shelf install I put on another coat of oil base enamel on the tabletop.
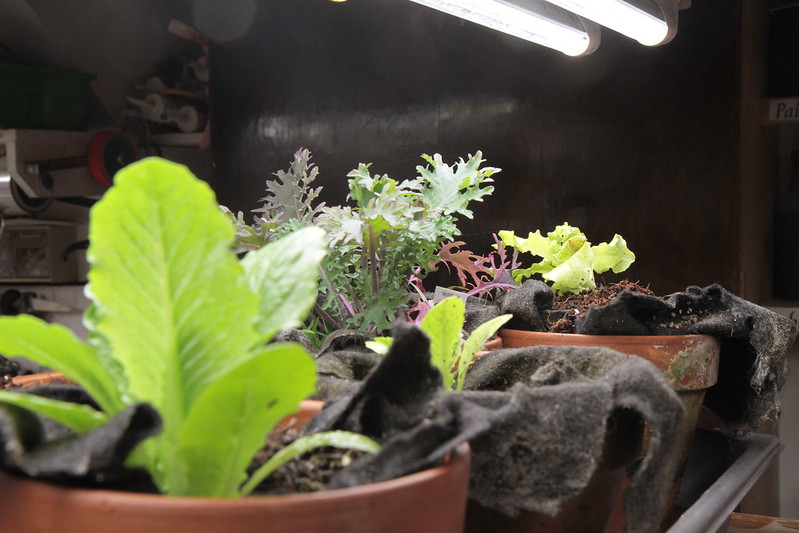
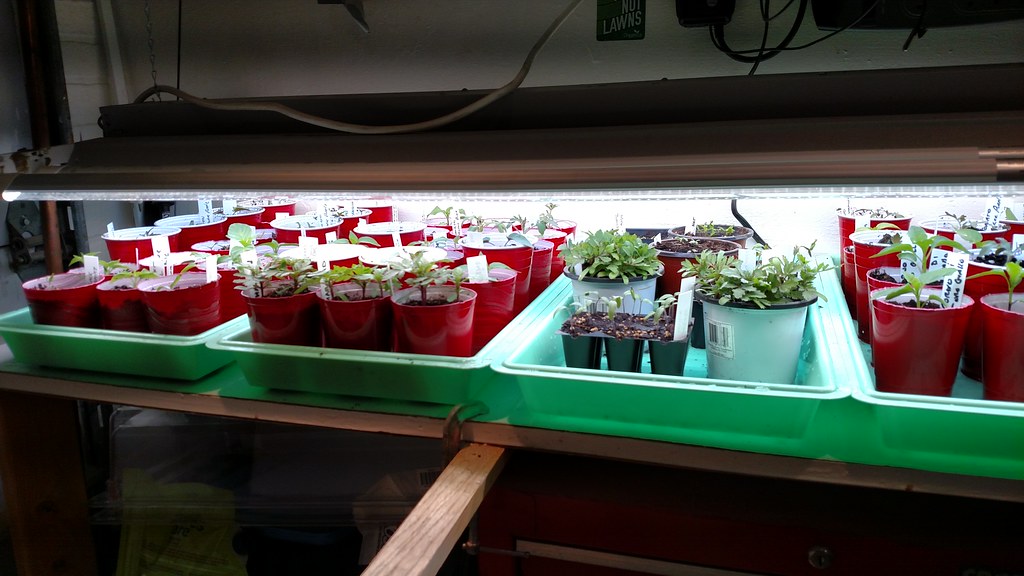
I had a few lettuces growing, a few were growing in the shut down Aquaponics planter by the Koi pond and a couple sprouted from seed I had planted late in the season in the shut down Aquaponics rail NFT/Deep water culture hybrid system. I figured this would sort of be a trial, the plants are placed under one of my 2 bulb LED shop lights. The plants are in terracotta planters lined with a wicking material (pond underlayment) then placed in a steamer pan with some water and a bit of fertilizer. These will be moved to the grow table once the table is completed.
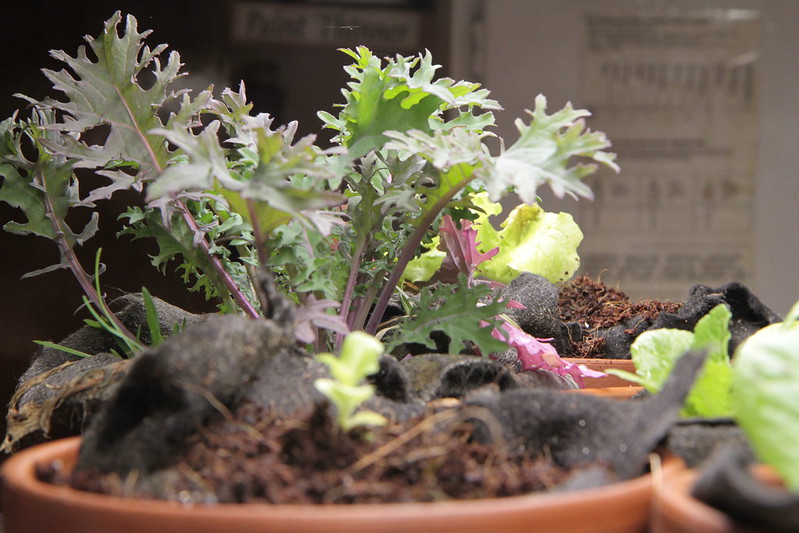
December 28th, 2015
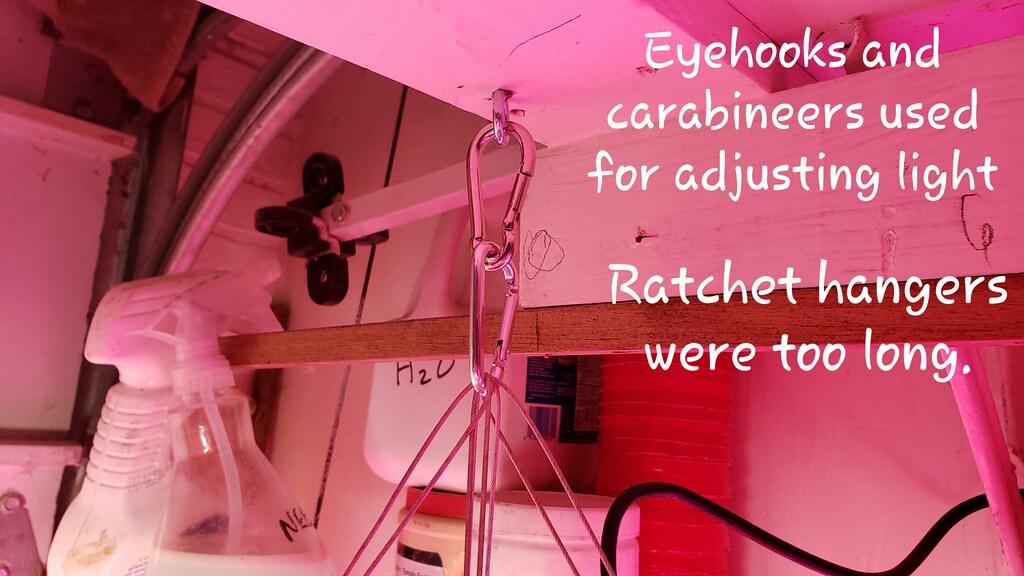
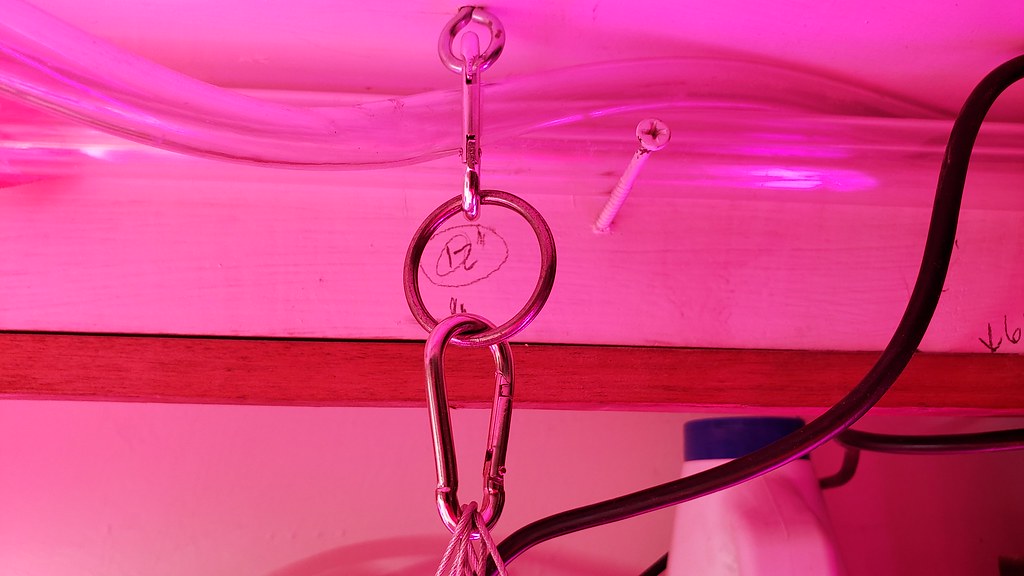
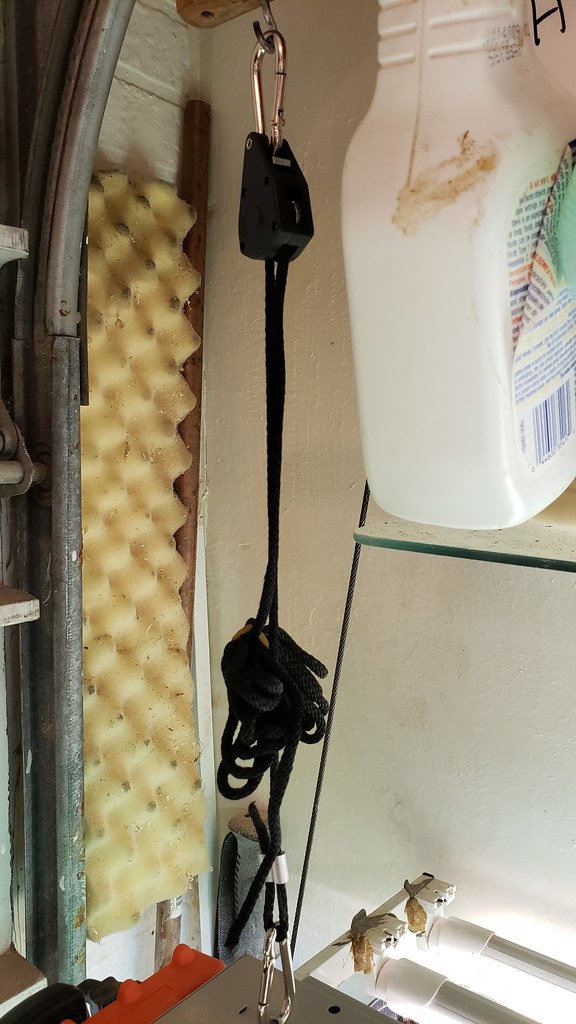
Installed the new chain and Safety Chain Clip Quick Links.
Rolled in the Tool Box.
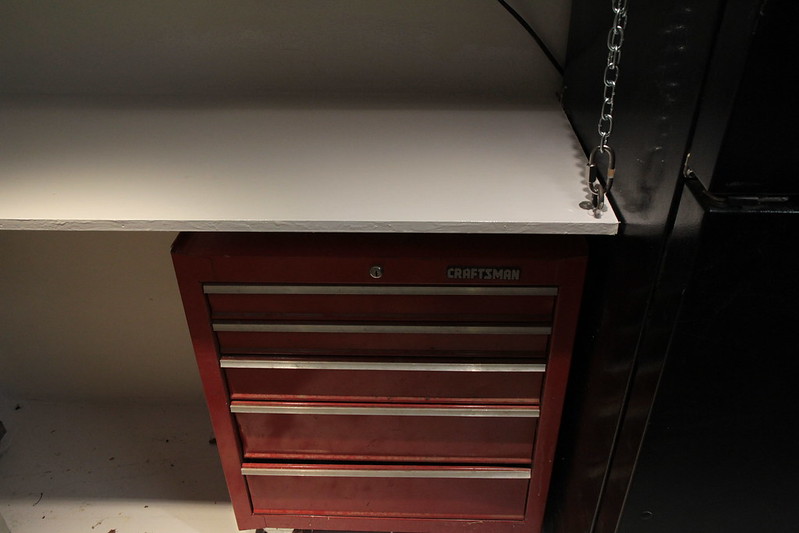
Grow table tool box.
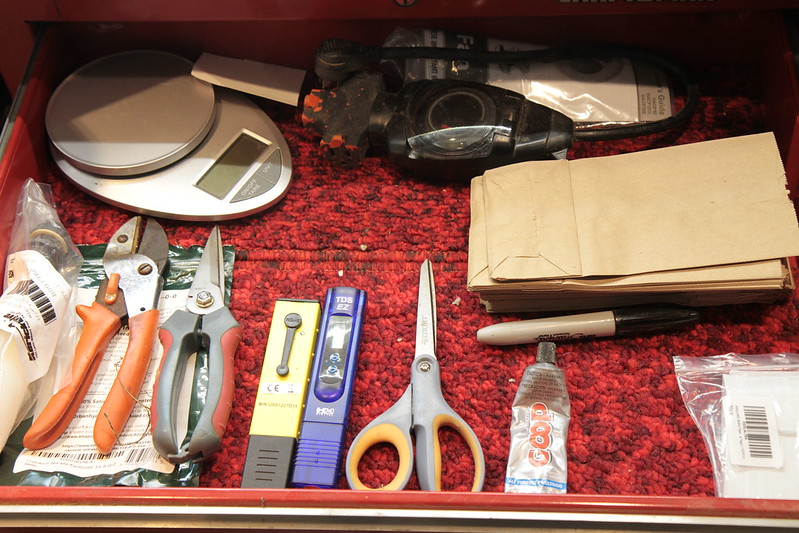
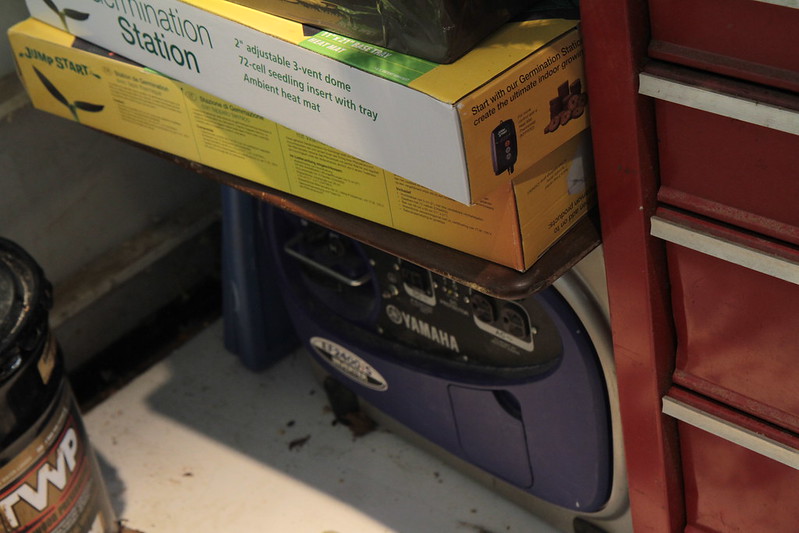
The Generator needs to stay in this spot.
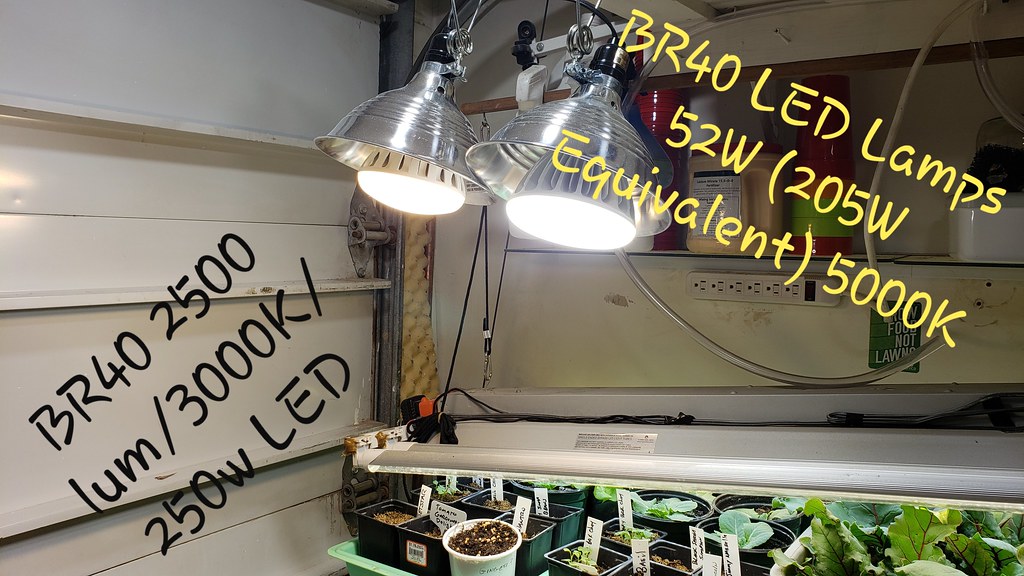
After a bit of research I decided on a 4 bulb 4' Fluorescent fixture using 6500 Kelvin bulbs. I almost purchased this T5 grow light from Amazon, it seems like a pretty good deal and is worth looking into.
I don't need to cover the Red spectrum for seedlings and greens.
Warm Glow - 2200k, Soft White - 2700k, Bright White - 3000k, Daylight - 5000k, Cool White - 6500k
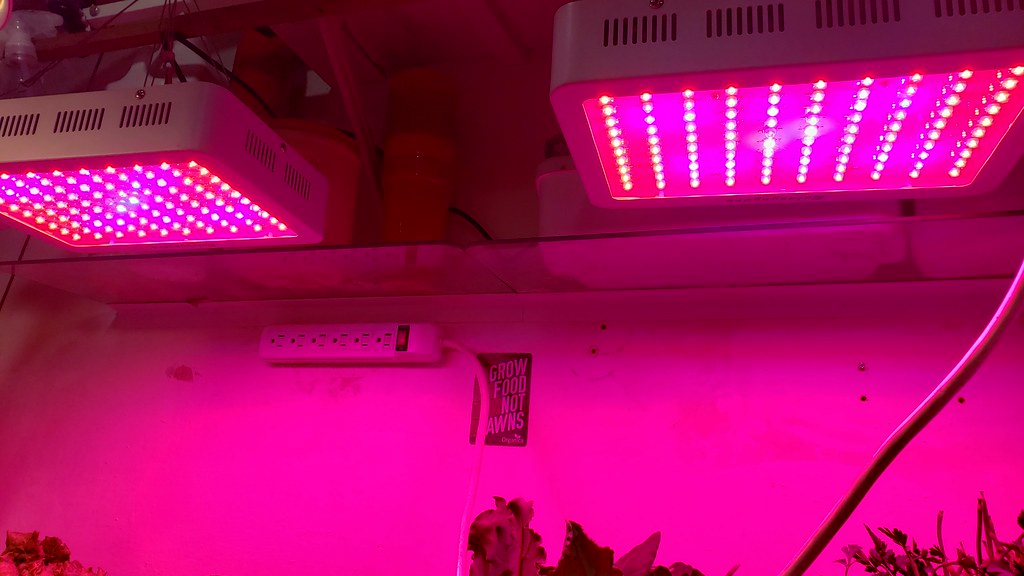
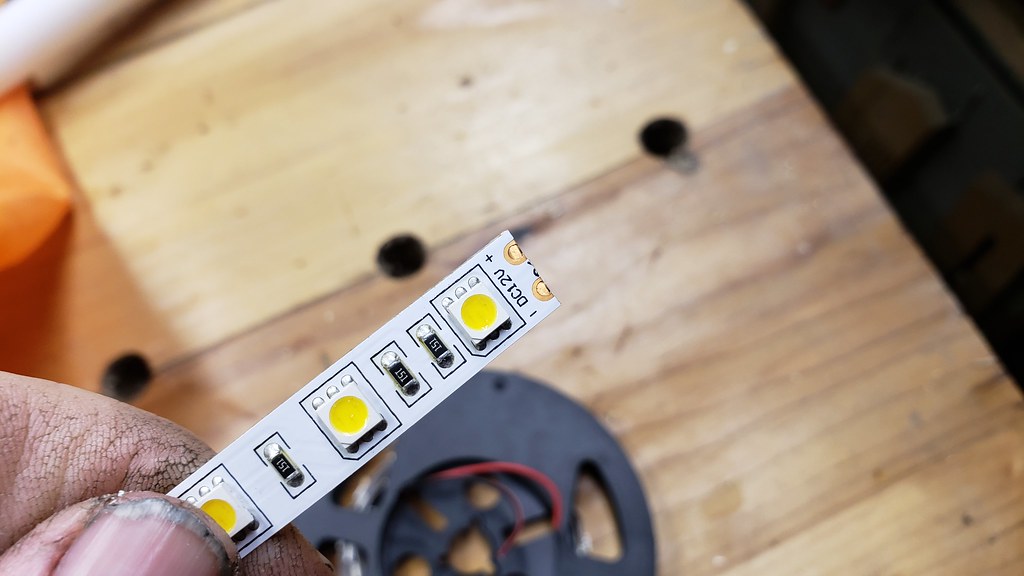
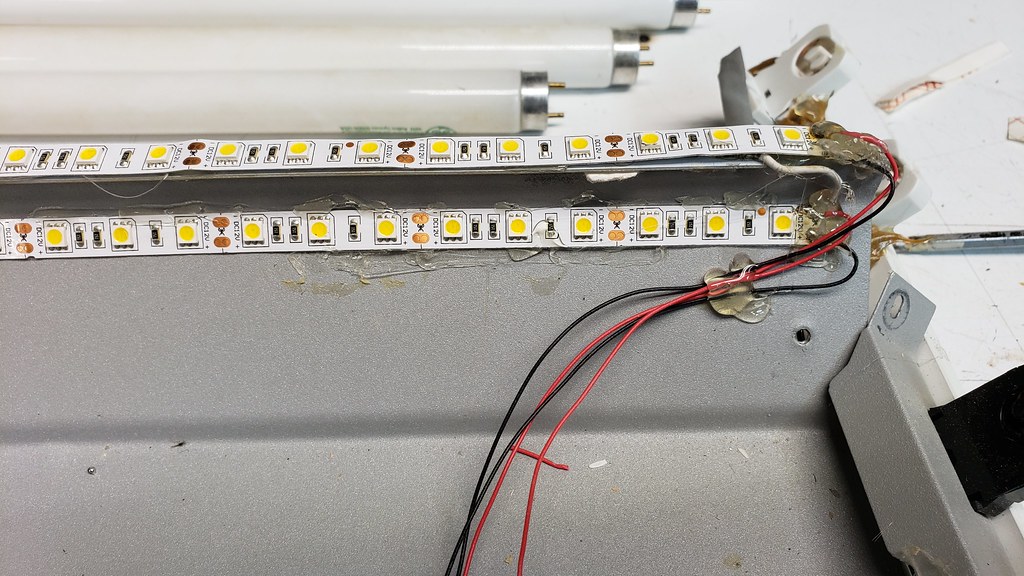
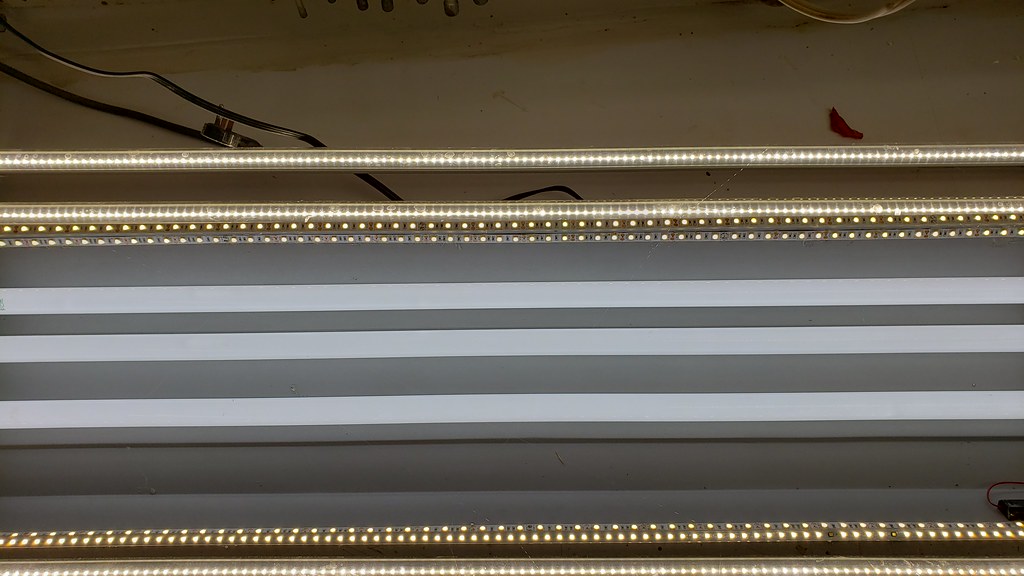
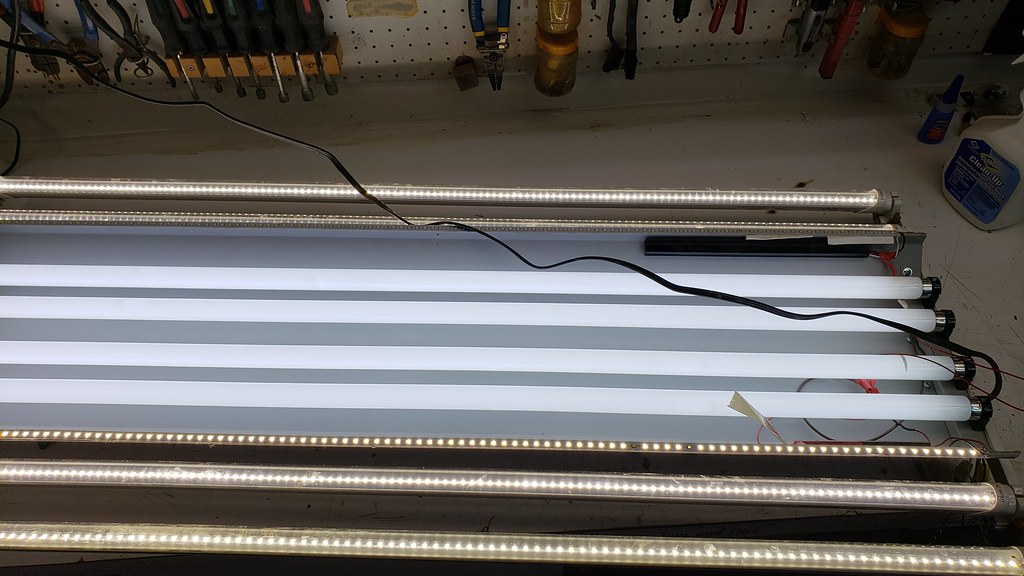
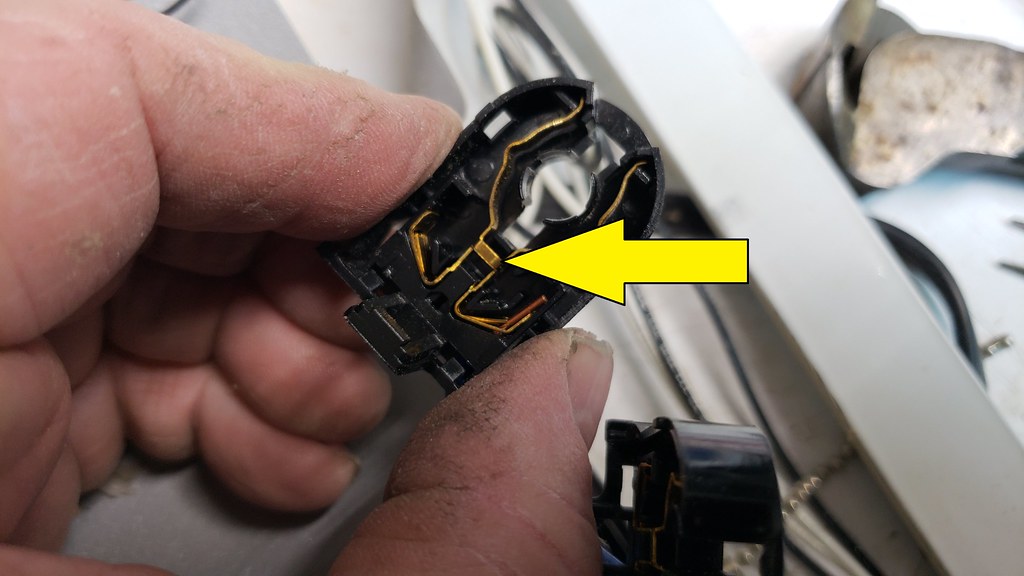
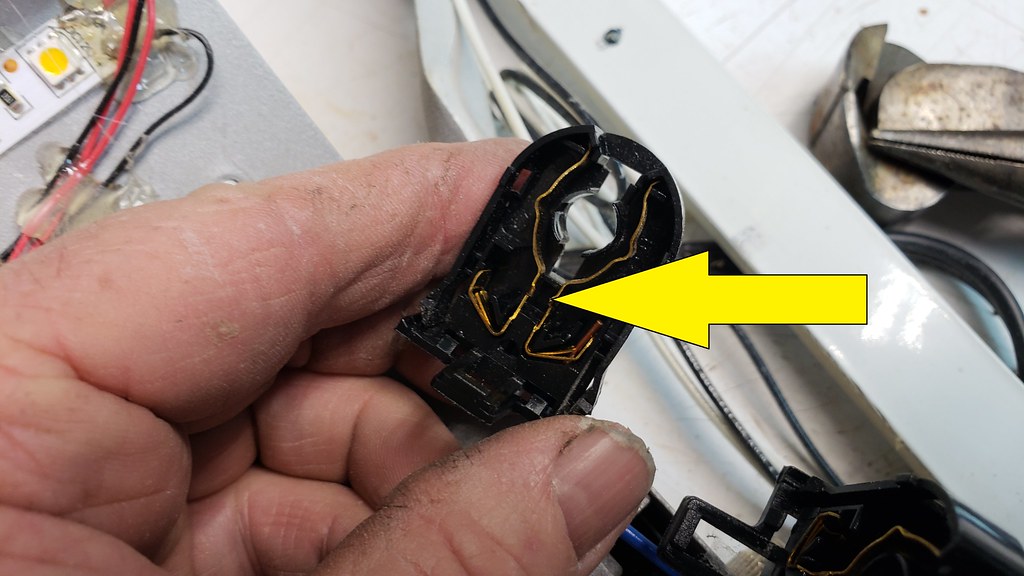
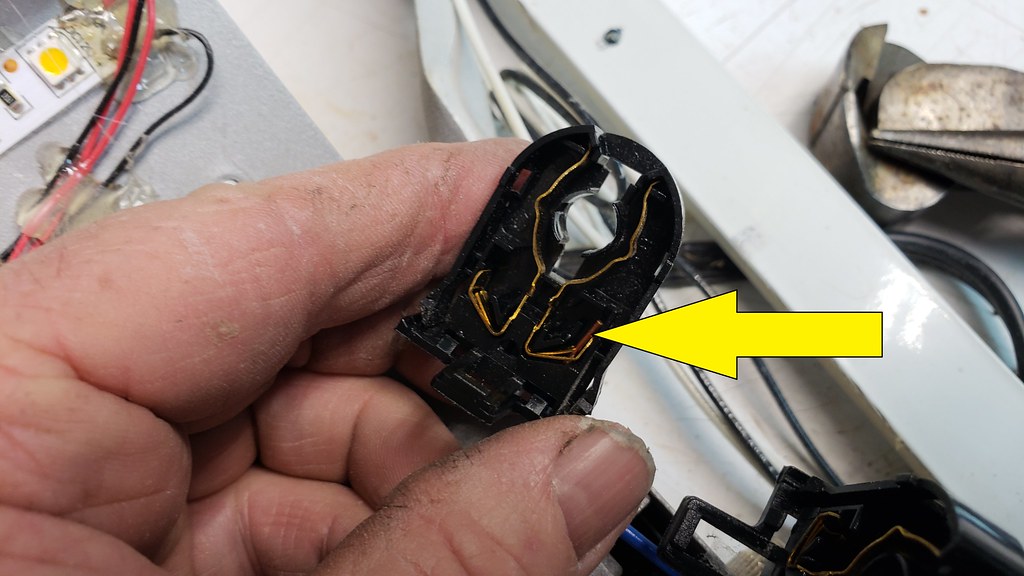
The shop light is modified with 2 strips of LED's, these LED strips were removed from two 48" LED shop lights, one had a bad internal driver and the other was a wrong bulb sent to me as a replacement for a bad bulb from a 4 pack (the replacement bulb was a "linear led" and since my existing setup was a ballast bypass type LED with shunted tombstones, you can imagine my surprise when I popped this bulb in and sparks shot out and blew the circuit.
Anyhow the LED's are stripped out and wired together to share the driver, then the LED strips are glued to the lamp housing, giving me a 6 bulb fixture.
Adding strip LED's and driver to the reflector for added light.
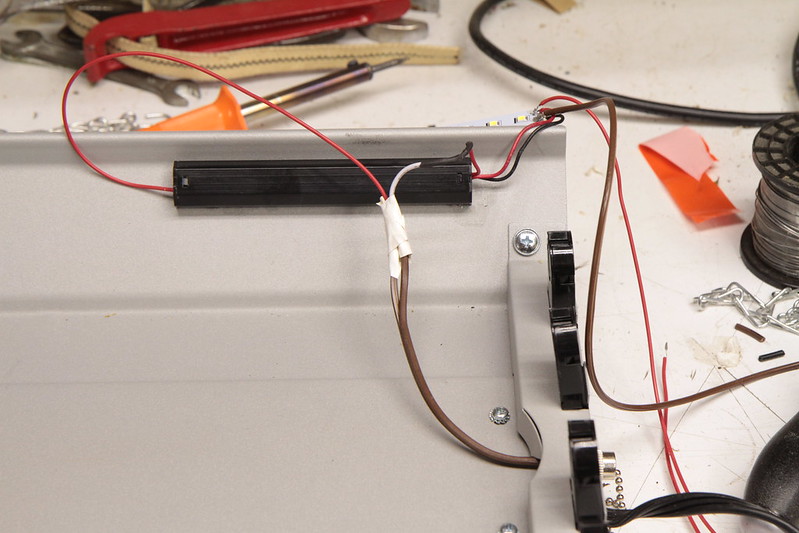
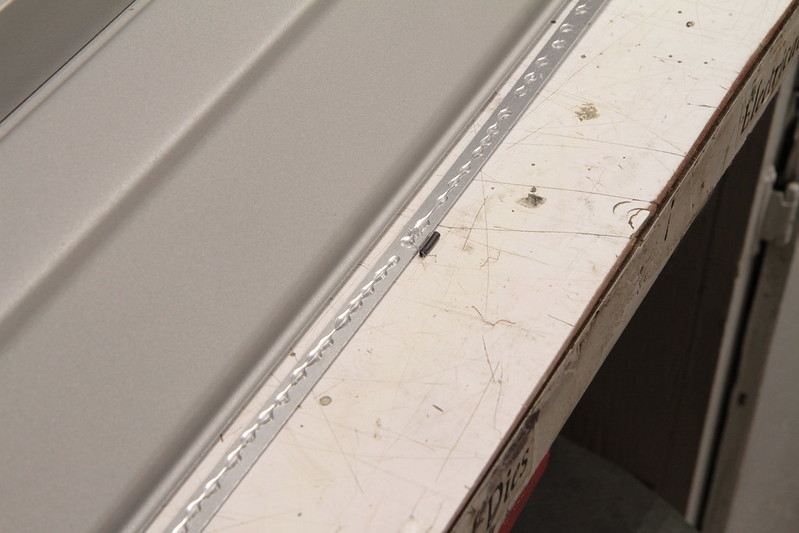
FARTS!! I shorted out one LED strip with the chain, I ordered a replacement bulb to bastardize.
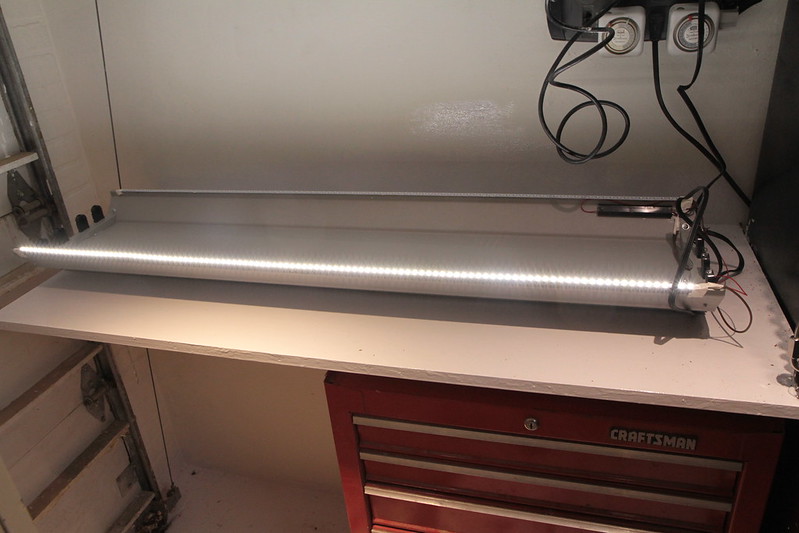
Wooohoo, we have light.
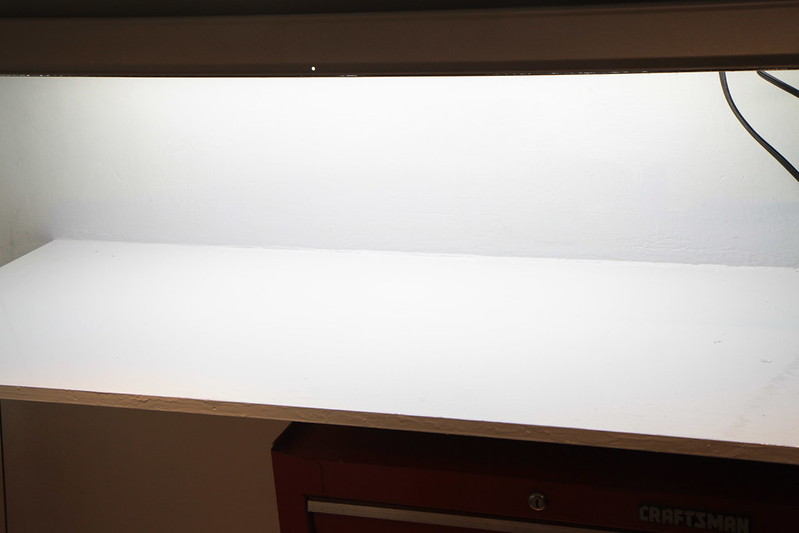
Test plants are in place on 16 hours of light.
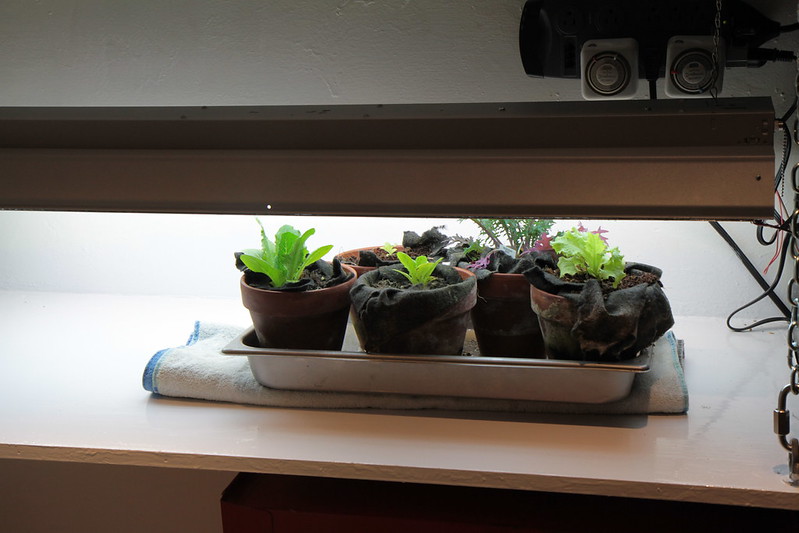
December 30, 2015
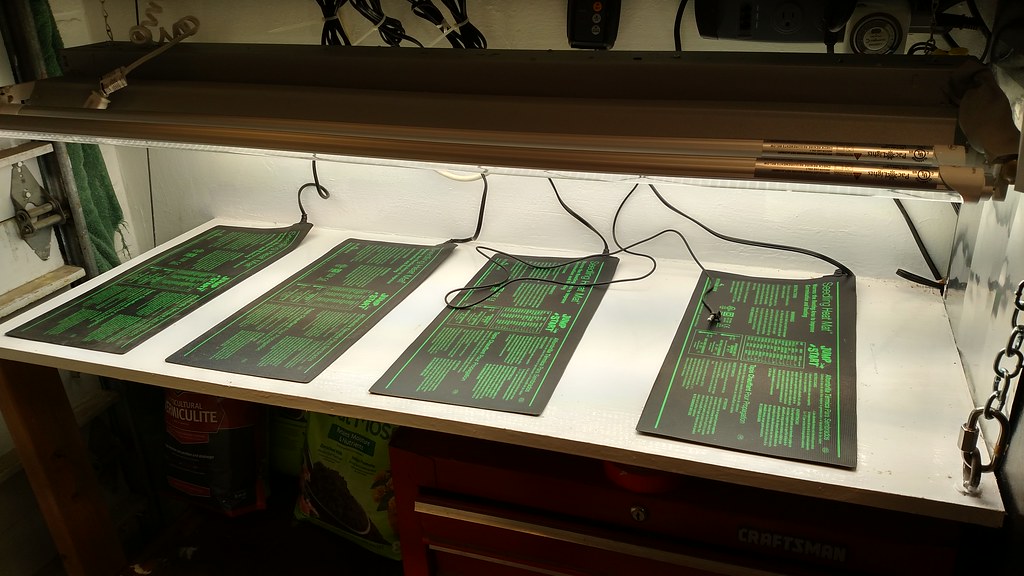
The bad LED strip is removed and the new LED strip is added. The Hydrofarm Germination Station heat mats are in place but are not turned on yet.
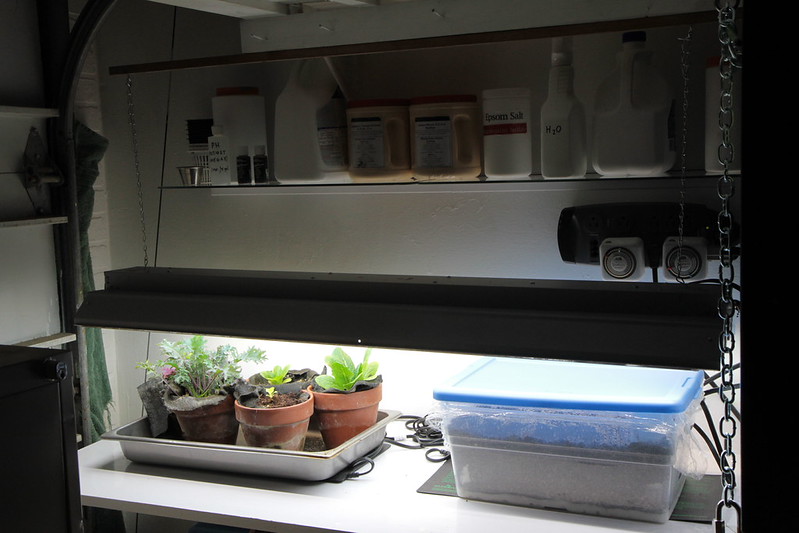
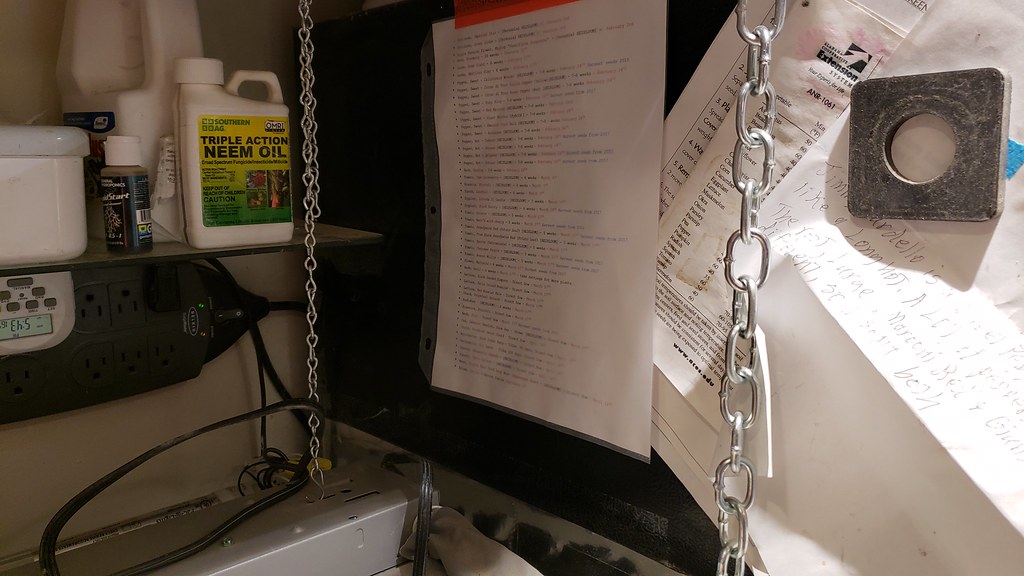
Organized and labeled my supplies.
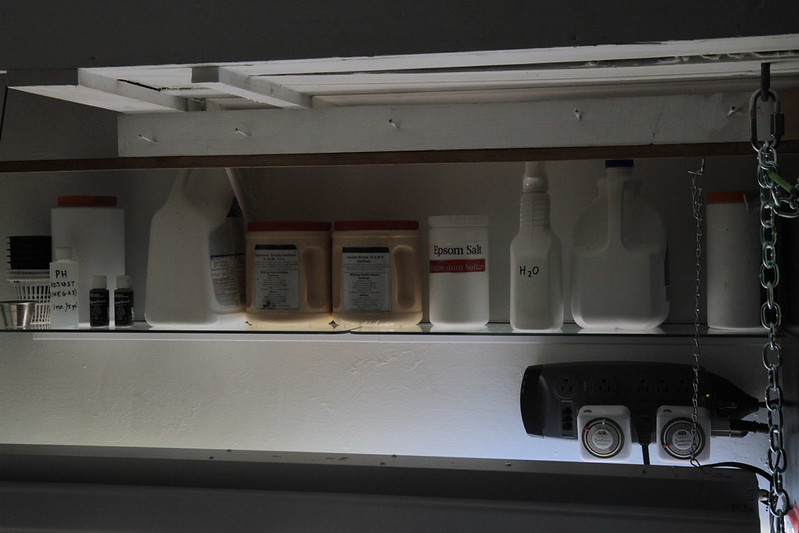
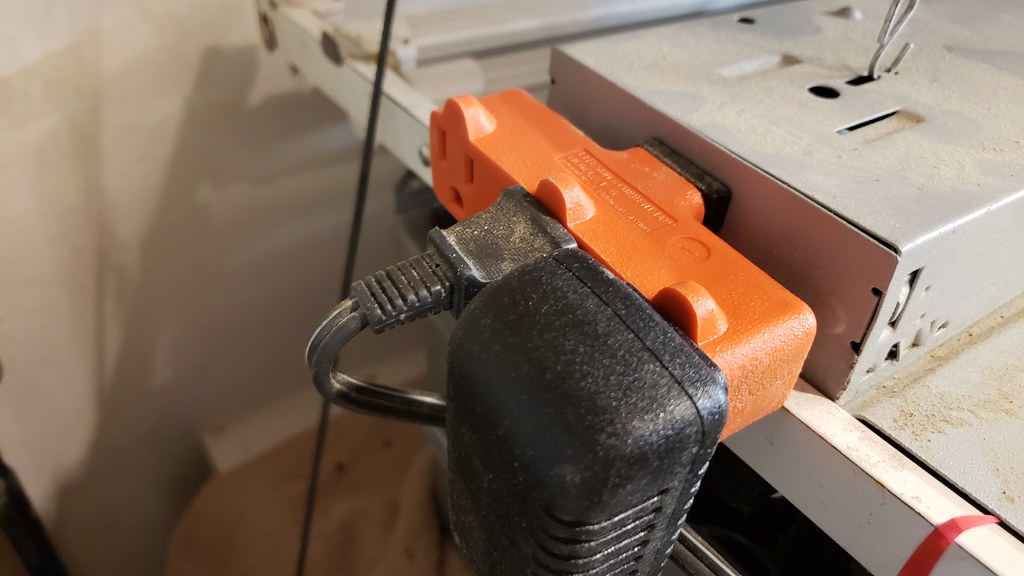
Mounted the Temperature controller and ran an extension cord to power both heat mats.
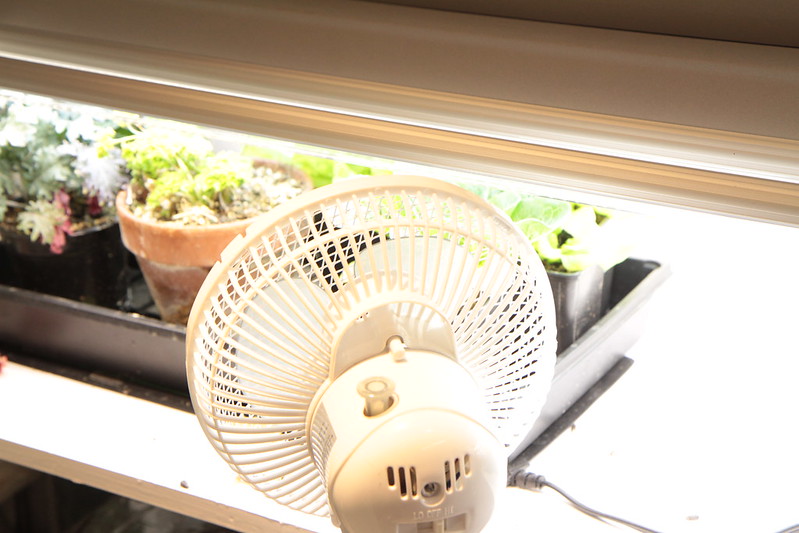
Installed an oscillating fan to run several hours a day to help promote stronger stems this is called thigmomorphogenesis, I also have read it helps prevent dampening off.
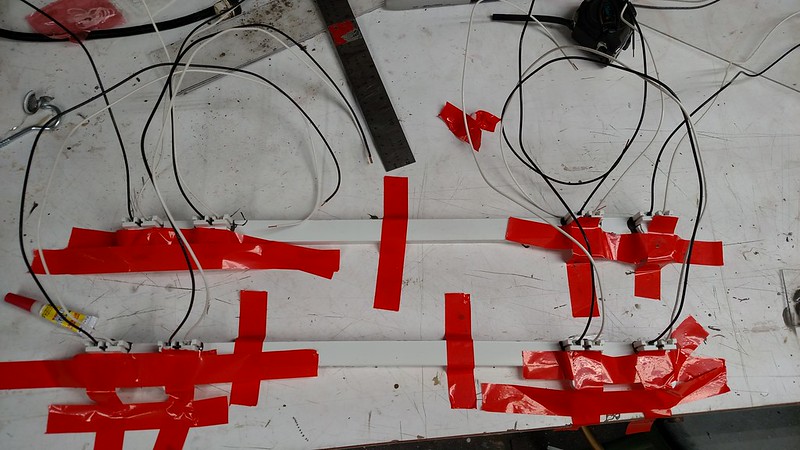
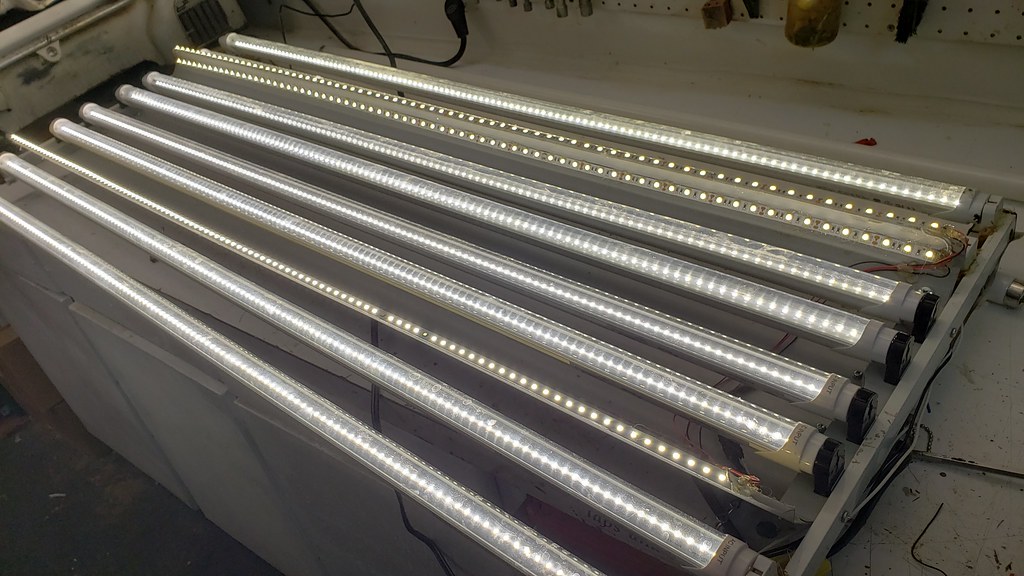
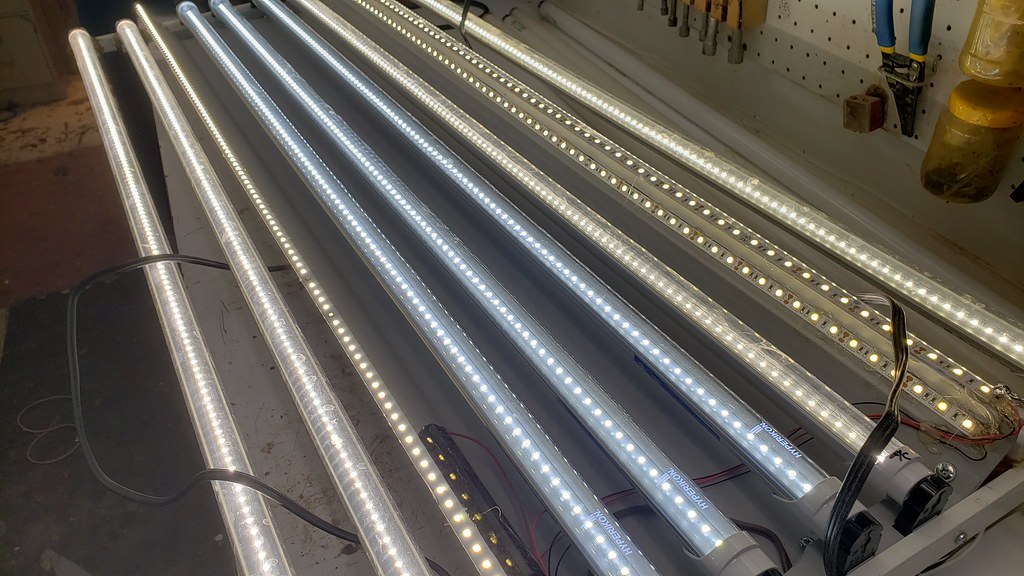
Four more lights were added using led's this time, I glued 4 tombstones on each side of aluminum bar stock from an EZ-Up and secured to the shop light using 3/4" self tapping screws. The tombstones are wired to a cord with a plug scavenged from an old lamp, this is then plugged into the other end of the shop light, I can now turn the 11" x 22" trays 90° allowing four side by side trays if need be.
I had to tape everything in place until the epoxy cured, lol...
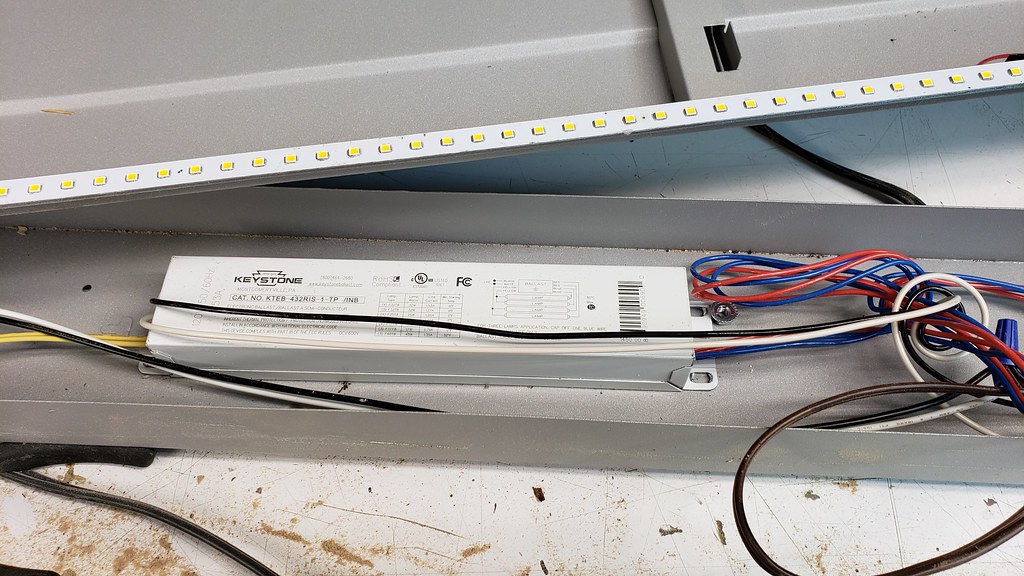
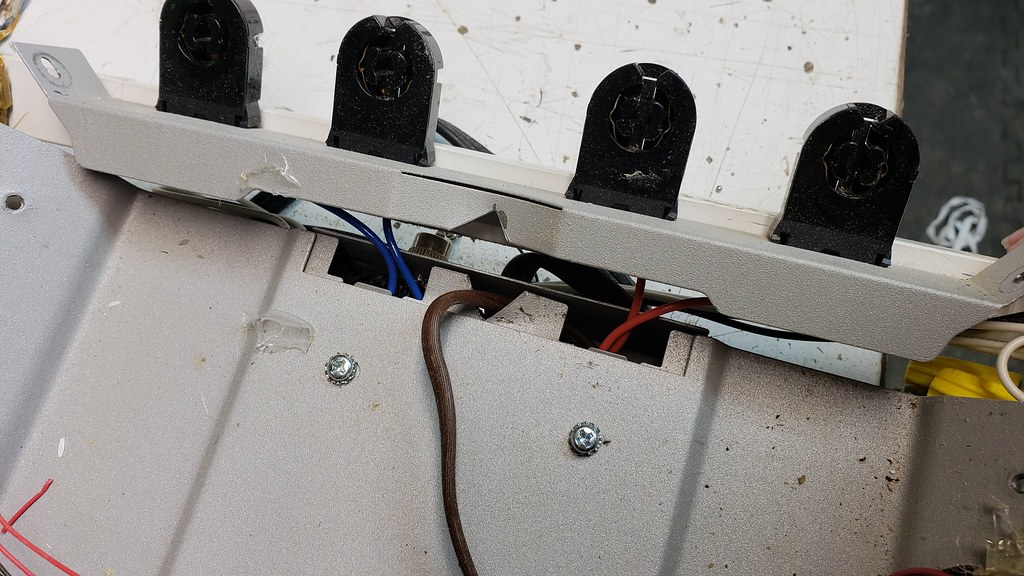
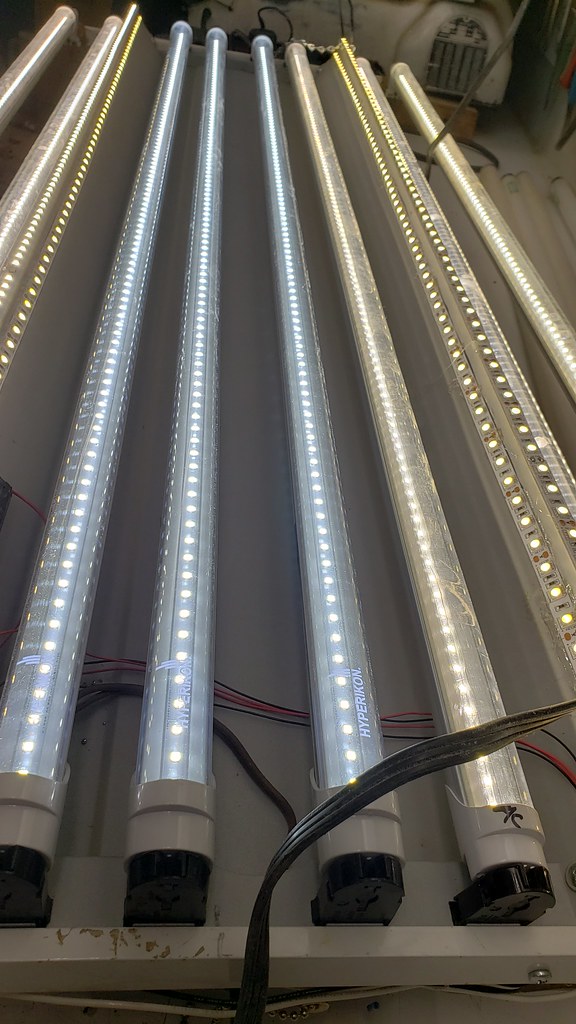
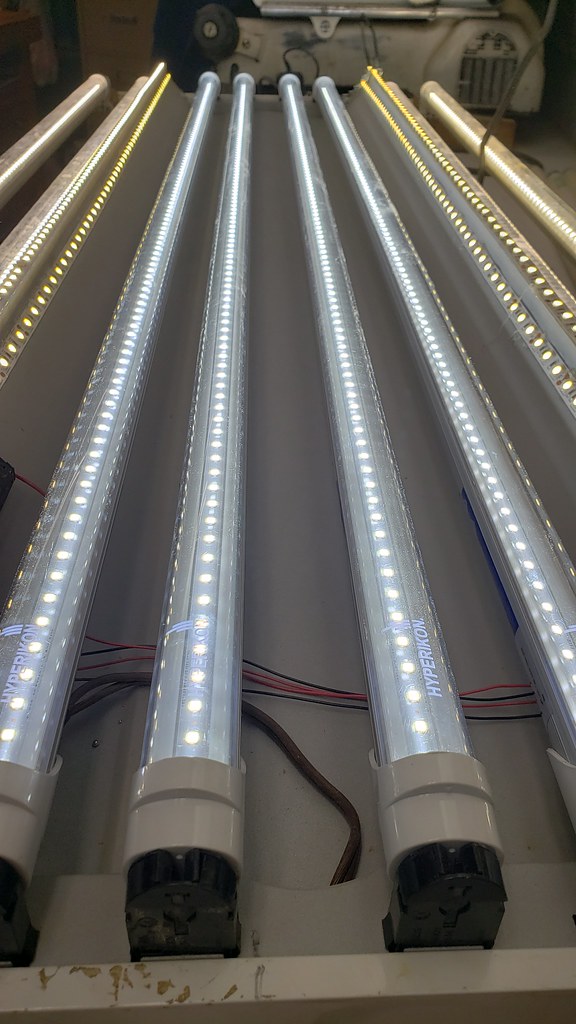
The bulbs came in and they were the correct kelvin but the wrong type bulb... can you say Sparks!! Instead of sending back the bulbs I liberated 4 from one of my shop-lights and had to rewire that shop-light differently to accept the new bulbs, I may order 6500 next year.
Ten bulb shop-light in place, the outer 4 LED bulbs can be unplugged if needed.
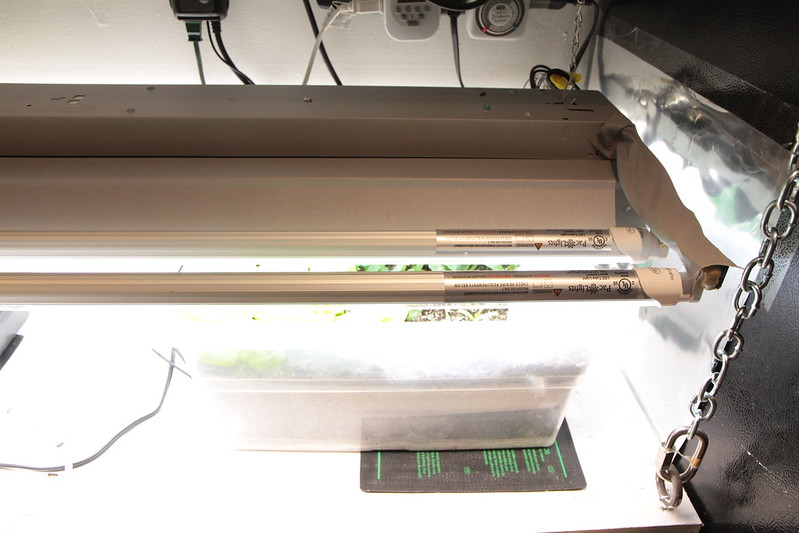
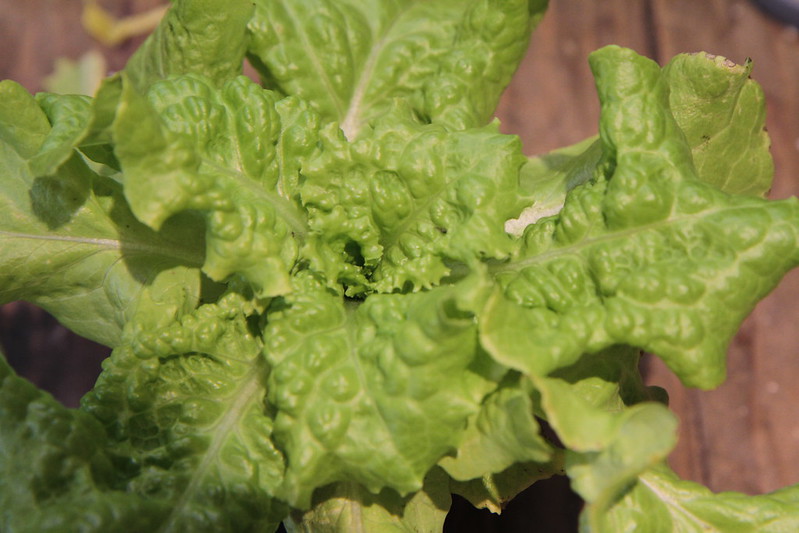
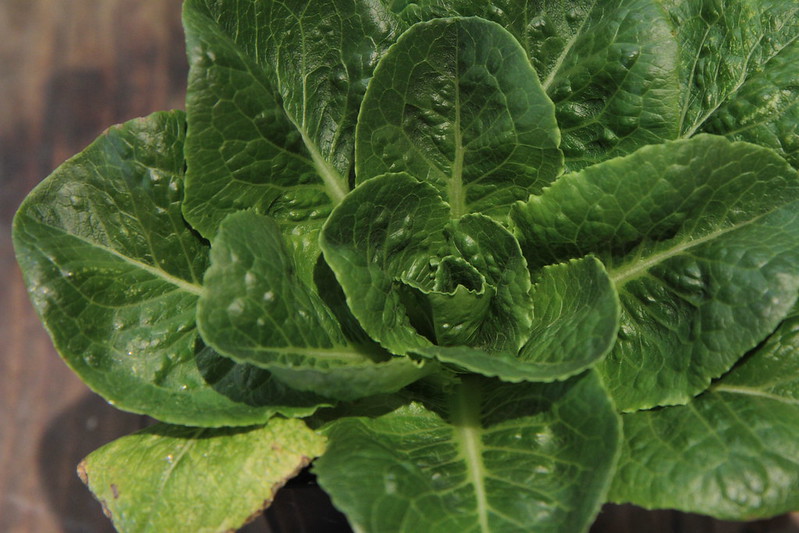
The test subjects seem to be thriving so the lights seem adequate for greens.
Black seeded Simpson
I think this is Parris Island Romaine.
Heat Mats are all on the same temperature controller.
I ordered new trays, my original trays would split after a season of use.
These are Permanest Tray and domes from Indoor Garden Supplies.
Tray# GS2211 and the dome is a V2211.
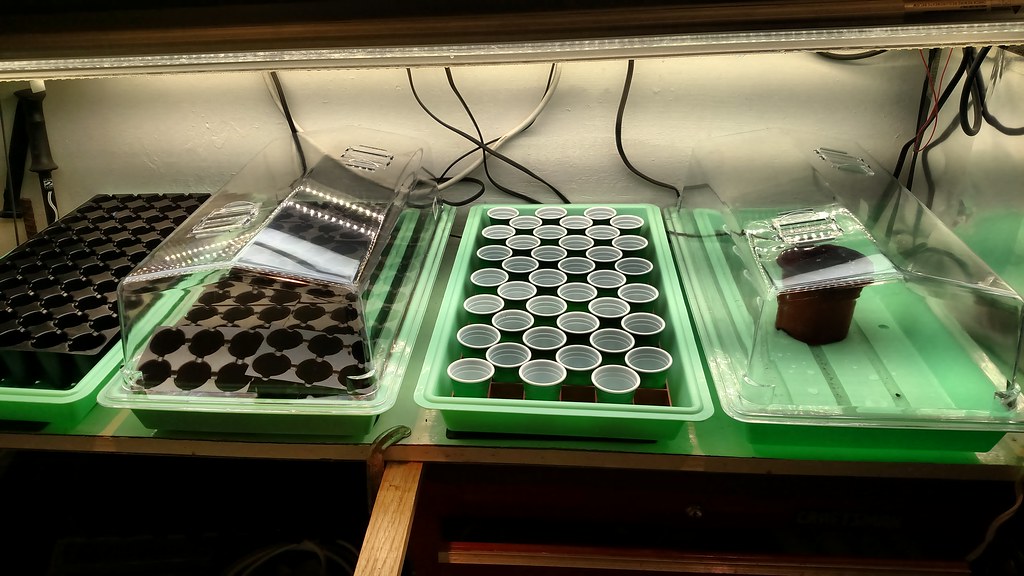
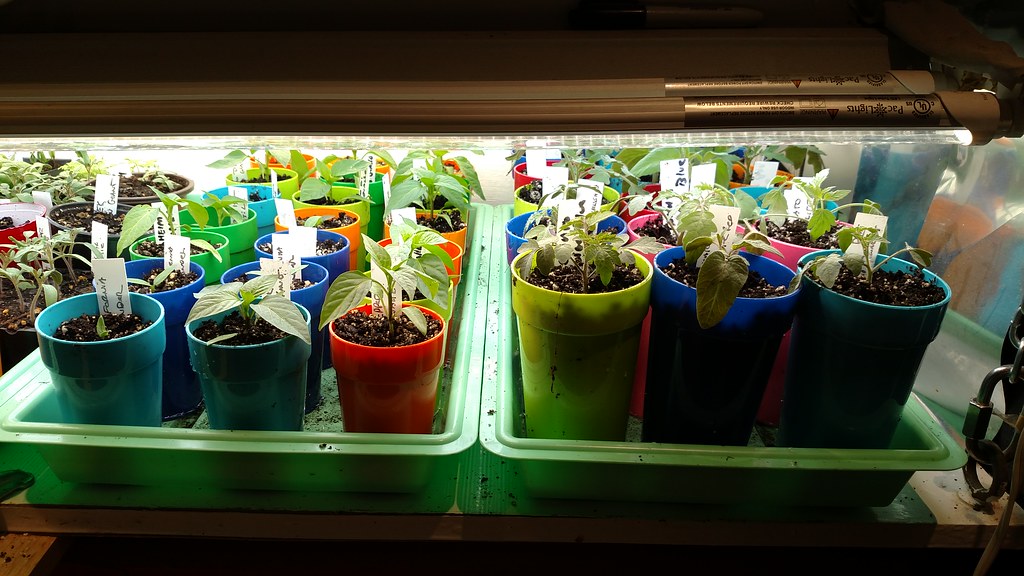
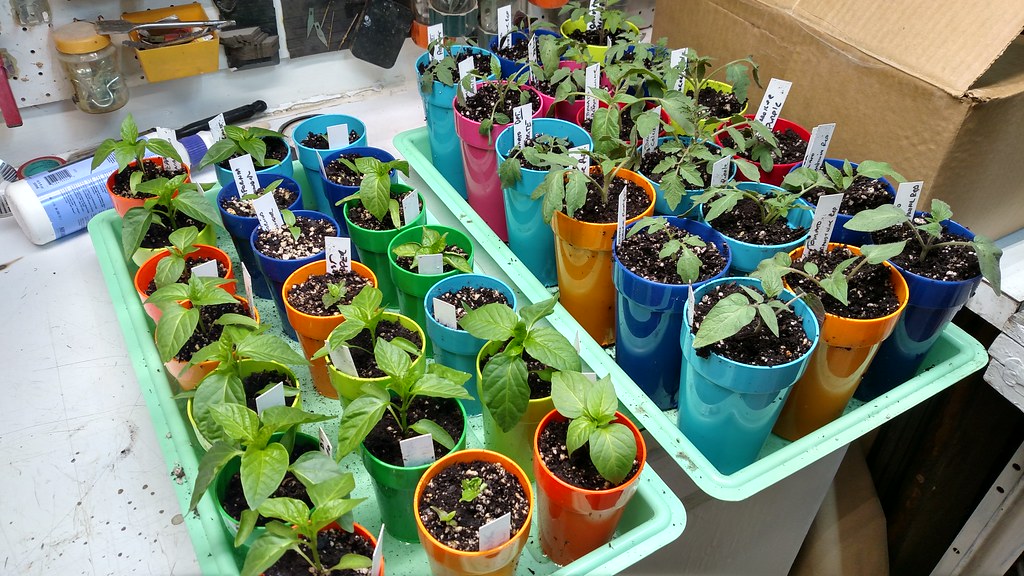
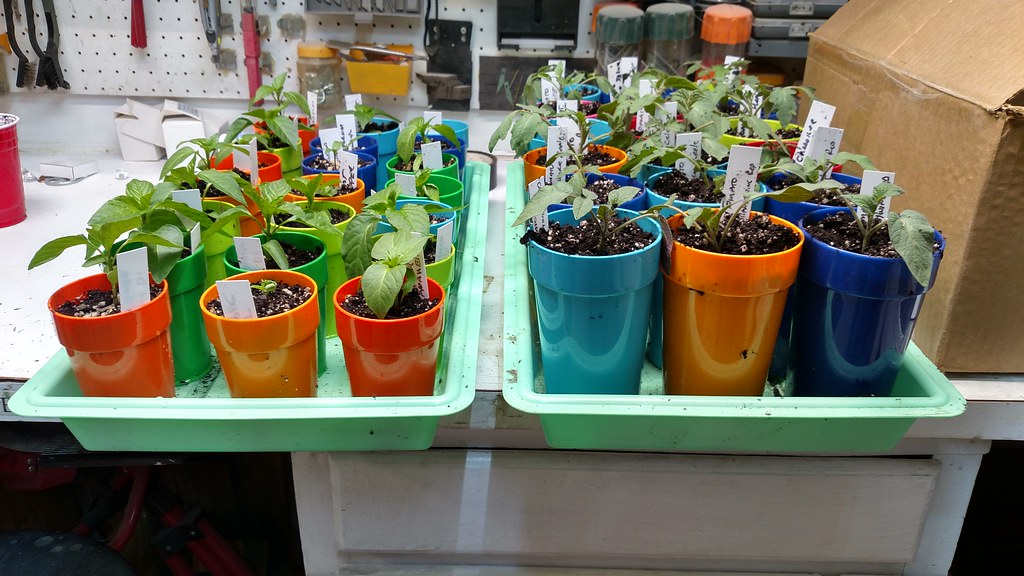
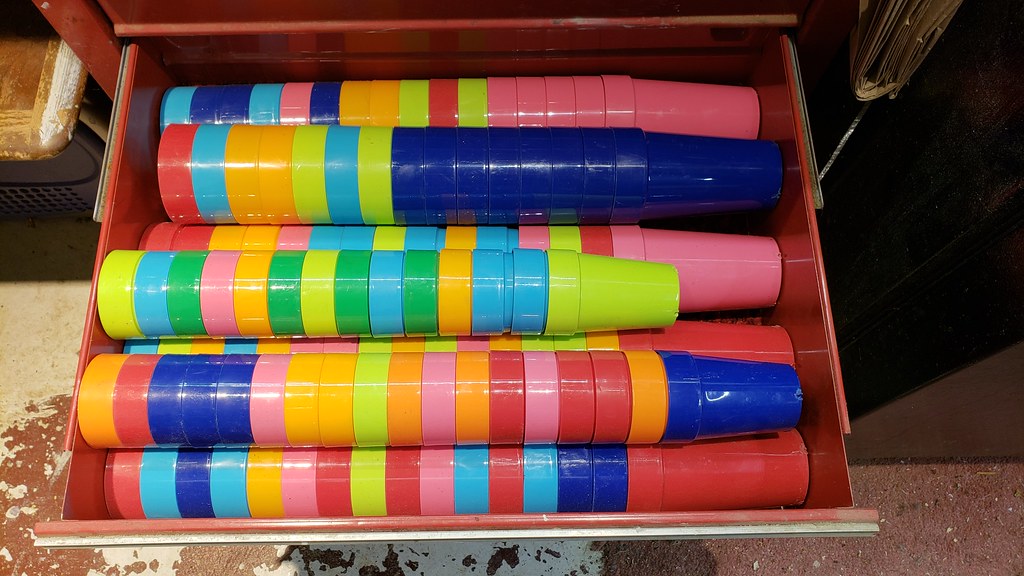
I decided to order "permanent cups" These cups are awesome, nice and sturdy, and can be run through the dishwasher. The taller ones are 20 oz. cups and fit 18 to a tray (barely) and 17 to a tray (comfortably). The smaller ones are 10 oz. cups and fit 21 to a tray (comfortably). The different colors are nice too, so I can plant according to color for a quick reference.
April 3rd, 2016
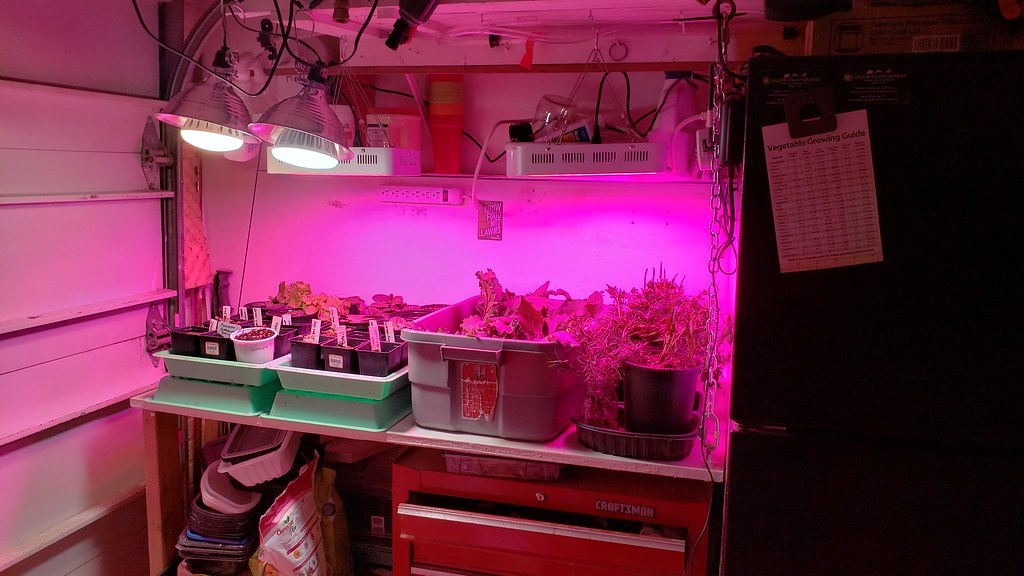
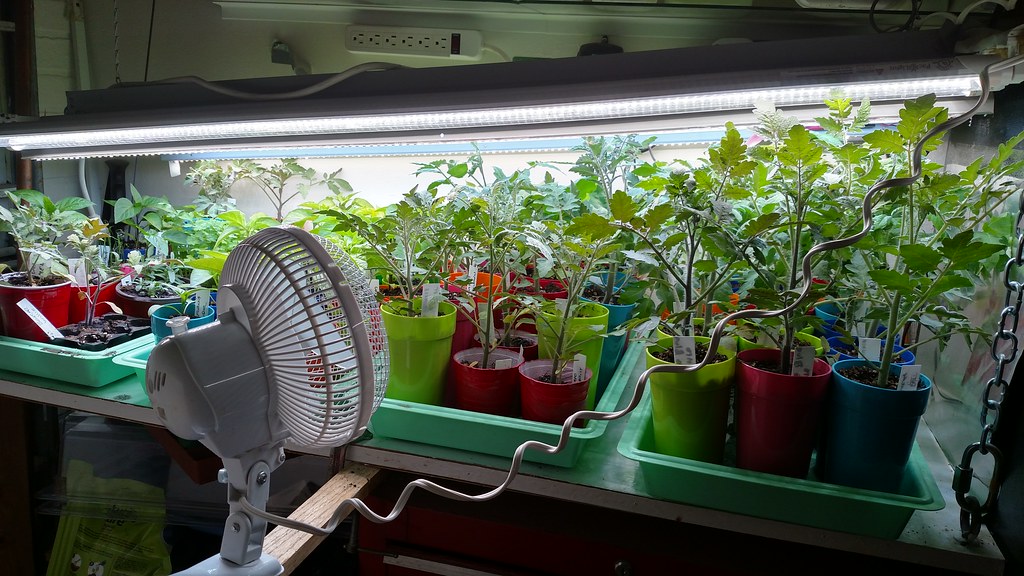
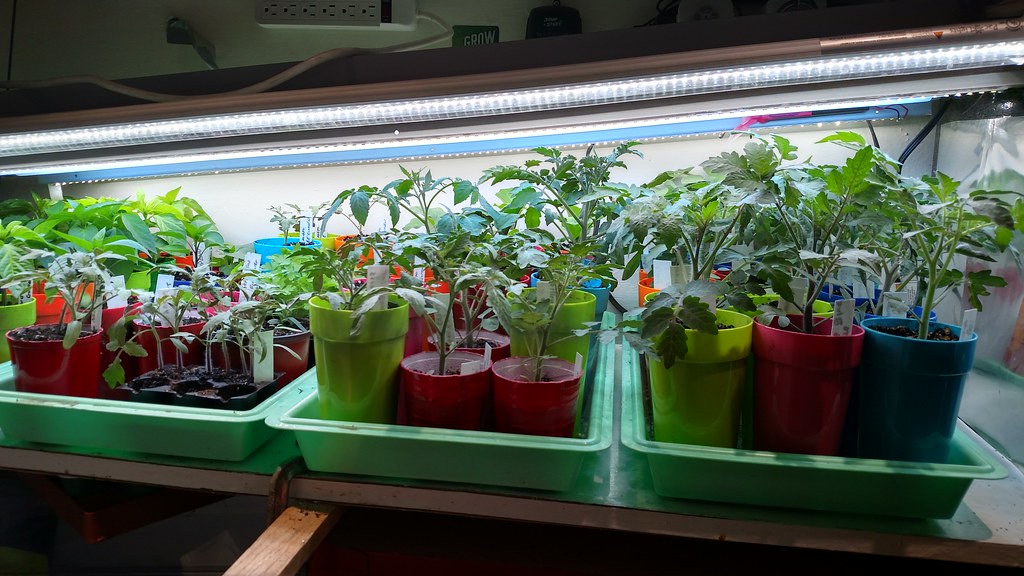
This is how things look right before hardening off.



 with envy.