User avatar
ID jit
Green Thumb
Posts: 339
Joined: Tue Nov 01, 2016 10:00 am
Location: SE New England: zone twilight or 5b... hard for me to tell some days.

What did I just build? (and some plants)

Have the first of 8 down. It it a SIP or something else? Still need to add the fill pipe and paint them a light color. Want to just this one squared away before I start on the rest. Will 6, unidentified, ever bearing strawberry plants do okay in it?

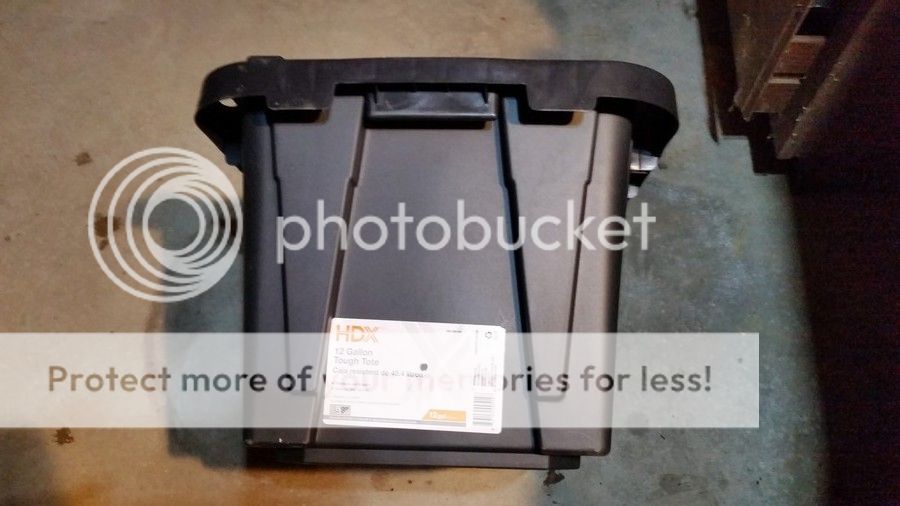
What did I do wrong and what can be improved?

Image
1/4" drain hole on each end.

Image
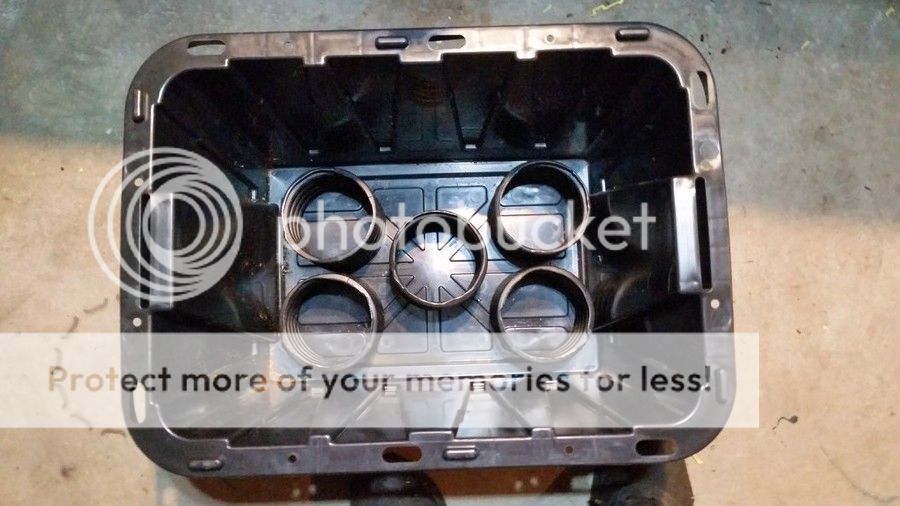
4" ID perforated drain pipe supports.

Image
Perforated support plate.

Image
Well / basket opening.

Image
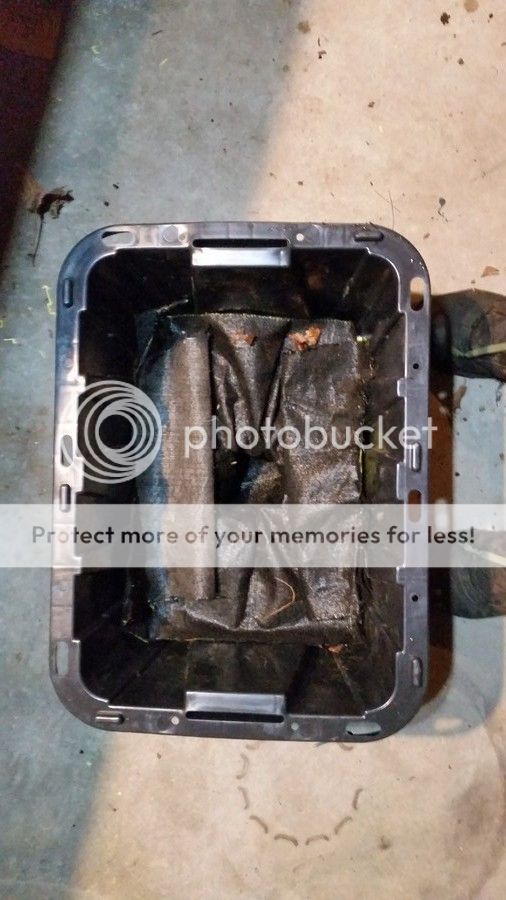
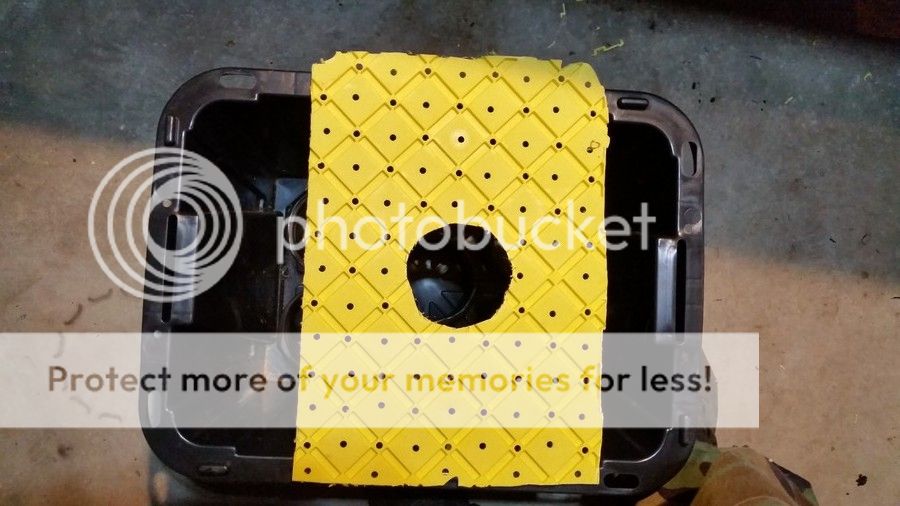
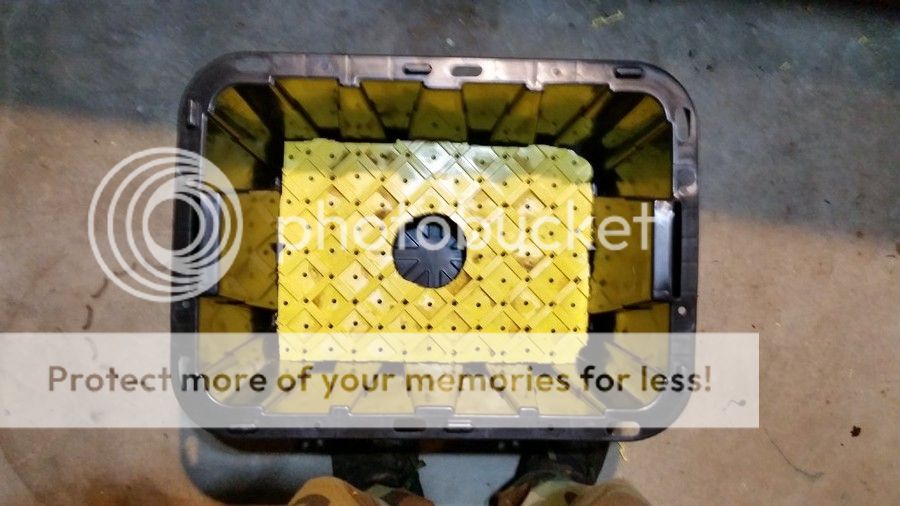
Need to be neater with the landscape fabric, but it gets the idea across.

How are 6 unidentified, every bearing, strawberry plants going to do in this?

________________________________________________________________________________

Image
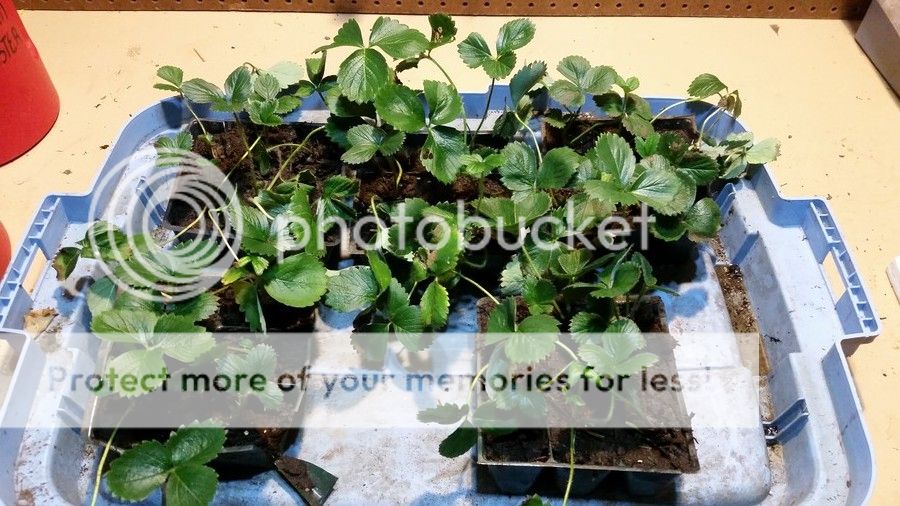
First plants to place in the container once I get the mix thing figured out. Trimmed about 50 runners of the half whiskey barrel plants Halloween night and they rooted up nicely under LED "day light" bulbs @ 16 hours of light a day and super saturated with water. (Not so bad for a whole 16 watts of power consumption.)

Image
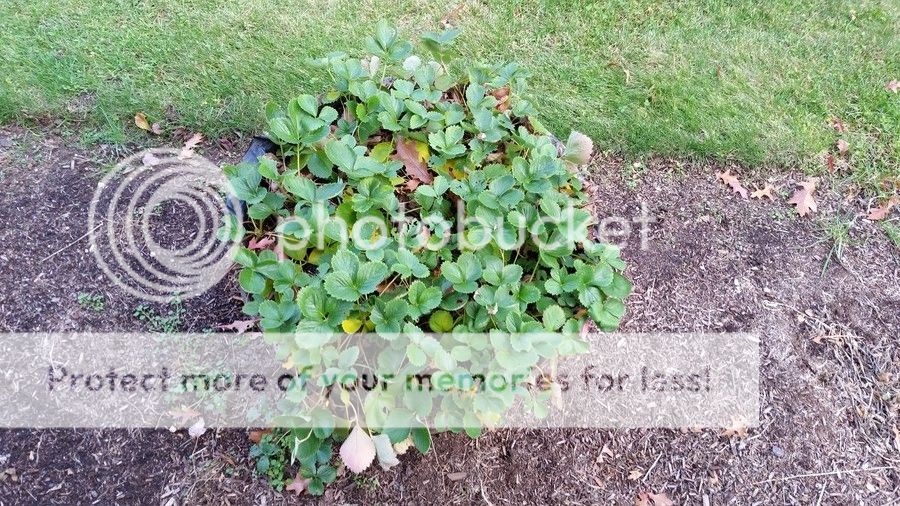
The progenitor plants.

Image
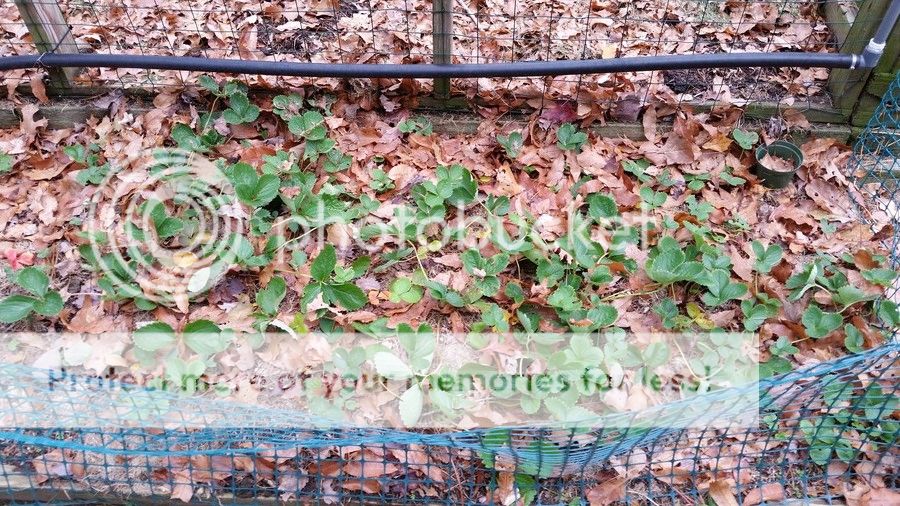
runners I rooted up last June or July.

Image
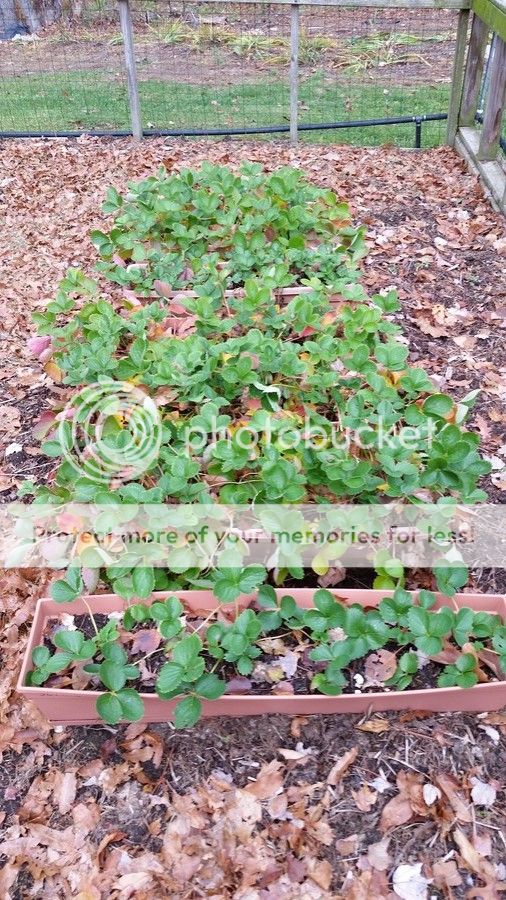
The window boxes I am trying to improve upon.

Image
Trimmed they down before I put them in the garden to be mulched after they shut down for the year. They sent out more runners which are taking root in the compost on top of the garden, Funny, I never considered November in New England as a growing time.

ButterflyLady29
Greener Thumb
Posts: 1030
Joined: Mon Oct 19, 2015 9:12 pm
Location: central Ohio

Do you have drainage holes above your reservoir line? If so, I think it looks great! Maybe a bit deep for strawberries but otherwise very very nice!

User avatar
ID jit
Green Thumb
Posts: 339
Joined: Tue Nov 01, 2016 10:00 am
Location: SE New England: zone twilight or 5b... hard for me to tell some days.

Thanks. (Am good at copying). They look deeper in the image than they are, I think. The mix area is only 8" deep. If I measured and drilled correctly. I should have 3/4" air gap between the bottom of the mix and drain holes when it is 'full'. Am second guessing myself making the aeration/drain holes in the plate 3/8" instead of 1/4". Have the fill pipe with half soda bottle installed. Am pretty happy with with is since I am only maybe $12 into that one container.

Still need to do a water test on it to see if I measured correctly. Am still struggling with the mix though. Good thing is that I can now get an accurate measurement and down to only needing 70 gallons of mix.
(Is probably amusing to watch the inexperienced agonize over minutia and simple things.)

User avatar
applestar
Mod
Posts: 30541
Joined: Thu May 01, 2008 7:21 pm
Location: Zone 6, NJ (3/M)4/E ~ 10/M(11/B)

I think that looks pretty good! When you fill, make sure the mix is pre-moistened and then tightly pack the wick cup and the column of soil mix above the cup.

You know about filling half way, mixing in the fertilizer and lime, then making the fertilizer strip and mounding the mix about 2-3 inches above the lip of the container? Will you be using plastic mulch to conserve moisture, prevent excessive rain/overhead irrigation ... make cuts and plant through?

...I'm not seeing the hole where the watering tube goes in...

User avatar
ID jit
Green Thumb
Posts: 339
Joined: Tue Nov 01, 2016 10:00 am
Location: SE New England: zone twilight or 5b... hard for me to tell some days.

Thanks. You are not seeing the fill tube and hole because they hadn't been done when I took the images. Went with 1/2” black irrigation pipe and half a soda bottle. Have the tip of the angled cut resting on the absolute bottom. Am homing to be able to do a water test tomorrow.

Have been reading about fill strategies. Have pretty much decided not to go with the tried-n-true, mounding up and covering with black plastic. Don't want the plastic heating up the soil and roots of the plants. Was thinking of leaving maybe an inch of space from the top lip and putting in just a layer of straw-type mulch.

Have also been thinking a lot about that worm idea you put forth before. The other part with this which crossed my mind was to do 4 columns of 15-30-15 maybe ½” diameter in the square between the 6 plants. Hopefully that won't drive the worms off the top of the container.

I know with compost I should lime it to sweeten it a bit, but I am looking for a slightly acidic 'soil' so I was thinking that skipping the lime would get me closer to that. (Need to get a pH tester or test kit.)

Pretty sure that I will revert to the more tried-n-true methods, but for right now, I have to experiment a little to feel like I actually understand the whats and whys of what I and doing. I think I am weird because I need to fail and adapt and get a feel for the inter-relationships of all the various trade offs before I feel like I understand something.

Have much appreciated all your input though.


Return to “Container Gardening Forum”